Creating Case in Dynamics 365 from Microsoft Social Engagement Posts
Introduction:
This blog explains how to Create Case in Dynamics 365 from Microsoft Social Engagement Posts.
Steps to be followed:
Steps in Dynamics 365:
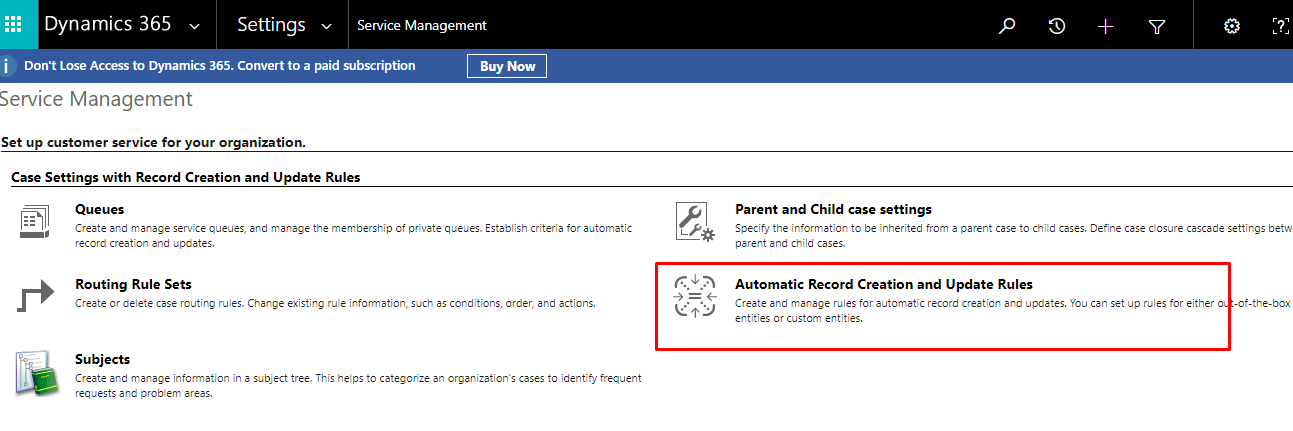
- Go to Settings –> Service Management –> Automatic Record Creation and Update Rule.
- Click on +NEW.
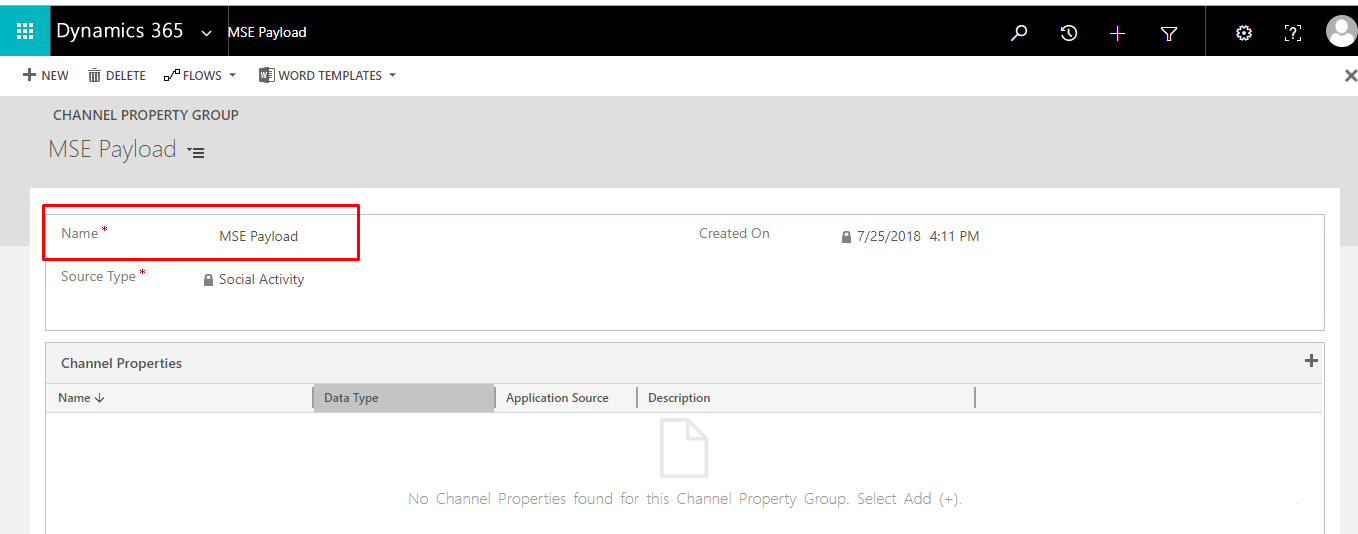
- Enter Name and Set the Source Type to Social Activity.
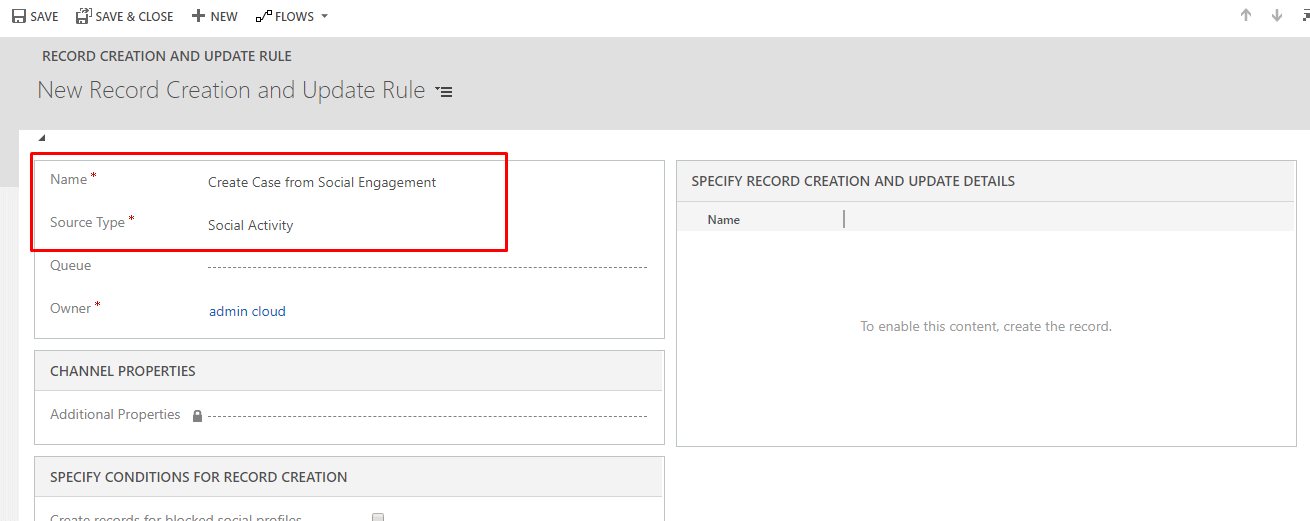
- Save the record
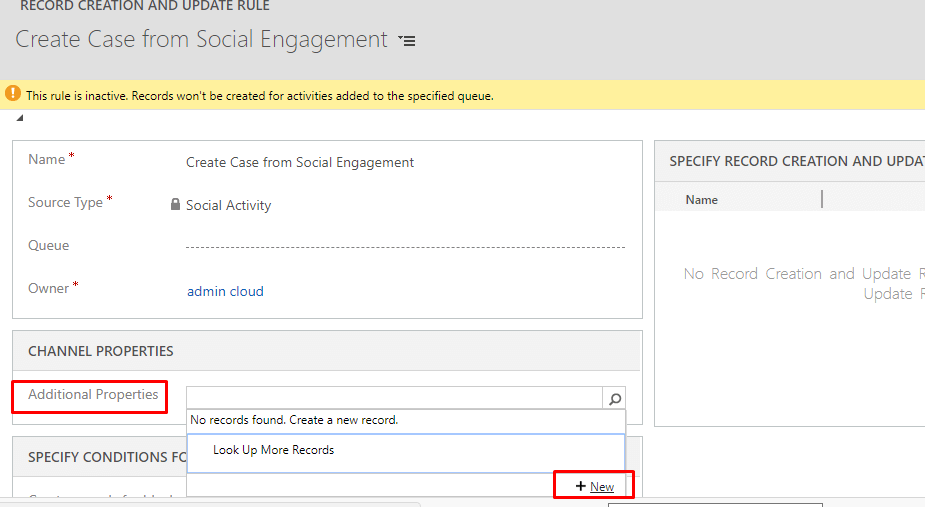
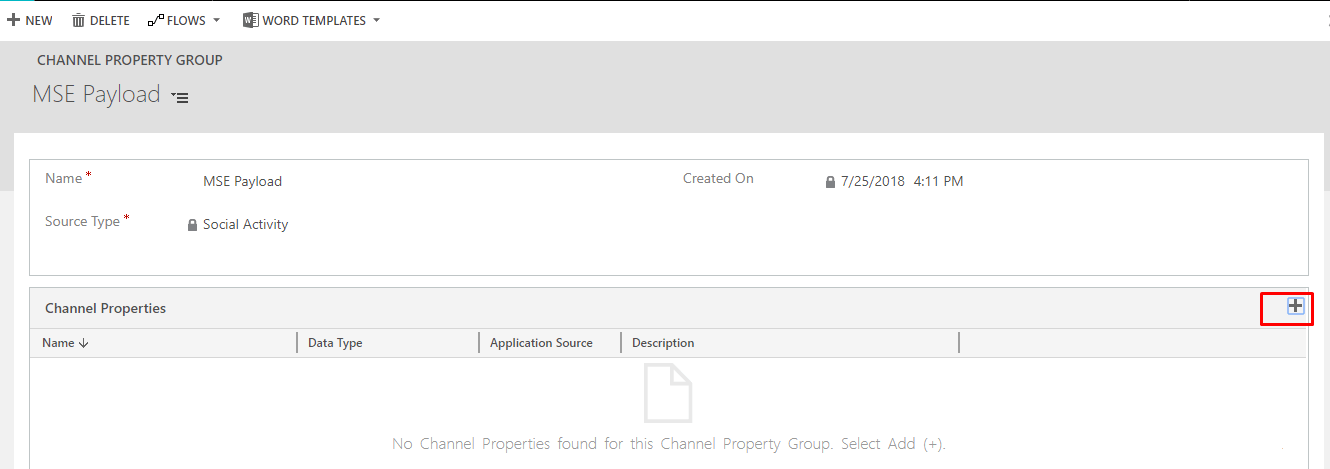
- Under Channel Properties section for additional properties select the search button and Create new record.
- Enter details.
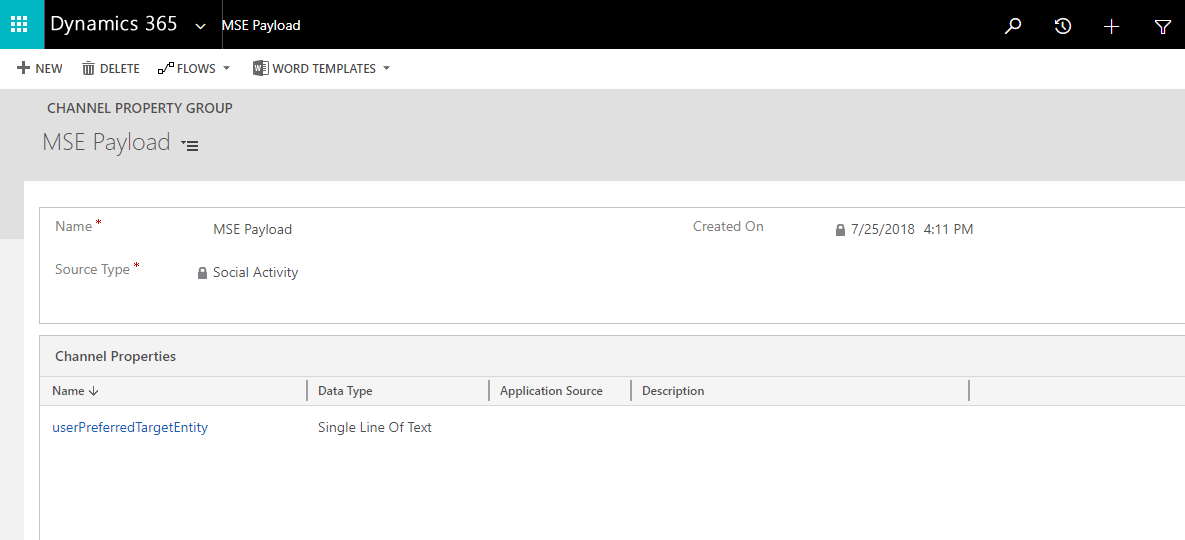
- Save record
- Create Channel Properties Under Newly Created Channel Property Group.
- Enter Name and Data Type.
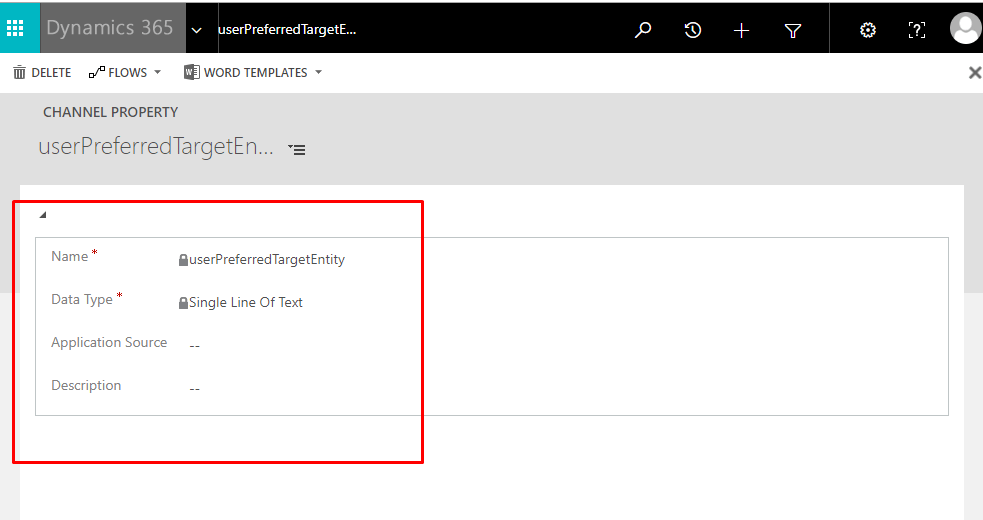
- Save record
- Add specify record creation and update details
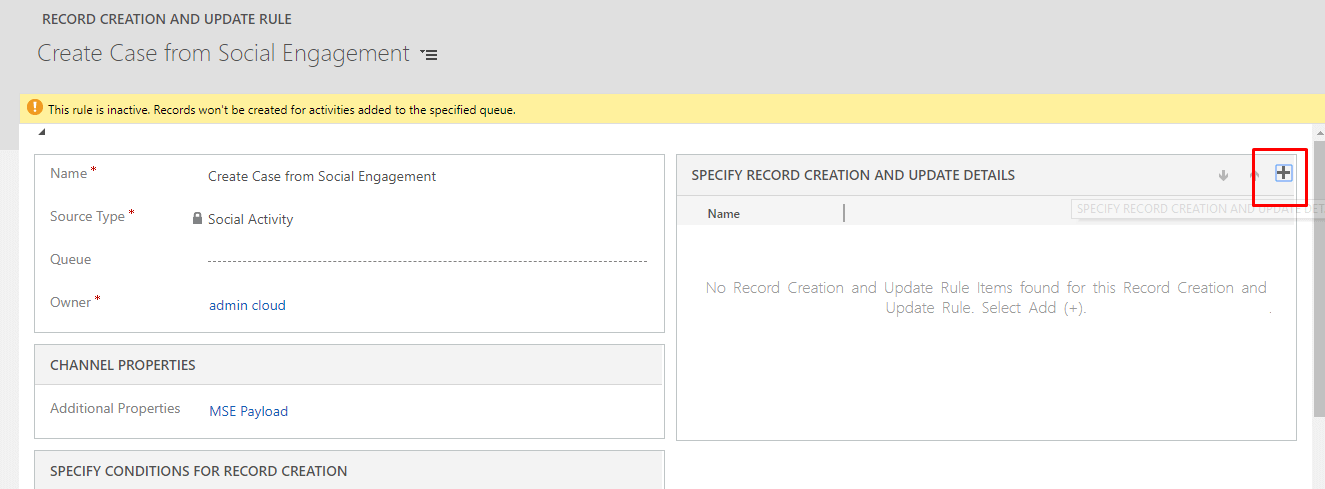
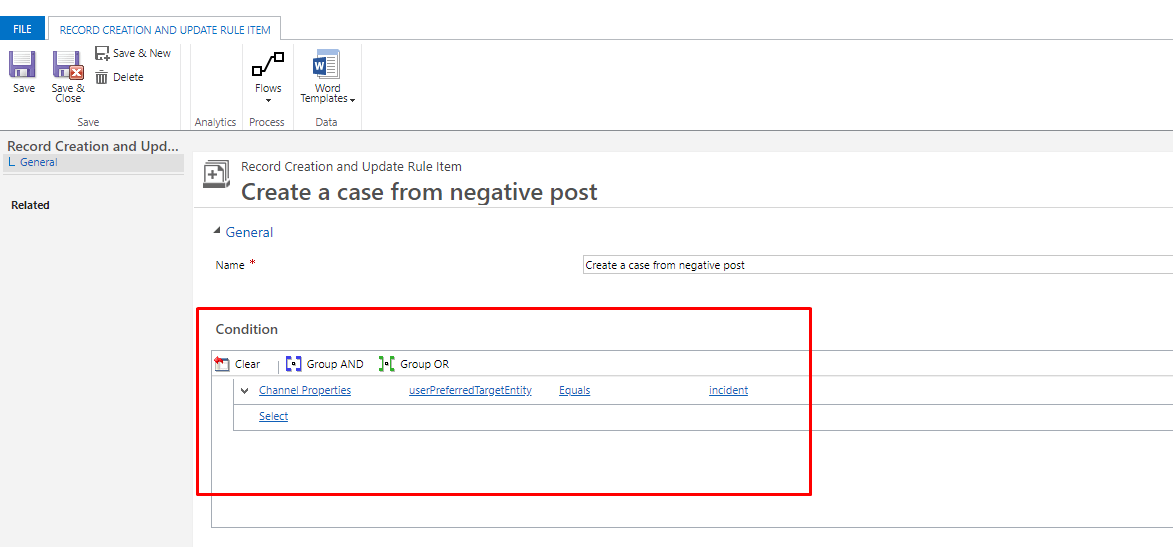
- Enter Name and save the record.
- Under Condition, choose Select, and scroll to the bottom of the drop-down list to find Channel Properties under Local Values. Then, select userPreferredTargetEntity Equals incident.
- Under Action, select Add Step, and then select Create Record. Set the value to Case.
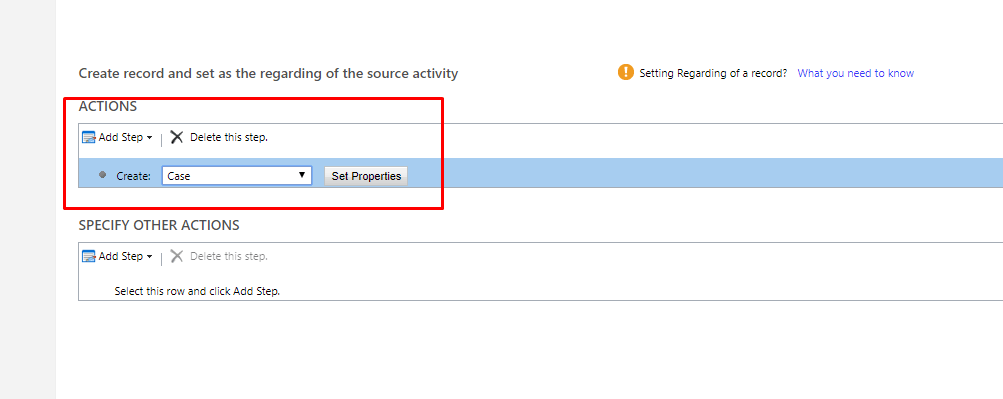
- If you want to set or change any field value you can do it by clicking on set properties and changing the fields accordingly.
- Save and close the record.
- Finally select Activate to activate the rule.
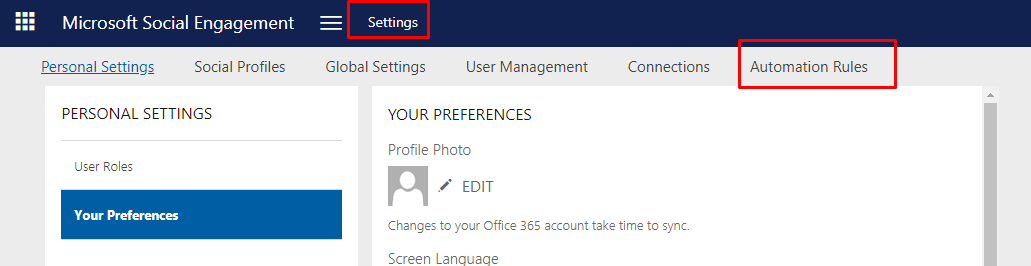
Steps in Microsoft Social Engagement:
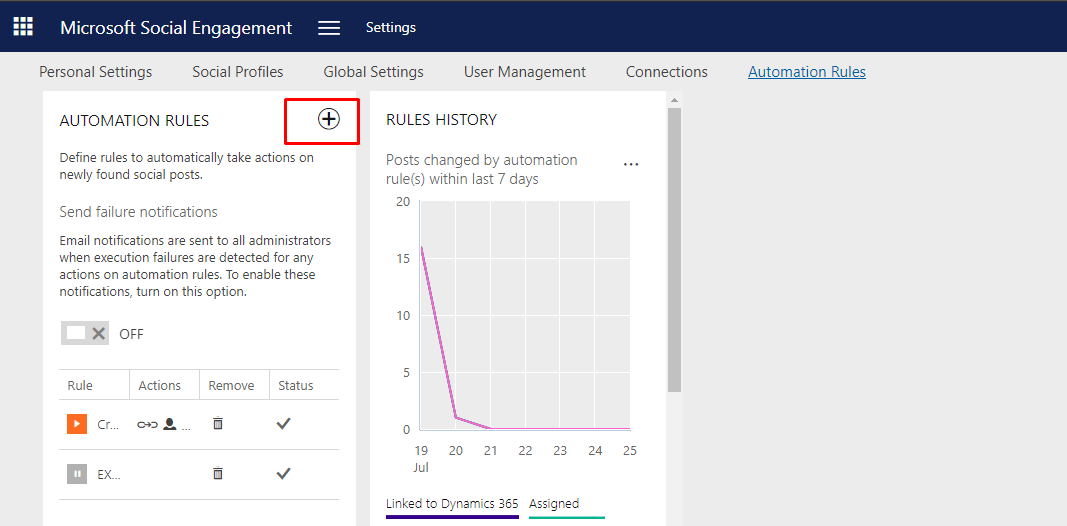
- Go to settings –>Automation Rule
- Click on + to create new automation rule.
- Enter Name.
- Filter according to your criteria.
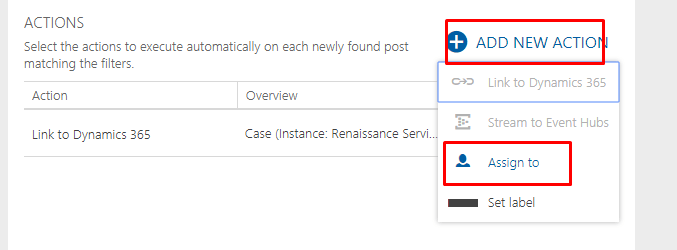
- Click on + ADD NEW ACTION to add actions.

- Click on link to Dynamics 365.
- Select Instance and Entity.
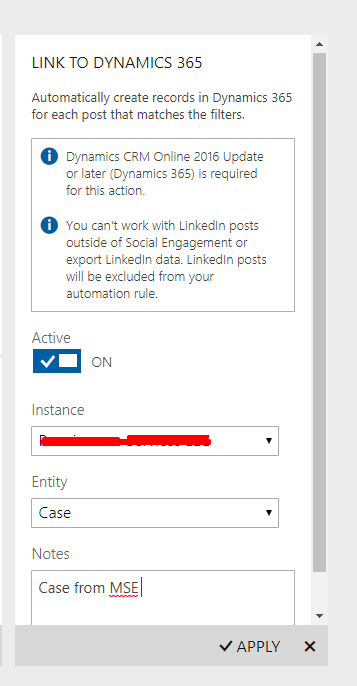
- Click on Apply.
- You can also Assign this case to user from MSE.
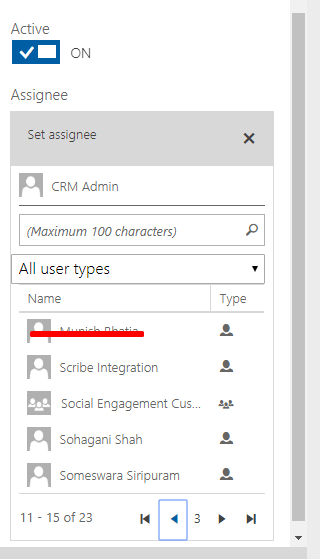
- Click on Apply
- Click on ADD NEW ACTION Select Set label.
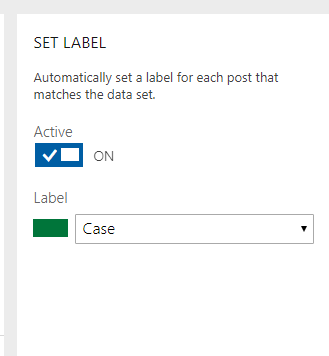
- Click on Apply.
- Record Details:
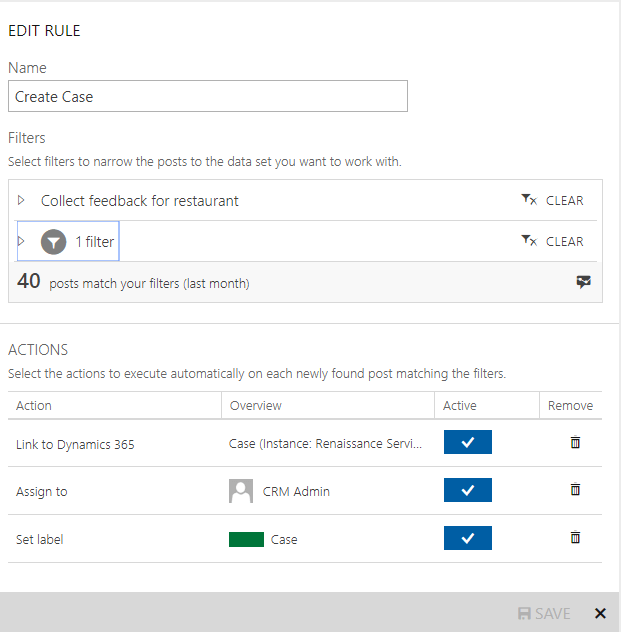
- Save the rule.
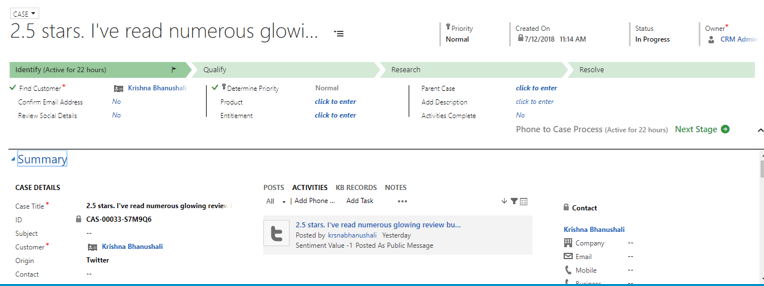
Case in Dynamics 365: