PowerApps
What is PowerApps?
PowerApps is a Microsoft product which allows developer/non-developer to build an application without writing a single line of code.
- PowerApps creates custom business apps for web and mobile devices that help you do your job more efficiently and collaborate better with your co-workers.
- Use PowerApps to solve problems specific to your business and extend the software you’re already using such as apps for custom site inspections, cost estimators, budget tracking, or managing customer opportunities
- You can use PowerApps in any web browser, including the mobile web.
- You can also download PowerApps Mobile for iOSor Android to use apps on your phone or tablet. No matter where you’re working, just open PowerApps to find the apps available to you.
What data sources can my apps connect to?
PowerApps connects to a range of data sources out of the box, and Microsoft adding more all the time. Some examples of data sources and services include:
- Excel files stored on OneDrive for Business, Dropbox, or Google Drive
- SharePoint Online lists
- Salesforce objects
- Microsoft Dynamics CRM Online records
- Azure SQL Database tables
- Office 365 Exchange data
- Microsoft Translator
- Your own custom APIs
- And many more applications.
What’s a work or school account, and why do I need one to use PowerApps?
- Because PowerApps is built for business apps that you share with your team, we require you to use an email address associated with an organization (your work or school account) to sign up. Shared email providers like Hotmail or Gmail won’t currently work with PowerApps.
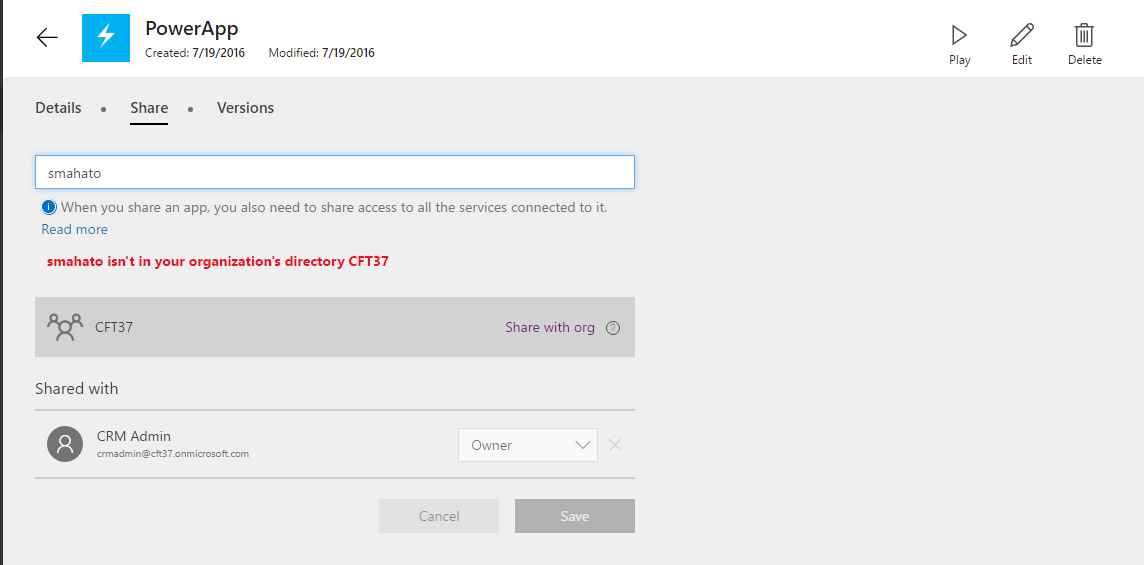
Who can I share apps with
- You can share apps with anyone in your organization, that is, anyone who has your same email domain—for instance, anyemployee@contoso.com.
- Anyone who uses your apps will also need access to any data sources those apps connect to. For example, if you build an app that uses an Excel file on OneDrive, people you share the app with will also need to have access to the Excel file in order to fully use the app
Connection:
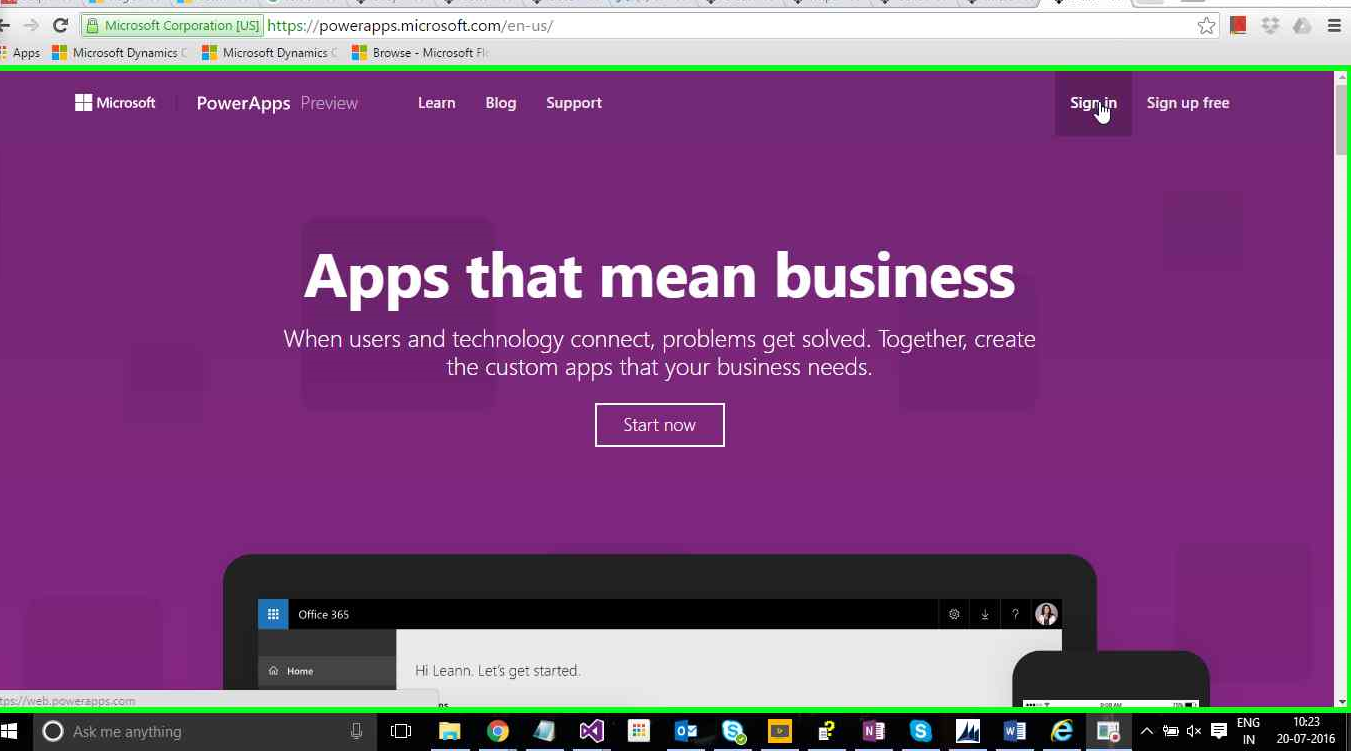
- Go to: https://powerapps.microsoft.com/
- You need to sign in the powerApps portal using the given link and signin/singup
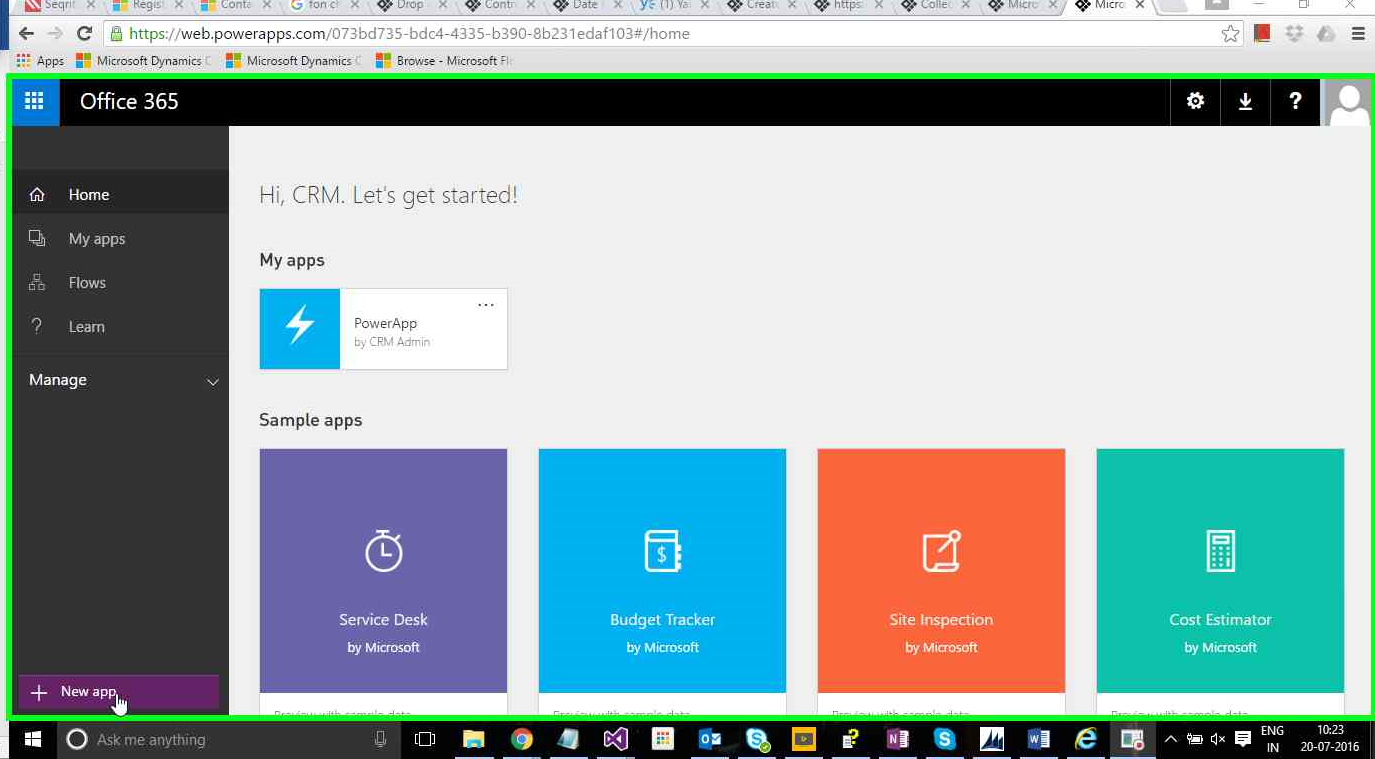
- Once you are logged in successfully, you can create a new app from the portal.
- Click on create new App.
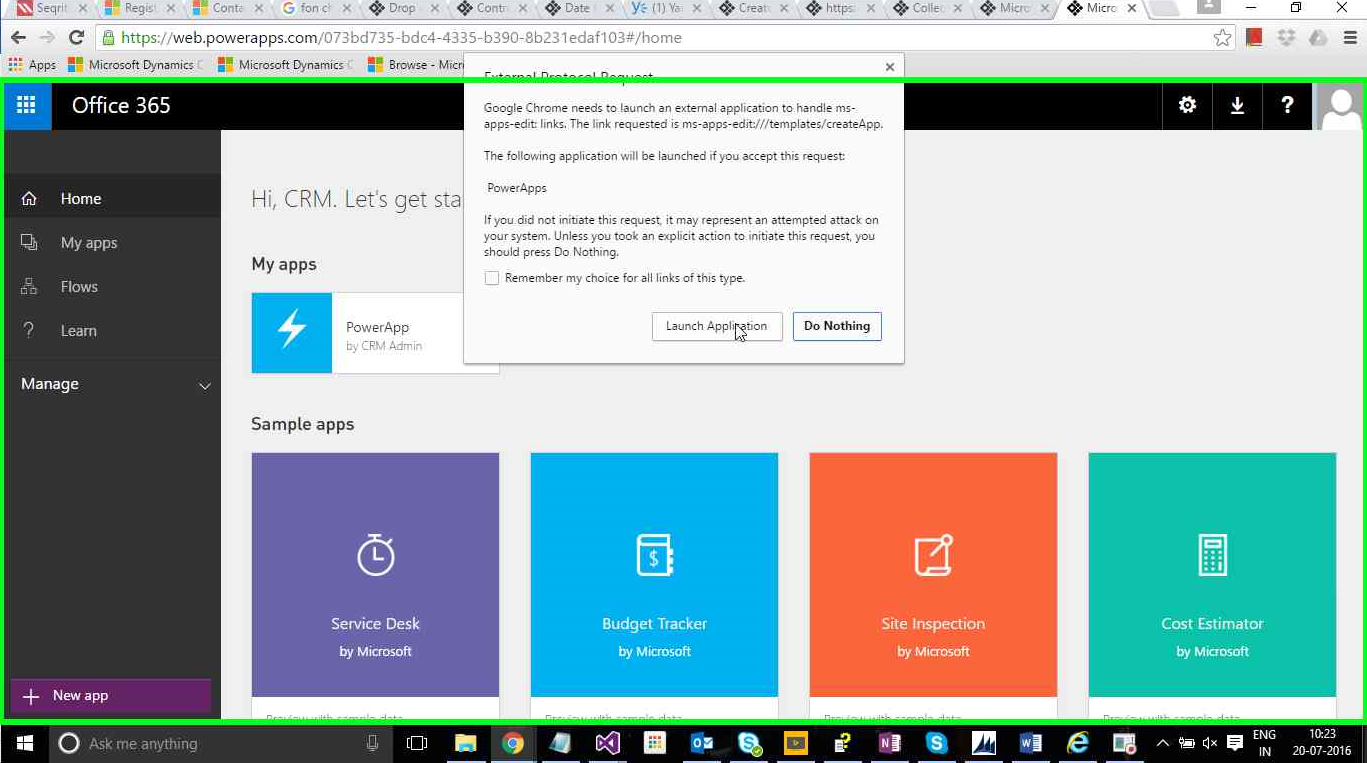
- You can develop PowerApps either on desktop application or on the browser, you can download it from the Store or you can directly edit in browser.
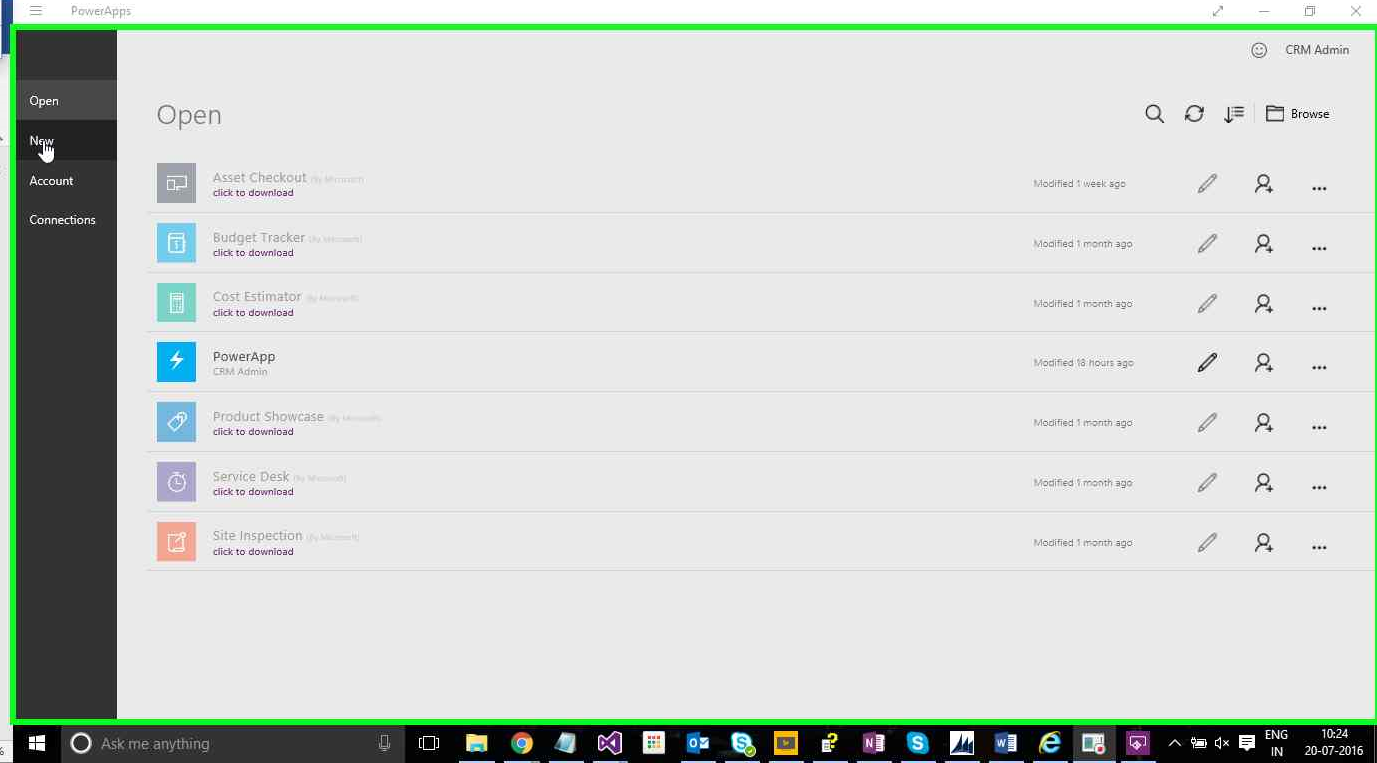
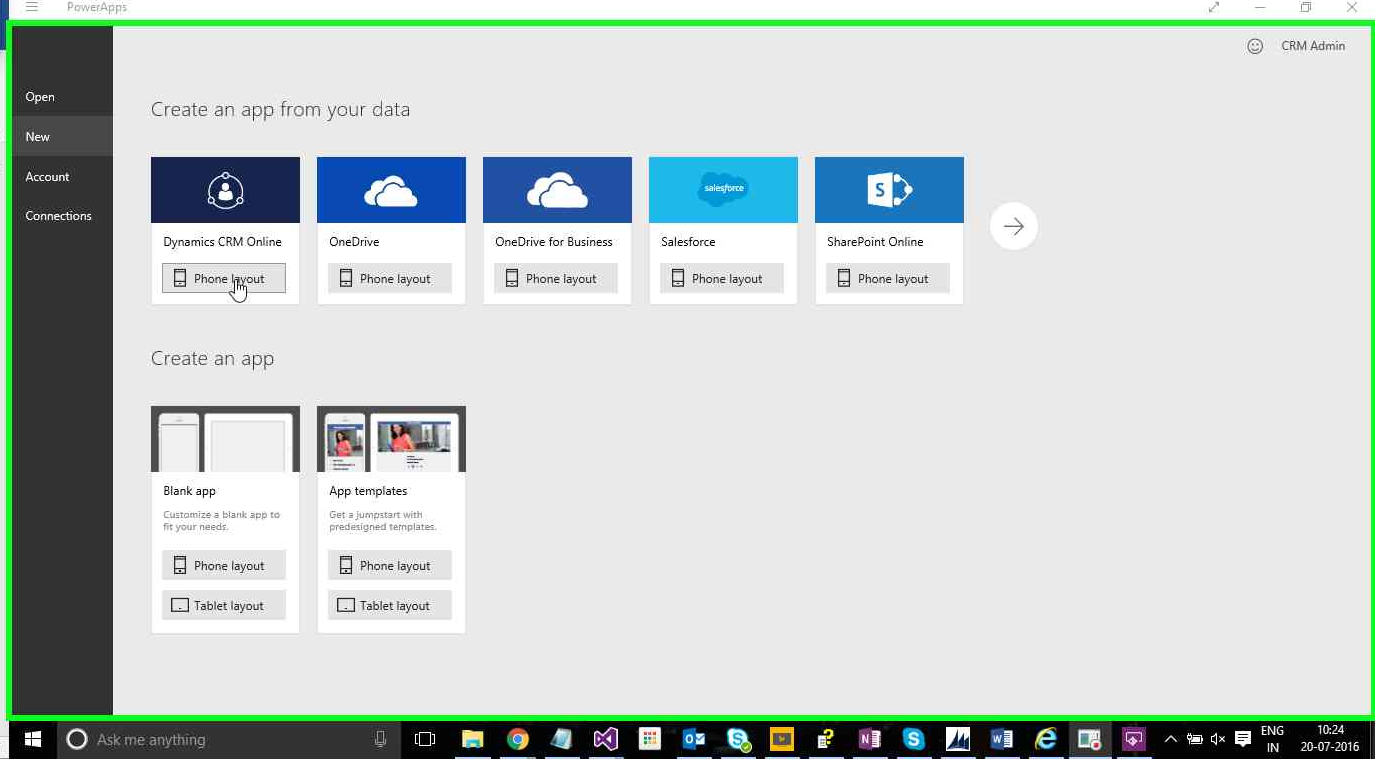
- Once you have installed the PoweApps from the Store now you can develop your own application by click on the new button.
- Select from the existing app which is a predefined template
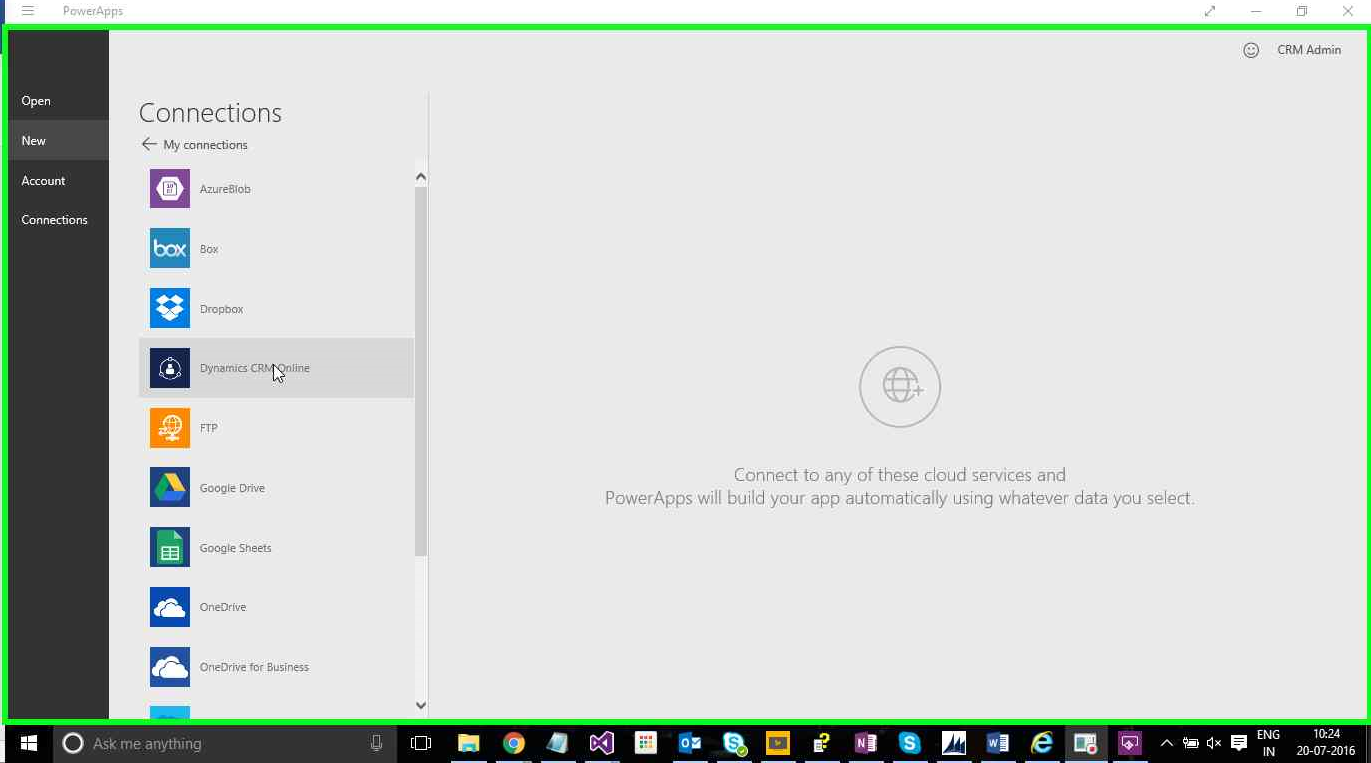
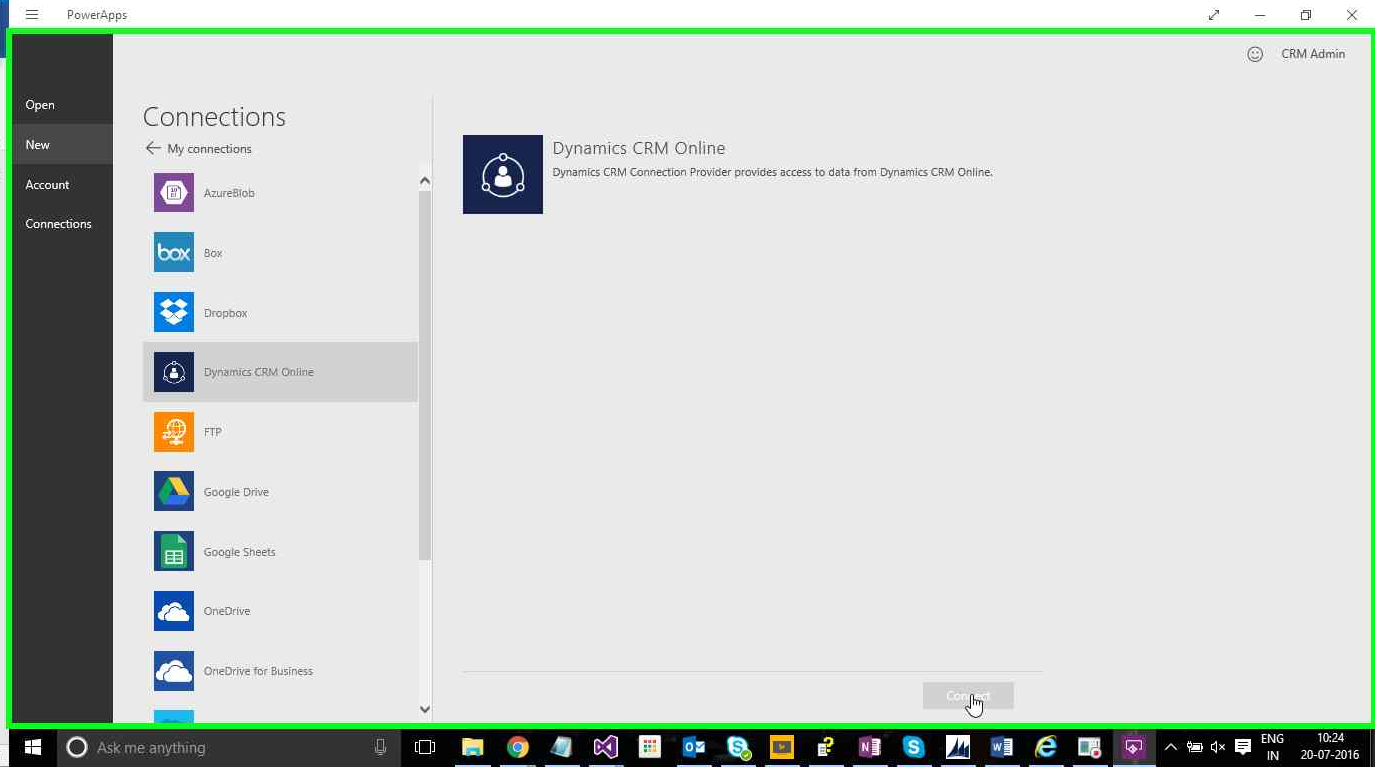
- Establish your connection with CRM:
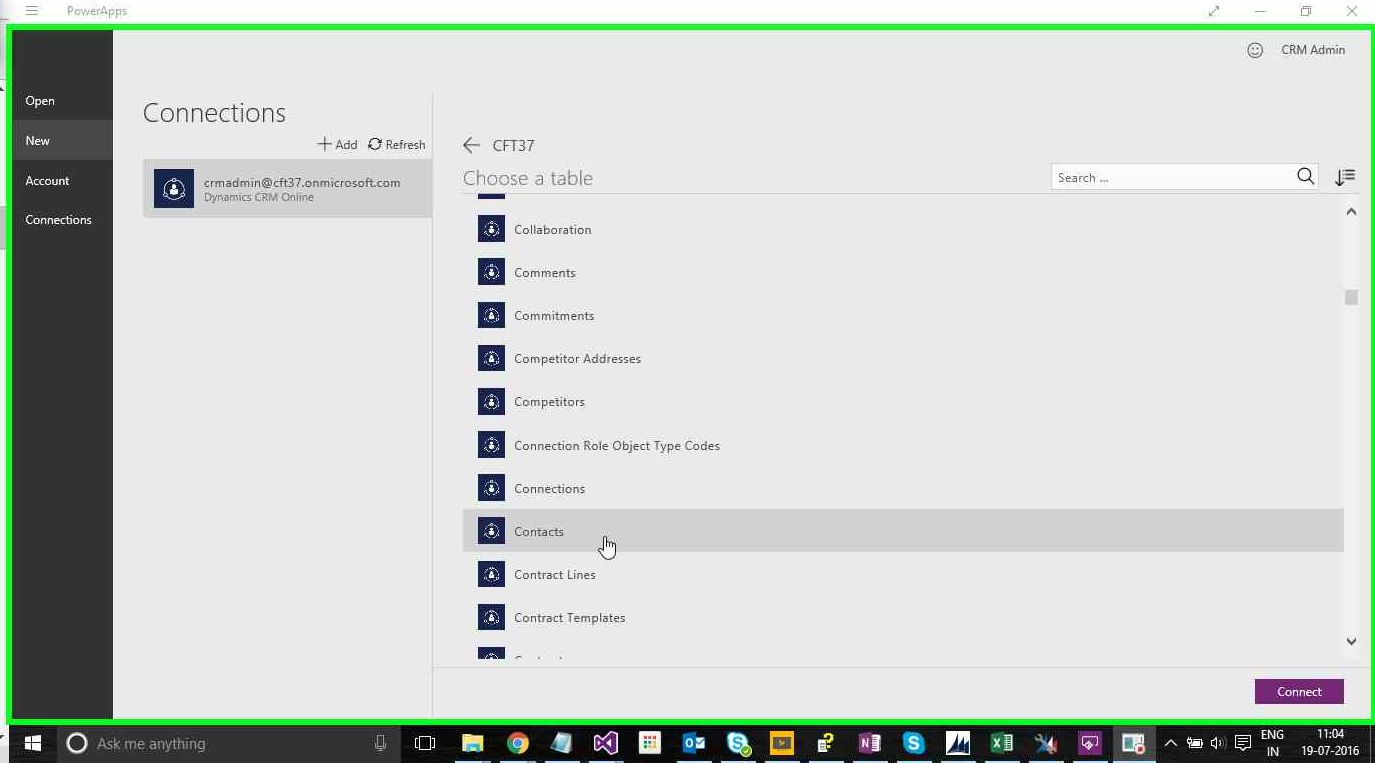
- If you have already connected with the existing CRM than you don’t required to connect. If your login for the first time you need provide the connection details. Click on the Dynamics CRM Online.
- To design the PowerApps you need to select a table from the available list, select the table(entity)
- Once you have done with your app is ready and you are able to see the app with 3 different type of forms.
Design app
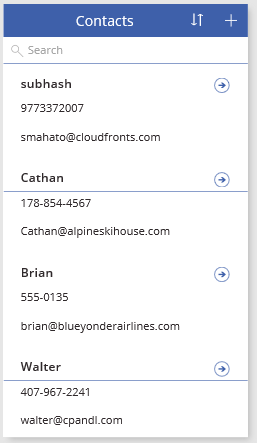
- BrowseScreen1:shows a list of all items and some information about them so that users can easily browse for the item they want.
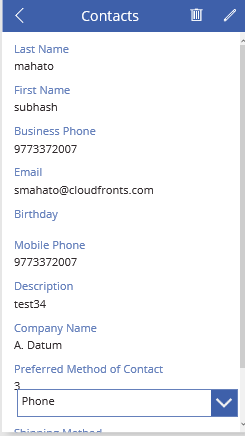
- DetailScreen1:shows all information about a single item.
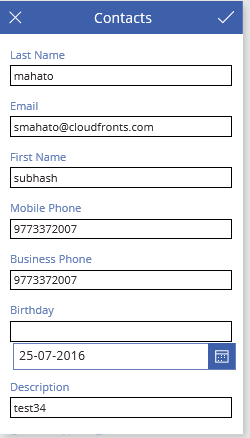
- EditScreen1:provides an Edit form control for adding an item or updating information about an item.
Page
- Search and sort the contact
- User can search for one or more records, sort the list of records in ascending or descending order, or both.

Form Type
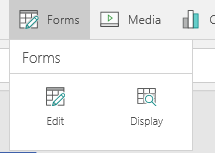
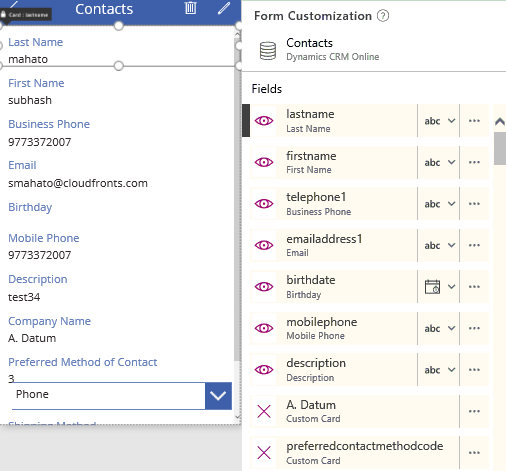
Display Screen:
- You can add the records from the right side pane. this only displays the records.
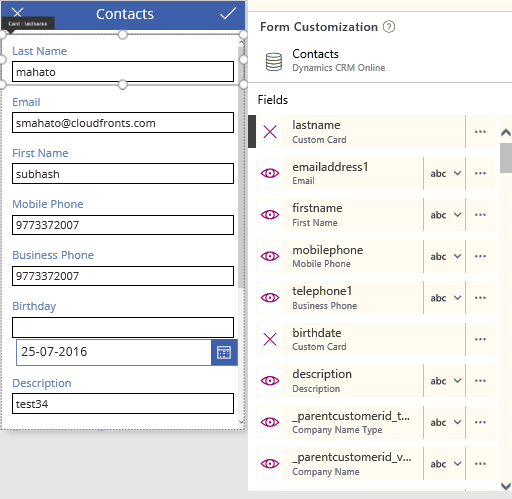
Edit screen:
- Here user can change the value of a record.
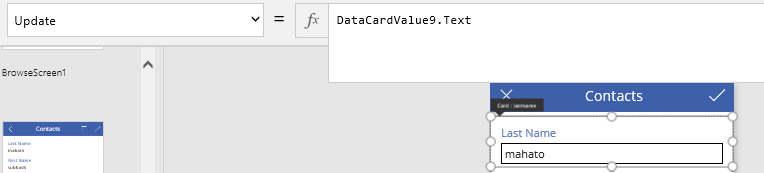
Update:
Controls
Formula:
Looking value from other data set from the other data set
- LookUp(Accounts, accountid=ThisItem._parentcustomerid_value).name
- Table– Required. Table to search.
- Formula– Required. This formula is evaluated for each record of the table, and the first record that results in true is returned. You can reference columns within the table.
- ReductionFormula– Optional. This formula is evaluated over the record that was found, reducing the record to a single value. You can reference columns within the table. If this parameter is not supplied, the function returns the full record from the table.
- Update = DataCardValue9.Text;
- Search(Contacts, TextSearchBox1.Text, “firstname”, “_defaultpricelevelid_value”, “_ownerid_type”, “_ownerid_value”)
- Table – Required. Table to search.
- SearchString – Required. The string to search for. If blank or an empty string, all records are returned.
- Column(s) – Required. The names of columns within Table to search. Columns to search must contain text. Column names must be strings and enclosed in double quotes. If SearchString is found within the data of any of these columns as a partial match, the full record will be returned.
- SortByColumns( Contacts, ” firstname “, SortOrder.Descending )
- Bind data to Dropdown
- Table – Required. Table to sort.
- ColumnName(s) – Required. The column names to sort on, as strings.
- SortOrder(s) – Optional. SortOrder!Ascending or SortOrder!Descending. SortOrder!Ascendingis the default. If multiple ColumnNames are supplied, all but the last column must include aSortOrder.
- SortByColumns(Search(Contacts, TextSearchBox1.Text, “firstname”, “_defaultpricelevelid_value”, “_ownerid_type”, “_ownerid_value”), “_defaultpricelevelid_type”, If(SortDescending1, Descending, Ascending))
Reference Link
1. https://powerapps.microsoft.com/en-us/tutorials/getting-started/
2. https://powerapps.microsoft.com/en-us/tutorials/formula-reference/
3. https://powerapps.microsoft.com/en-us/tutorials/working-with-cards/
