How to connect Azure App configuration using connection string with C# .NET core – Part 1
In this blog we will learn how to connect Azure app configuration via connection string with C# .NET core. Below we will dive into these topics
- What is Azure App Configuration
- Create an App Configuration store
- Create a function app
- Connect to an App configuration store
Azure App Configuration:
Azure App Configuration is a managed service that helps developers centralize their application configuration and feature settings simply and securely. Use Azure App Configuration to store and secure configuration settings for your application in a single location. App configuration offer the following benefits.
- A fully managed service that can be set up in minutes
- Flexible key representations and mappings
- Tagging with labels
- Point-in-time replay of settings
- Dedicated UI for feature flag management
Create an Azure App Configuration:
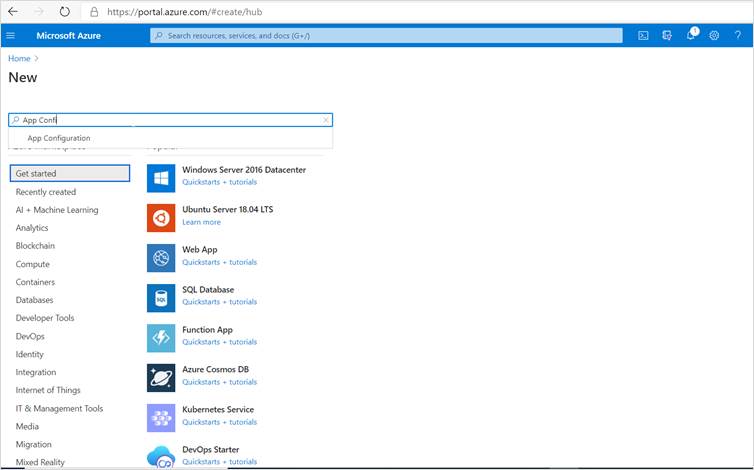
Step 1: To create a new App Configuration store, sign into the Azure portal. In the upper-left corner of the home page, select Create a resource. In the Search the Marketplace box, enter App Configuration and select and press enter
Step 2: Select App Configuration from the search results, and then select Create.
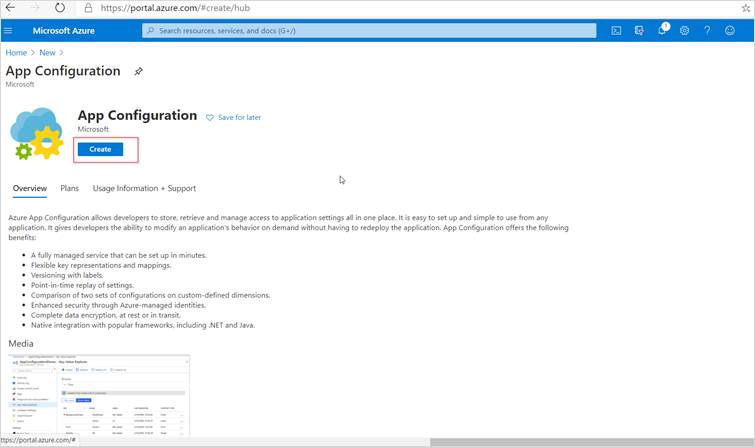
Step 3: Click on create button and enter required information.

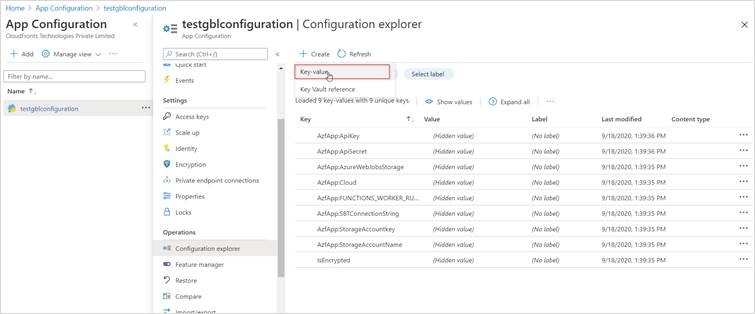
Step 4: Once your app configuration is created, select “configuration explorer” in the left navigation and click on create button to add a new entry.
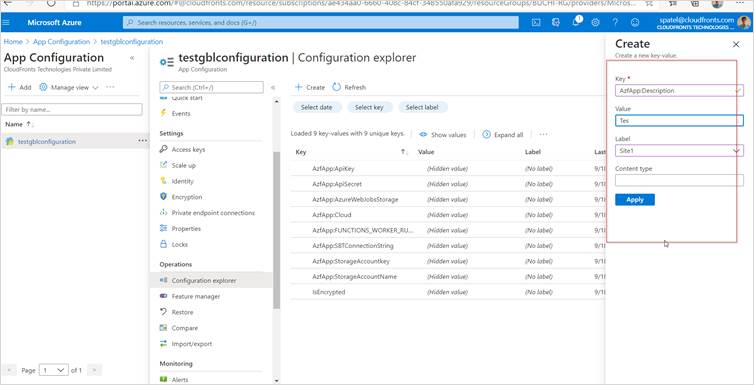
I’m going to add a couple of example entries, all with the same key “AzfApp:Description”, but with different values and Labels.
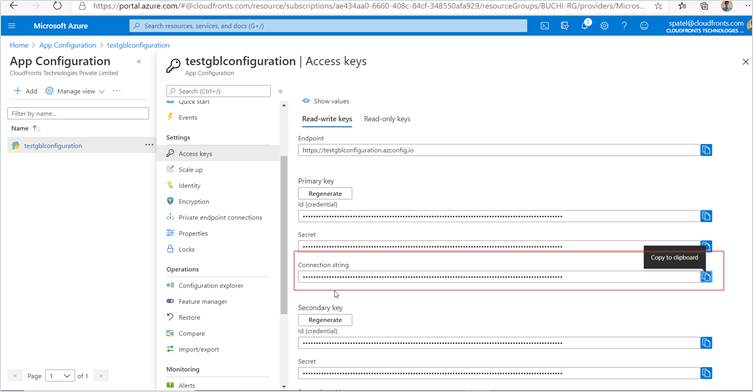
Step 5: Select “Access Keys” in the left navigation pane and copy connection string and paste it into notepad++ later this will used in function app to read the value from app configuration.
Create a Azure Function App:
The Azure Functions project template in Visual Studio creates a project that you can publish to a function app in Azure.
- From the Visual Studio menu, select File > New > Project.
- In Create a new project, enter functions in the search box, choose the Azure Functions template, and then select Next.
- In Configure your new project, enter a Project name for your project, and then select Create. The function app name must be valid as a C# namespace, so don’t use underscores, hyphens, or any other nonalphanumeric characters.
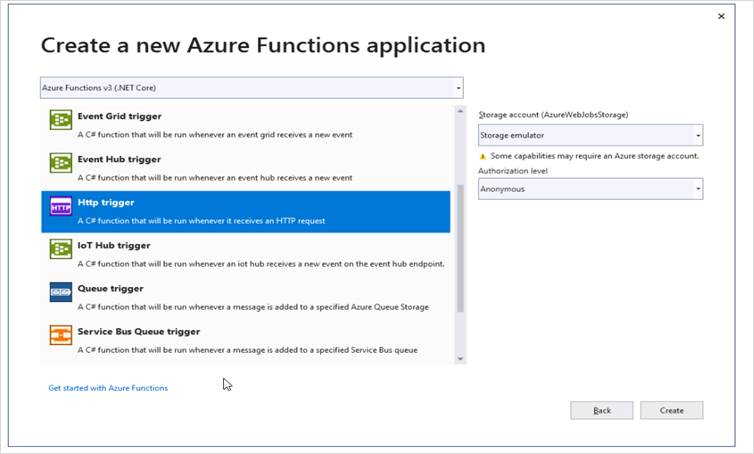
- Select Create to create the function project and HTTP trigger function.
Connect to App configuration store:
- Right-click your project, and select Manage NuGet Packages. On the Browse tab, search for and add the Microsoft.Extensions.Configuration.AzureAppConfiguration NuGet package to your project.
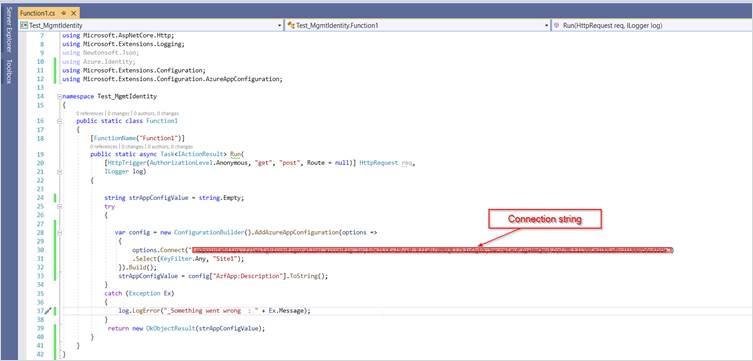
- Open Function1.cs, and add the namespaces of the .NET Core configuration and the App Configuration configuration provider.
C# code :
using Microsoft.Extensions.Configuration;
using Microsoft.Extensions.Configuration.AzureAppConfiguration;
- Add below code to read the app configuration value using connection string.
- Press F5 to test your function. If prompted, accept the request from Visual Studio to download and install Azure Functions Core (CLI) tools.
- Copy the URL of your function from the Azure Functions runtime output.

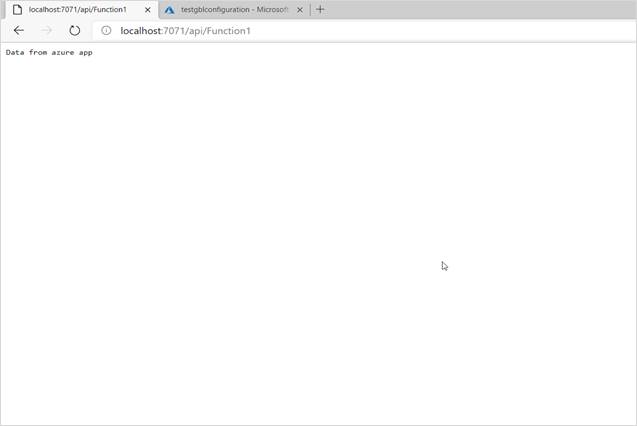
6. Paste the URL for the HTTP request into your browser’s address bar. The following image shows the response in the browser to the local GET request returned by the function.
Hope this will help.
