How to connect Azure App configuration using Managed Identity with C# .NET core – Part 2
In this blog we will learn how to connect Azure app configuration via Managed Identity with C# .NET core. Below, we will dive into these topics
- What is Azure App Configuration
- Create an App Configuration store
- Create a function app
- Connect to an App configuration store
Azure App Configuration:
Azure App Configuration is a managed service that helps developers centralize their application configuration and feature settings simply and securely. Use Azure App Configuration to store and secure configuration settings for your application in a single location. App configuration offer the following benefits.
- A fully managed service that can be set up in minutes
- Flexible key representations and mappings
- Tagging with labels
- Point-in-time replay of settings
- Dedicated UI for feature flag management
Create an Azure App Configuration:
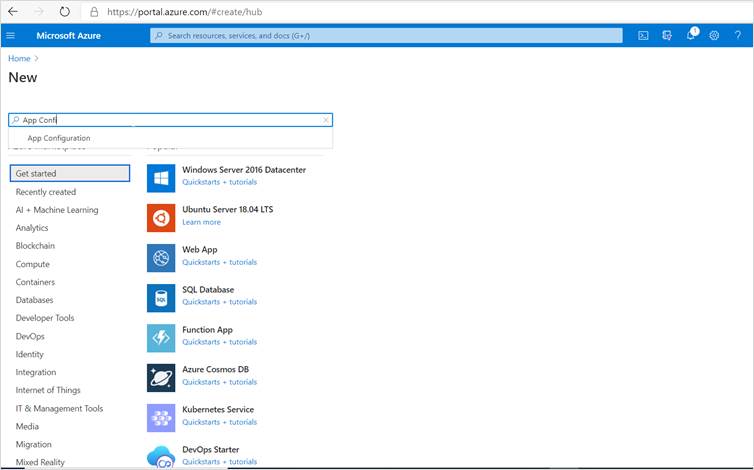
Step 1: To create a new App Configuration store, sign into the Azure portal. In the upper-left corner of the home page, select Create a resource. In the Search the Marketplace box, enter App Configuration and select and press enter
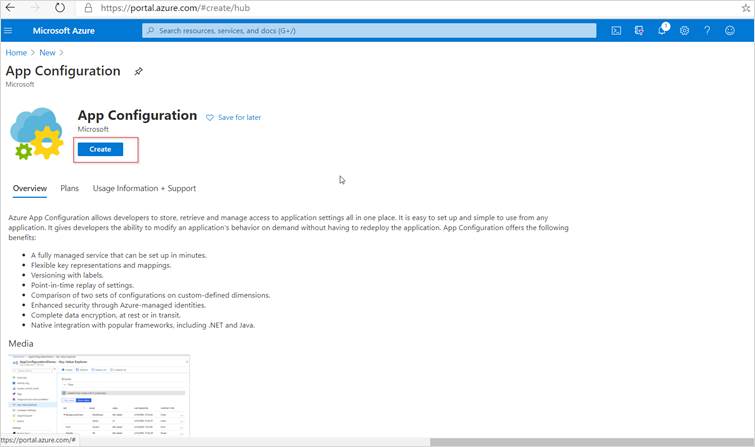
Step 2: Select App Configuration from the search results, and then select Create.
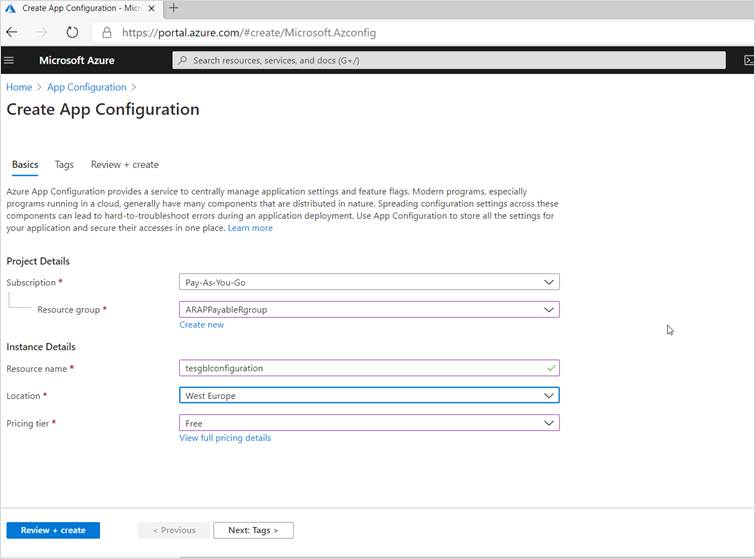
Step 3: Click on create button and enter required information.
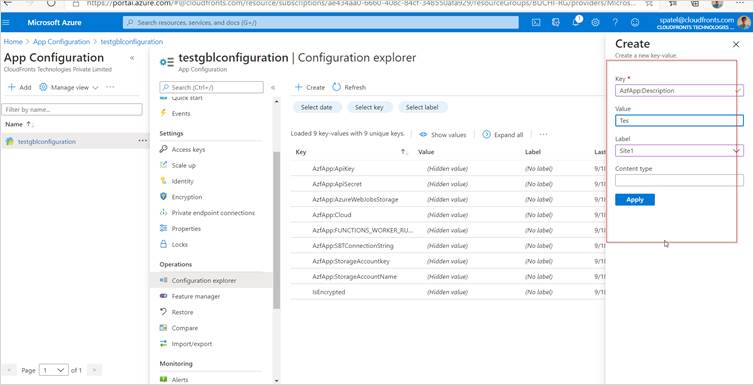
Step 4: Once your app configuration is created, select “configuration explorer” in the left navigation and click on create button to add a new entry.
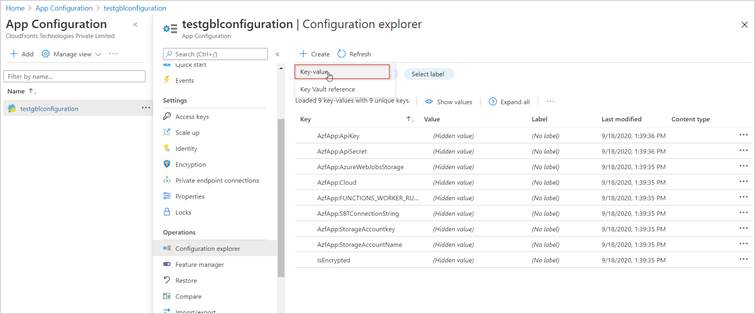
I’m going to add a couple of example entries, all with the same key “AzfApp:Description”, but with different values and Labels.
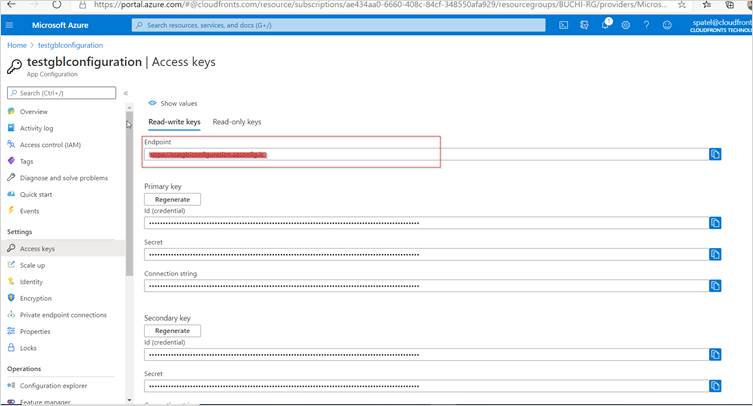
Step 5: Select “Access Keys” in the left navigation pane and copy endpoint and paste it into notepad++ later this will used in function app to read the value from app configuration.
Create a Azure Function App:
The Azure Functions project template in Visual Studio creates a project that you can publish to a function app in Azure.
- From the Visual Studio menu, select File > New > Project.
- In Create a new project, enter functions in the search box, choose the Azure Functions template, and then select Next.
- In Configure your new project, enter a Project name for your project, and then select Create. The function app name must be valid as a C# namespace, so don’t use underscores, hyphens, or any other nonalphanumeric characters.
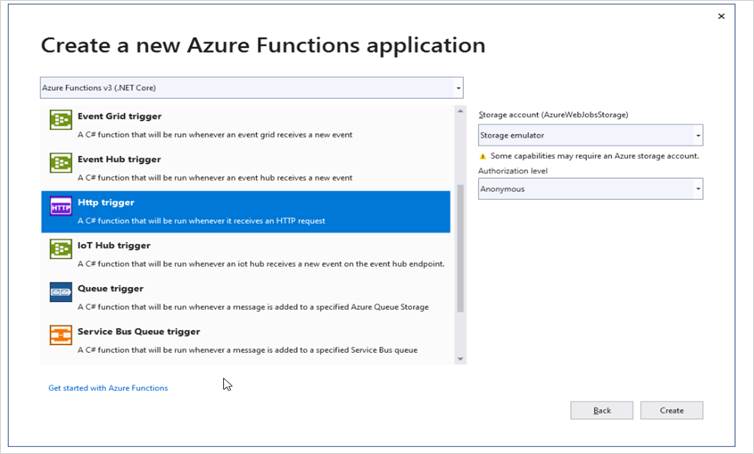
- Select Create to create the function project and HTTP trigger function.
Connect to App configuration store:
- Right-click your project, and select Manage NuGet Packages. On the Browse tab, search for and add the Microsoft.Extensions.Configuration.AzureAppConfiguration NuGet package to your project and also add Azure.Identity package to your project.
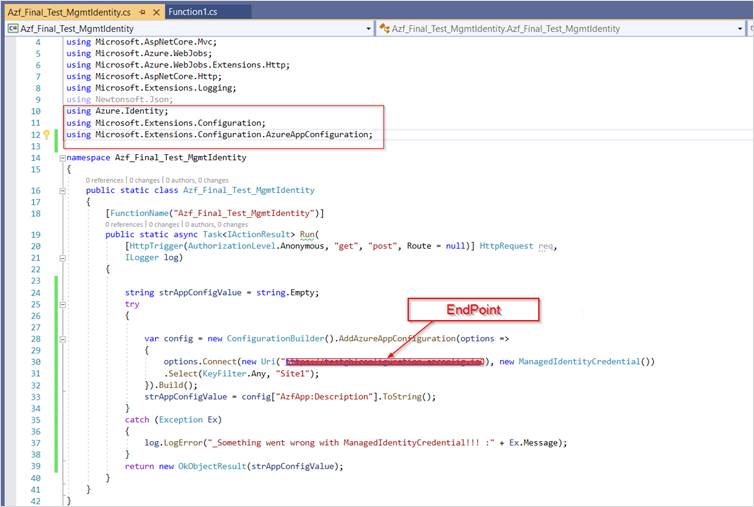
- Open Azf_Final_Test_MgmtIdentity.cs, and add the namespaces of the .NET Core configuration and the App Configuration configuration provider.
C# code:
using Azure.Identity;
using Microsoft.Extensions.Configuration;
using Microsoft.Extensions.Configuration.AzureAppConfiguration;
- Add below code to read the app configuration value using managed identity.
- Now build the project if build successful then right click the project and publish in Azure portal.
- Navigate in the Azure portal to your azure function app that you have just published, select “Identity” from the let navigation pane and click on enable that you want to use.
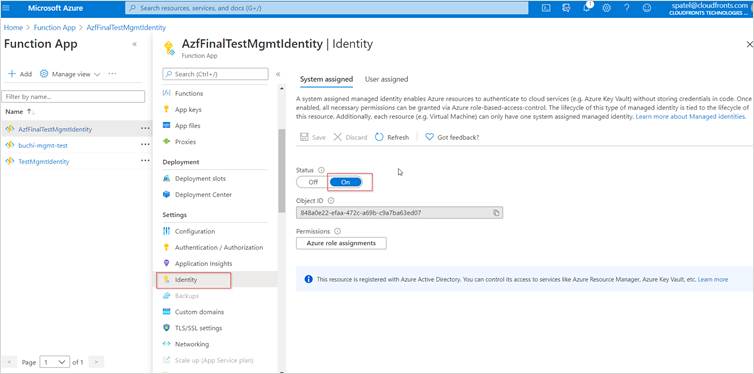
Once you’ve got your identity enabled, make a note of the name (the same name as your app service), which you’ll need in the next step.
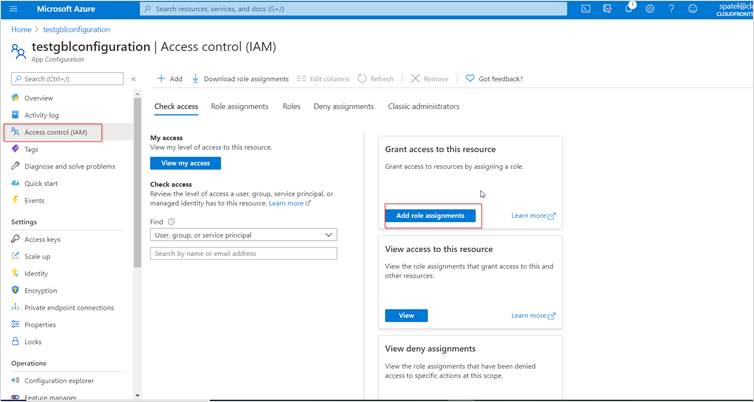
- From your App Configuration service, select “Access control (IAM)” from left navigation pane and click on “Add a role assignment”
- From the drawer that flies in on the right-hand side, select what fits your scenario. I’m going for “Reader” access only, and since it’s a Function App I select that in the drop down and then it will list all Managed Identities that exist on my App Services:
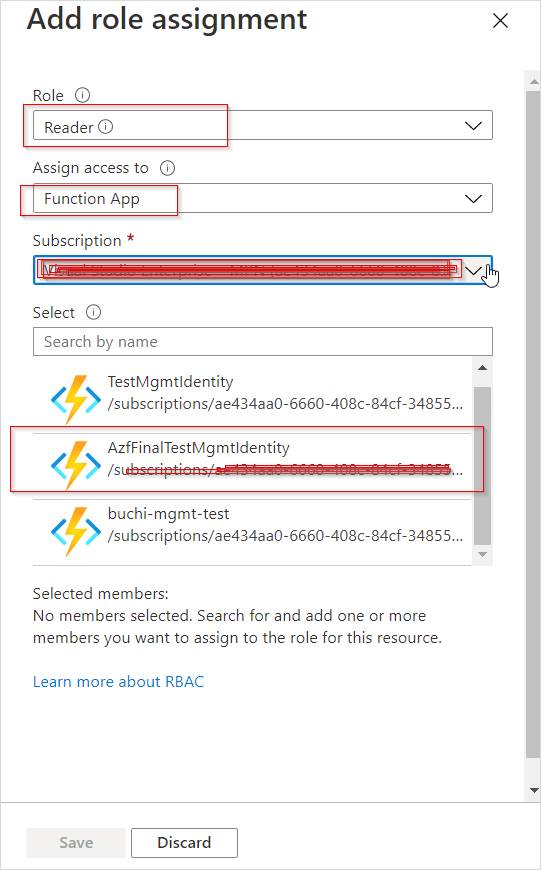
In the list I select:
- Reader role. I only want to allow my Function App to actually READ data.
- In the drop-down, I select Function App under the Managed Identities header, which then filters the list by Function App where Managed Identity is enabled.
- I will see the name of my Function App here, and can select it.
Done! We have now successfully configured Managed Identity for our App Configuration service, and the Function App that I just configured can, without credentials since it’s now running under its own identity, access configuration data from this App Configuration store.
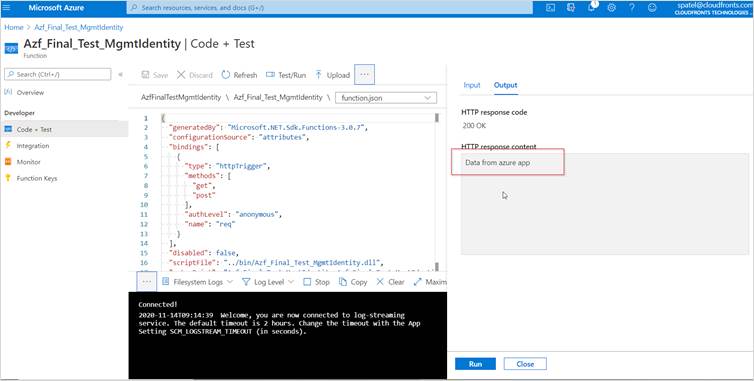
- Now, its time to test the function app, click on Code + Test from left navigation pane and click on Test/Run to check the output.
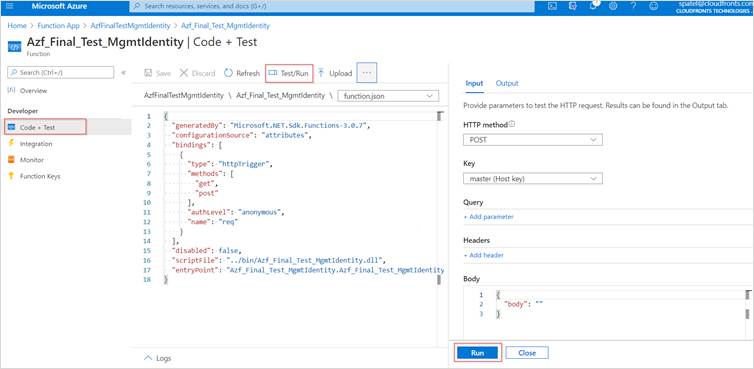
- The following image shows the response in the output window returned by the function.
Hope this will help.
