Deploying ASP.NET Web Applications to Azure Web Apps
Azure Web Apps is a service provided by Microsoft Azure to host .Net, Java, PHP, Node.js, Python applications. We can host Web, Mobile, API as well as Logic Apps using Azure Web App Service. In this article we will look at how we can deploy an ASP.NET application on the App Service.
Pre-requisites
- Active Azure Subscription
- Visual Studio 2013
A. Deploy ASP.Net Web applications by signing into Visual Studio
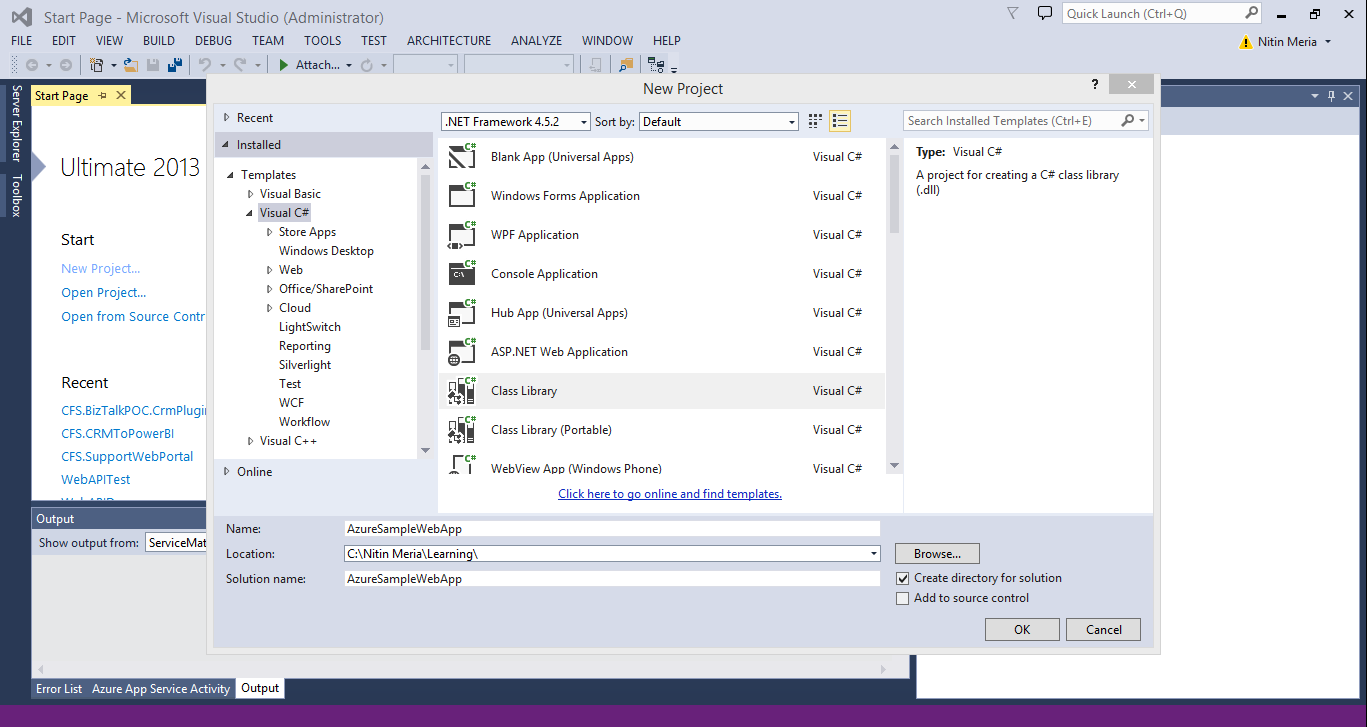
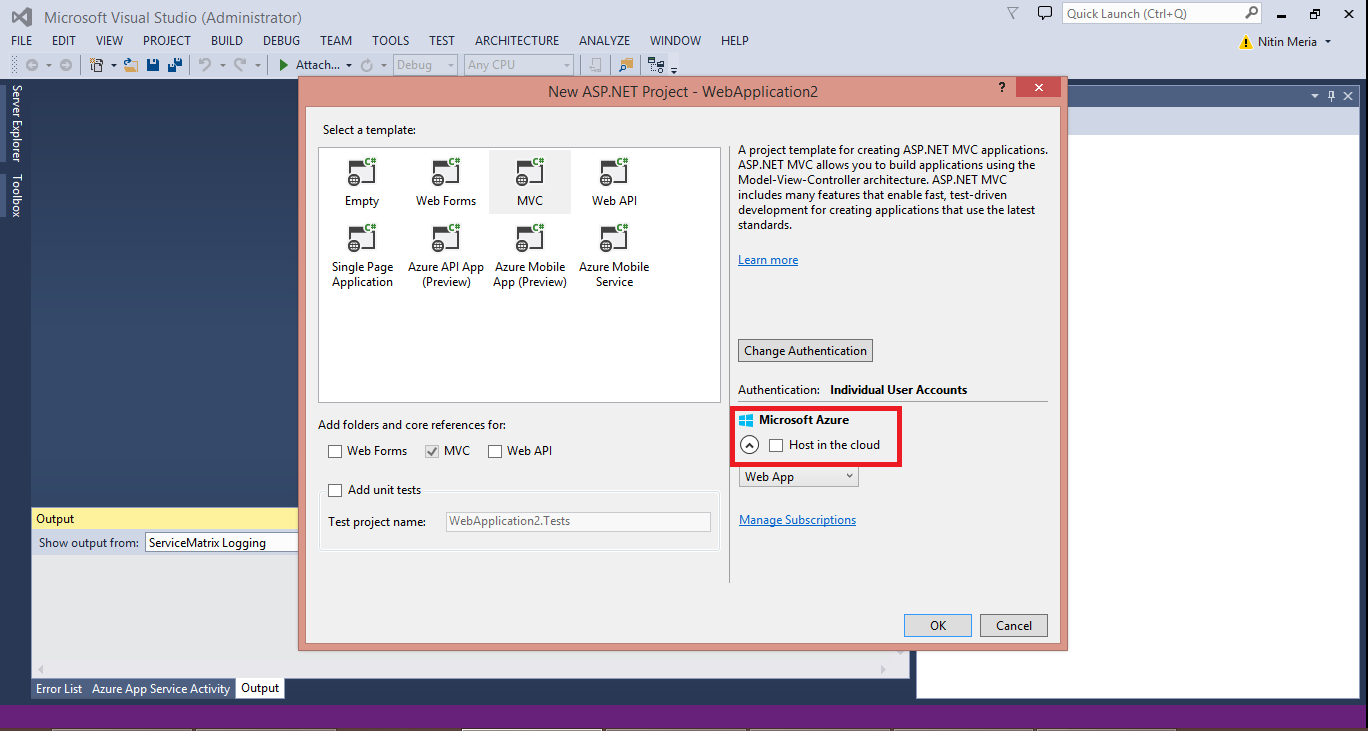
- Open Visual Studio and create a new ASP.Net Application.
- Check Host in the Cloud in the Select Template Menu and click on OK.
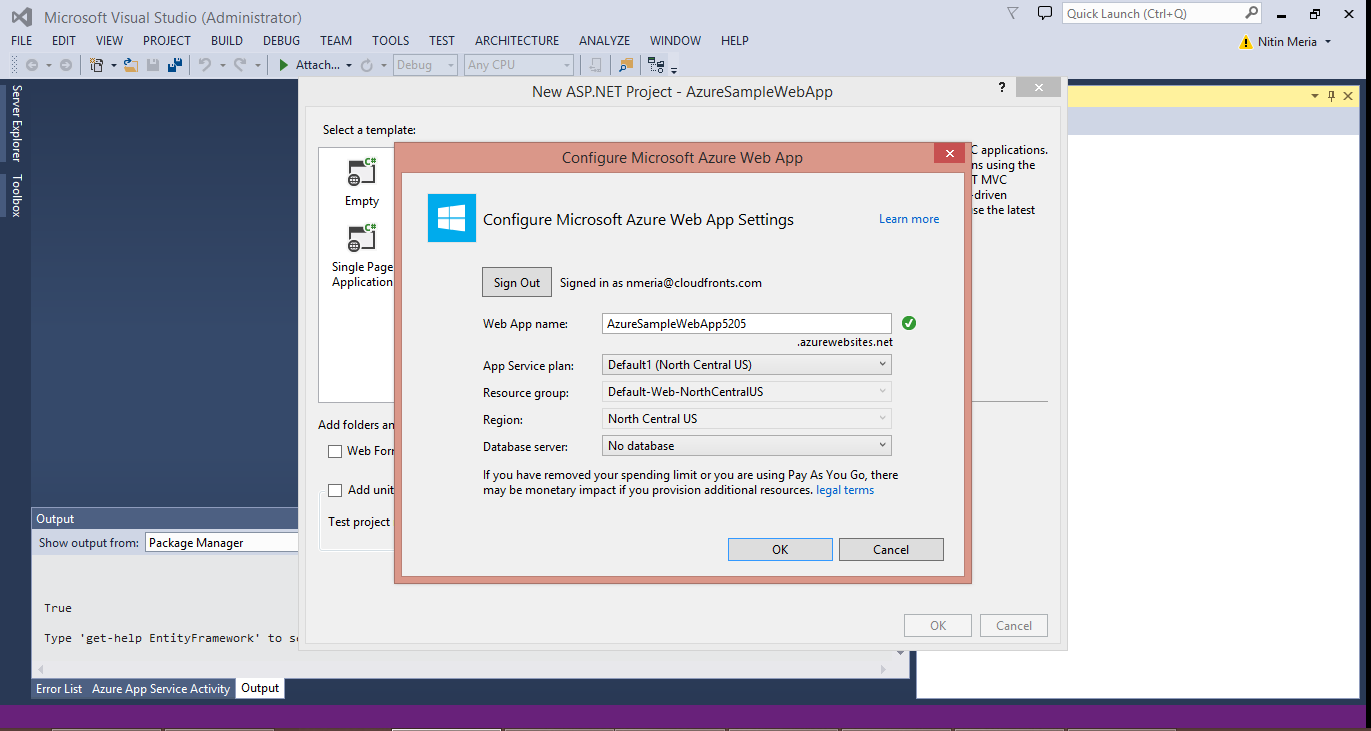
- Sign in to your Azure Account. Select the Service Plan for your application.
- After the application has been successfully created you can publish it to Azure using the Publish button.
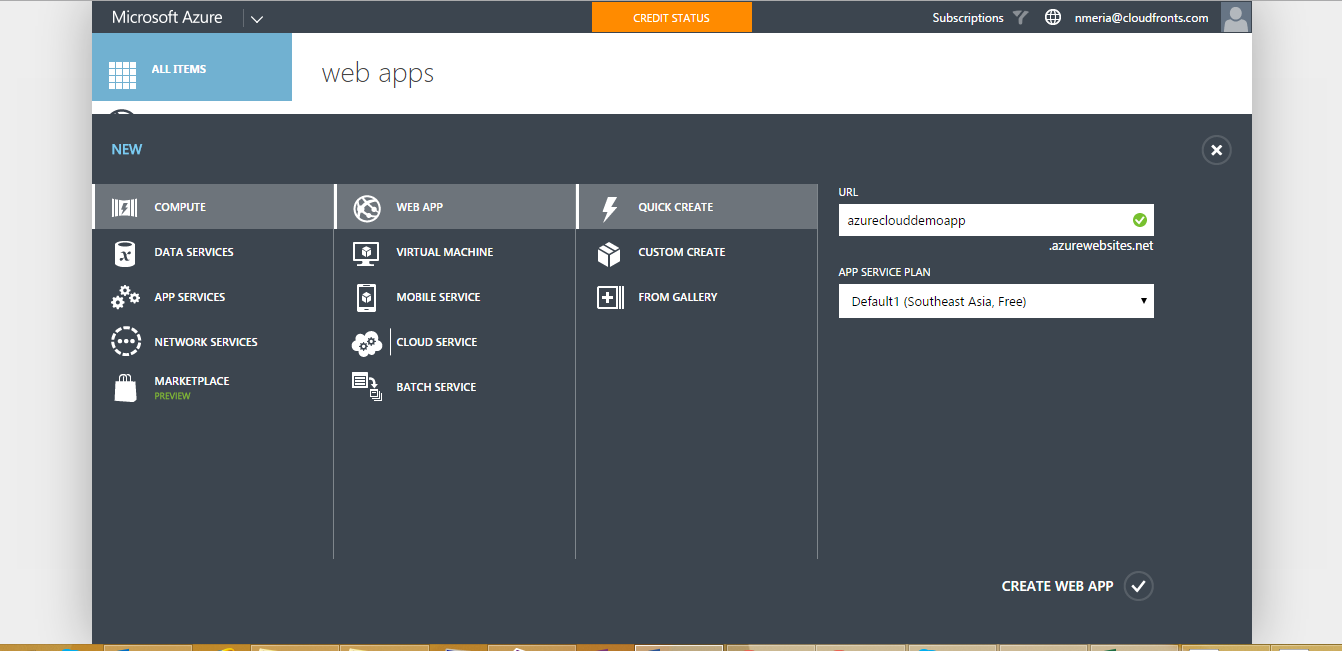
B. Deploy an already created ASP.Net Web Application on Azure
- Login to your Azure account and then select Web Apps->New->Quick Create.
- Enter a valid url for your web app and then click on Create Web App.
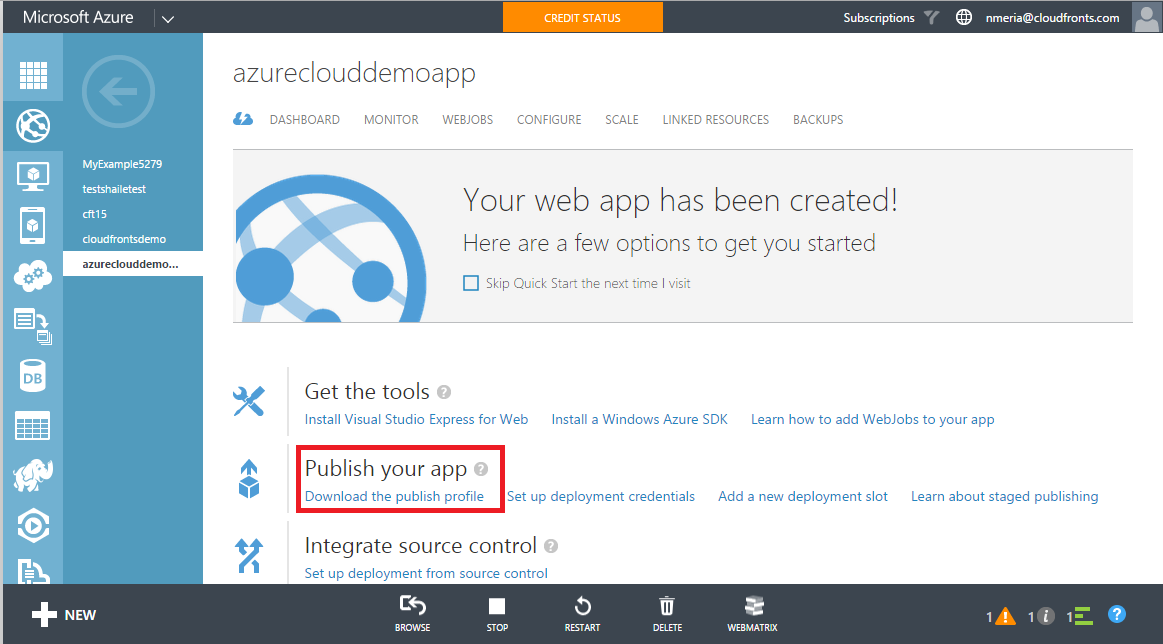
- Next click on your web app and then click on download publish profile.
- After downloading the Publishing profile go back to Visual Studio to import this profile and start the deployment.
- Inside Visual Studio right click on the project and click on publish.
- Click on import and then select the publishing profile file that we had downloaded and then click on Ok.
- Click on Publish and the deployment will begin.
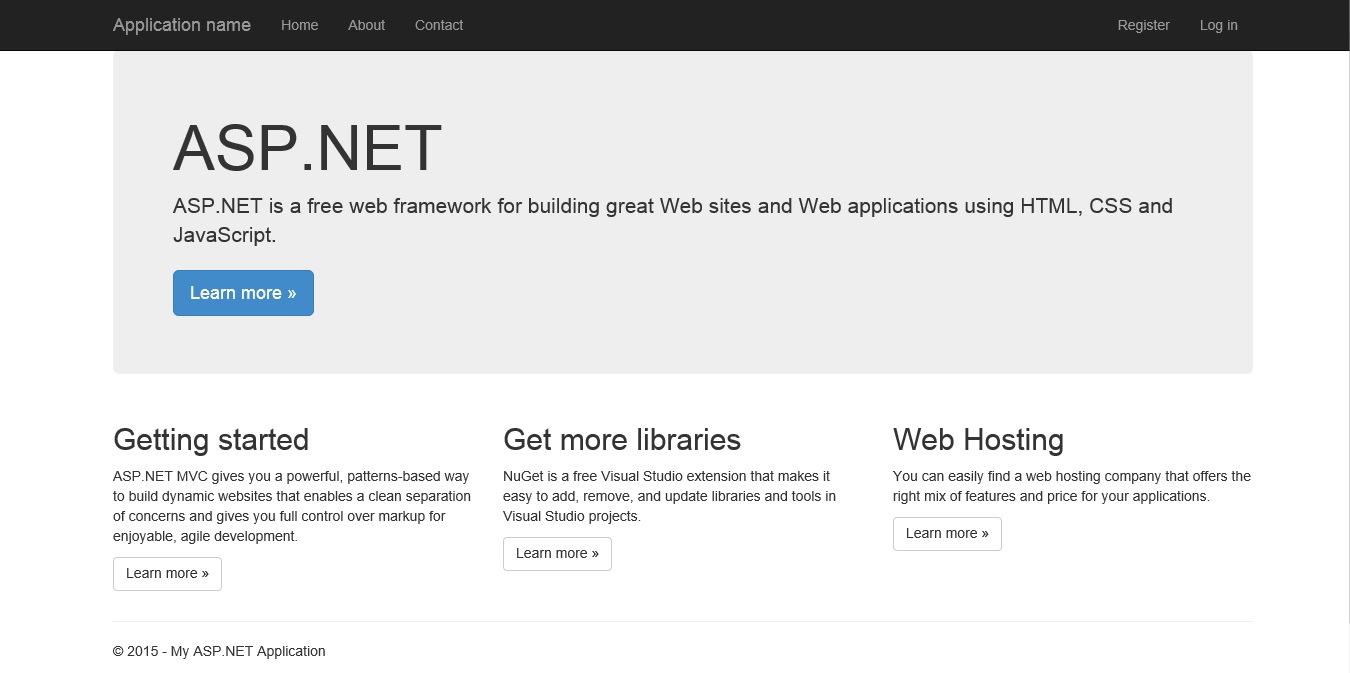
- If the deployment is successful you can browse you website from the app service using the url you had used to create the web app on Azure.