Creating an Application User for Dynamics 365 CRM in the Azure Portal and When to Use It
Introduction
In Dynamics 365 CRM, integrating with external systems, running automated processes, and developing custom applications often requires non-interactive access to CRM data. One of the most secure and efficient ways to achieve this is by creating an Application User via the Azure Portal.
In this blog, we’ll guide you through the step-by-step process of setting up an Application User and explain when and why you should use it in your CRM environment.
Steps to Create an Application User:
– Navigate to the Azure Portal and log in with your Azure account.
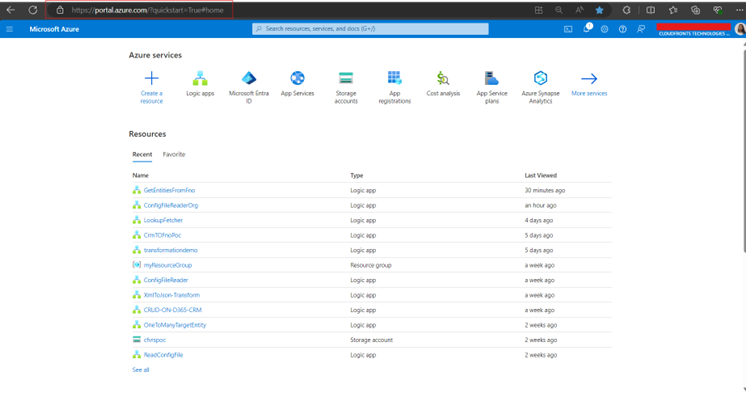
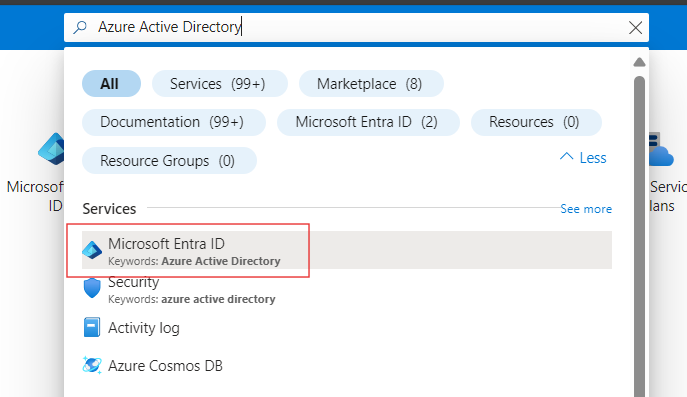
– Search for Azure Active Directory or select from the left-hand menu.
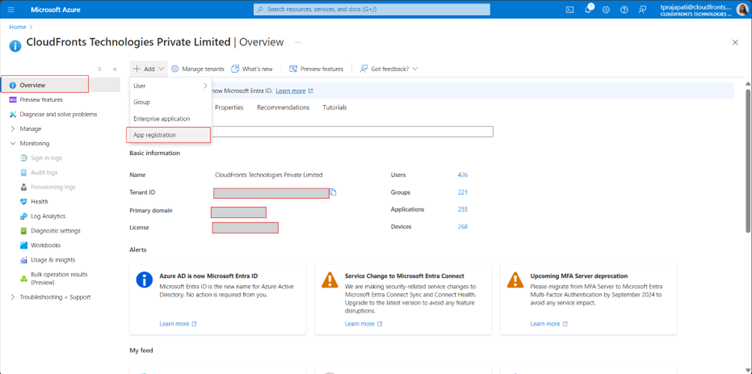
– Click on “App registrations” in the Azure Active Directory blade and click on “New registration”.
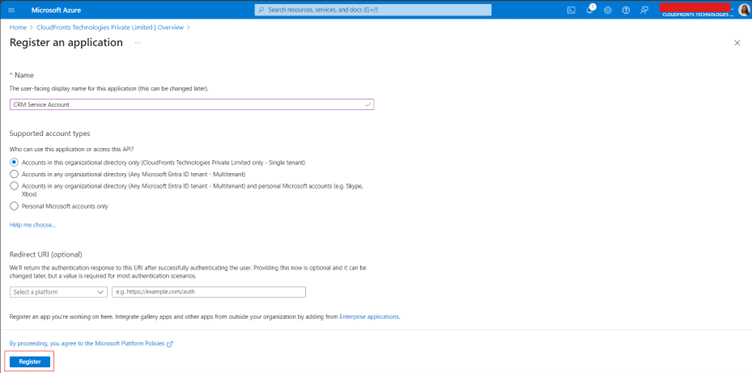
– Enter the following details:
- Name: Provide a name for the application (e.g., “Dynamics 365 CRM App User”).
- Supported account types: Select “Accounts in this organizational directory only”.
- Redirect URI: Leave this blank for now (you can set this later if needed).

– Click “Register”.
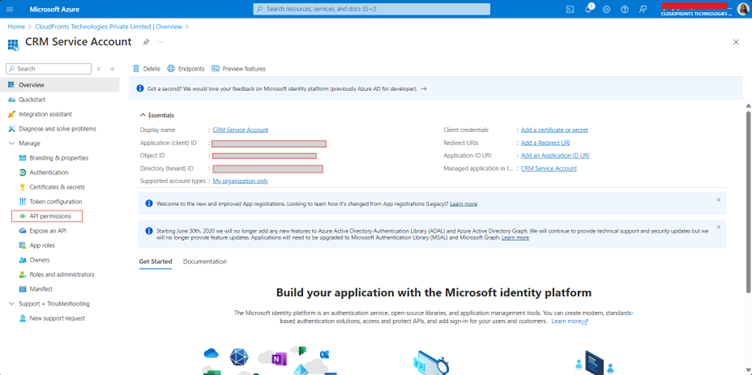
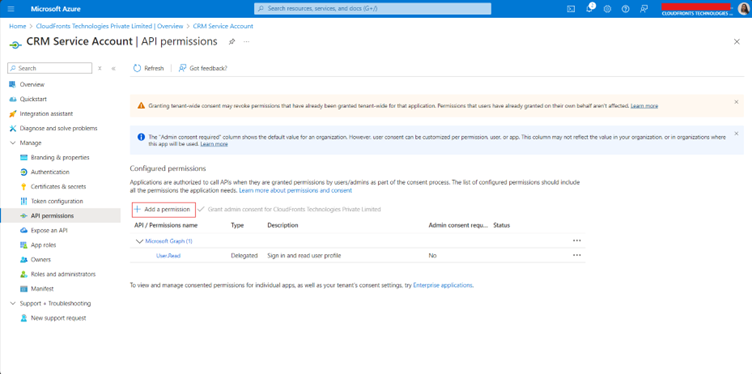
– Select the newly created application from the App registrations list and click on “API permissions” in the left-hand menu.
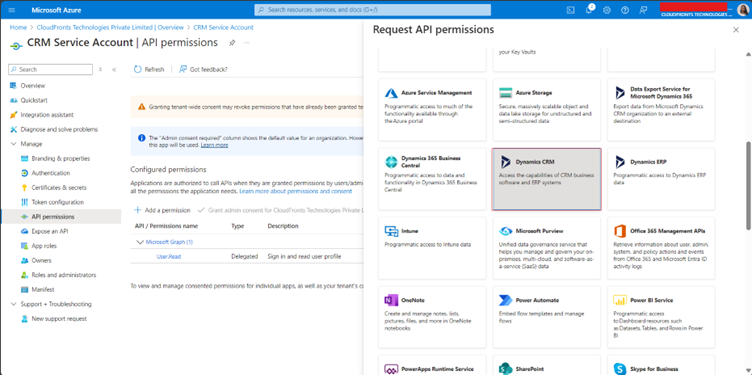
– Click on “Add a permission”.
– Select “Dynamics CRM”.
– Select “Delegated permissions” and check the necessary permissions such as user_impersonation.

– Click “Add permissions”.

– Click on “Grant admin consent for [your organization]” and confirm.
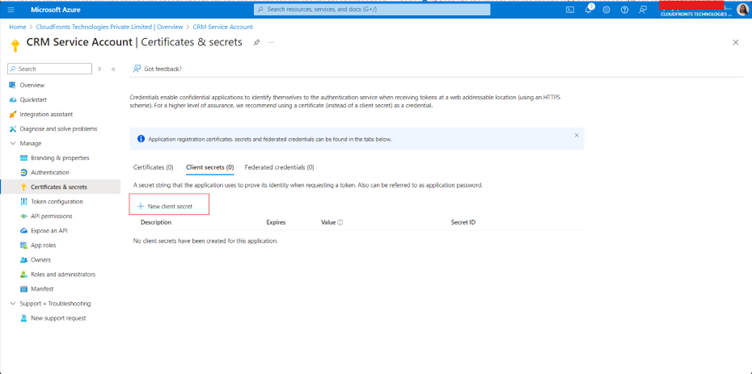
– Go to “Certificates & secrets” in the application settings.
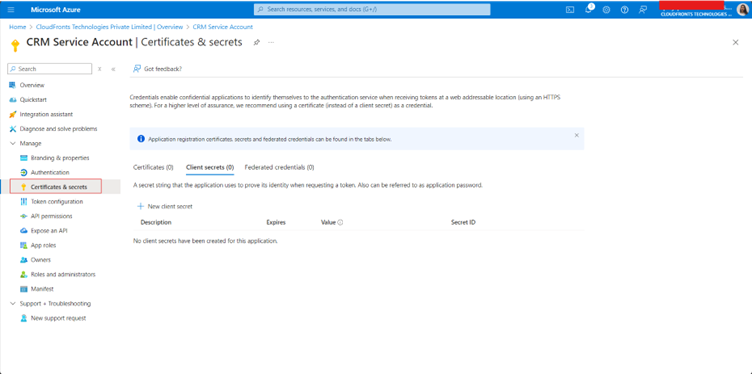
– Click on “New client secret”.
– Add a description (e.g., “CRM App Secret”) and set an expiry period.
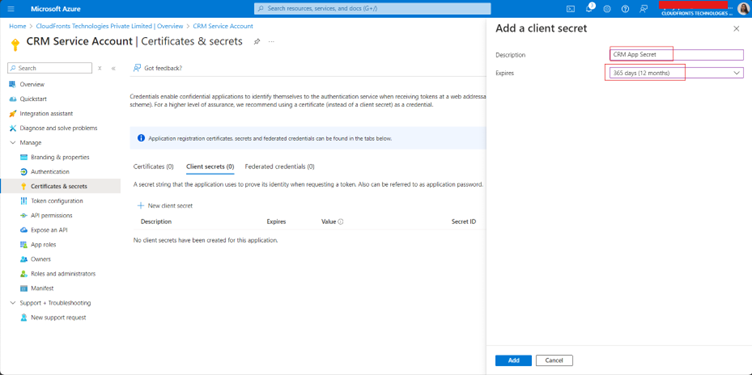
– Click “Add”.

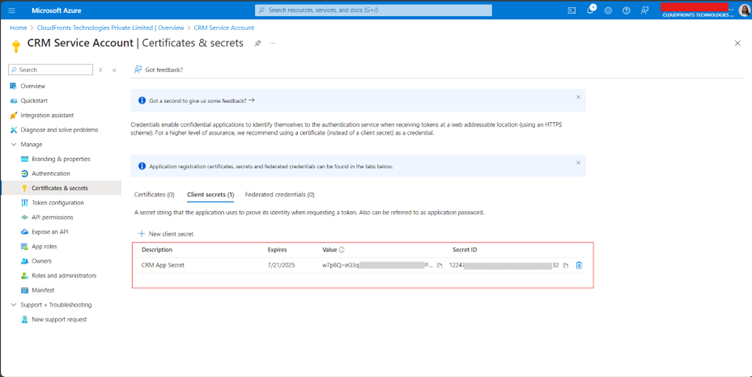
– Copy the value of the client secret and store it securely. You will need it later.
– Add Application User in Dynamics 365 CRM
– Log on to the Microsoft Power Platform Admin (D365 Admin) centre as a system administrator.

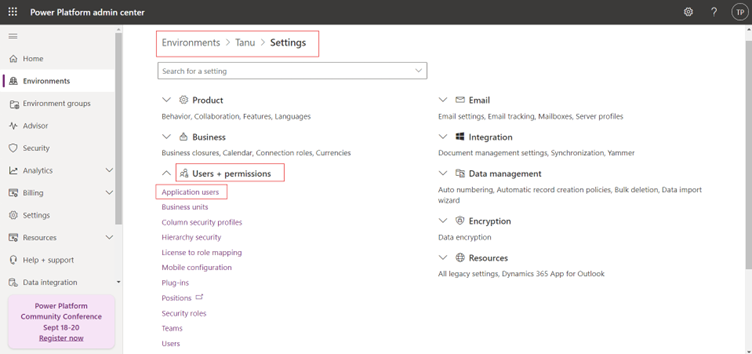
– In the navigation pane, go to Environments, and then select an environment form the list.
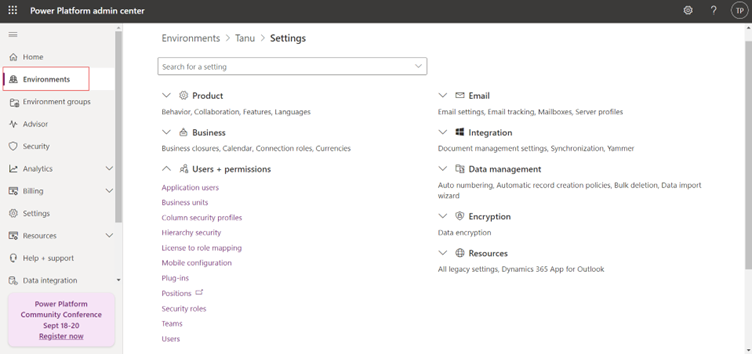
– On the Settings tab, go to Users + permissions, and then select Application users.
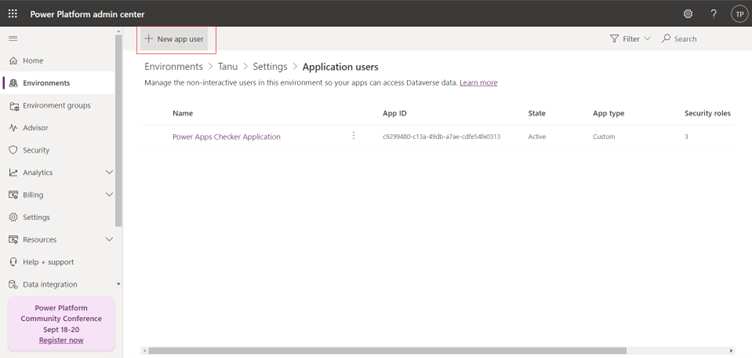
– The application users page appears.
– Click + New app user.
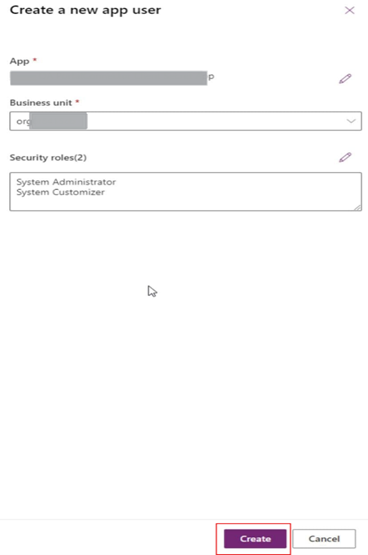
– After clicking on + New app user. A side menu slider will appear. Here you will have to:
- Add the App you just created from Microsoft Entra
- Select the Business unit which points to your CRM
- Edit the Security roles and add System Administrator and System Customizer roles before finally clicking Create.
When to Use an Application User
- Application users are ideal for scenarios where non-interactive access to Dynamics 365 CRM is needed. Some common use cases include:
- Integration with External Systems: When integrating Dynamics 365 CRM with other systems (e.g., ERP, third-party applications), application users provide a secure and controlled way to access CRM data.
- Automated Processes: For automated tasks such as data synchronization, batch processing, or scheduled workflows, application users ensure these processes can run without human intervention.
- Custom Applications: When developing custom applications that interact with Dynamics 365 CRM, using an application user allows the app to authenticate and access CRM data securely.
Conclusion
Creating an application user in Dynamics 365 CRM via the Azure Portal is a straightforward process that enhances the integration capabilities and automation potential of your CRM environment. By following the steps outlined above, you can set up an application user and leverage it for various integration and automation scenarios.
We hope you found this article useful, and if you would like to discuss anything, you can reach out to us at transform@cloudfronts.com
