Creation of a new Role Center and assigning it to a user as a profile in Microsoft Dynamics Nav 2017
Introduction:
This article focuses on how to create a Role center page and assign the role to a user as a user profile.
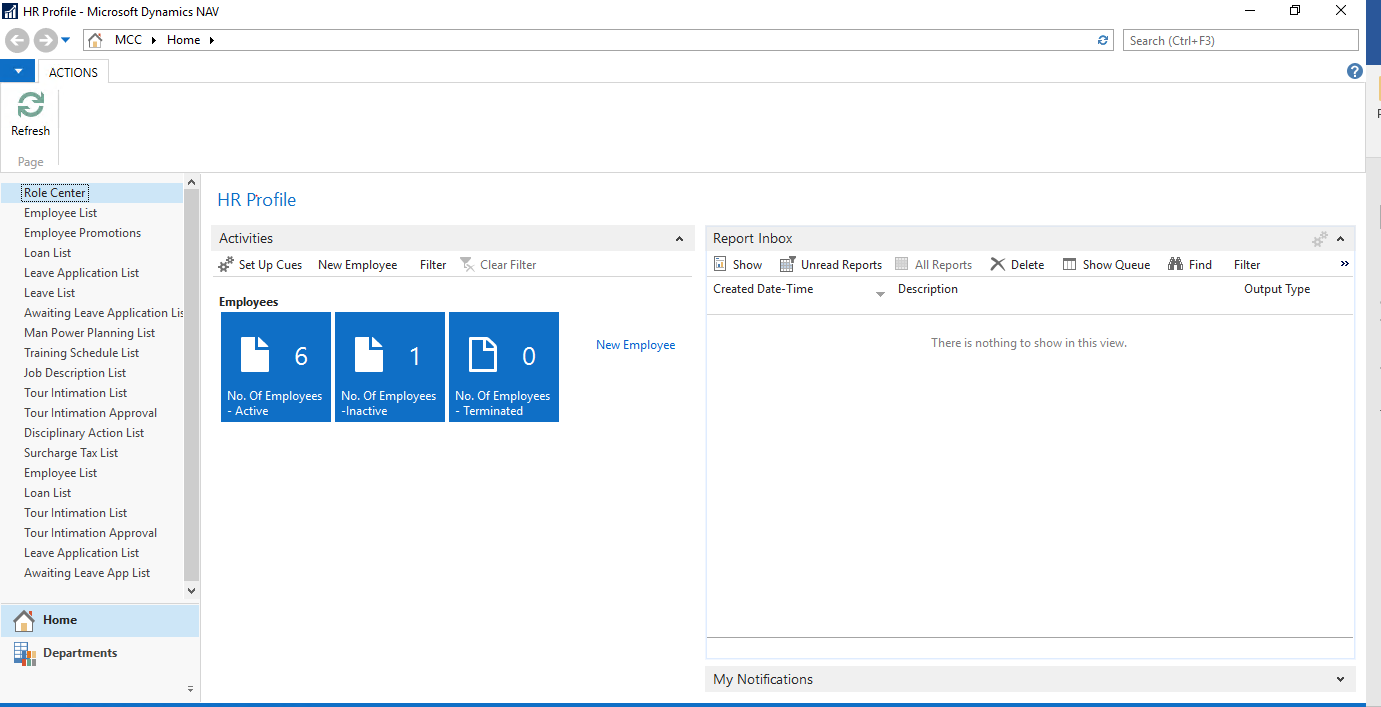
The requirement was such that the user needs a Role center for the HR where the HR can view the Active, Inactive and Terminated employees and can also view the List of employees, Leave application list etc.
Pre-requisites:
Microsoft Dynamics NAV 2017
Steps:
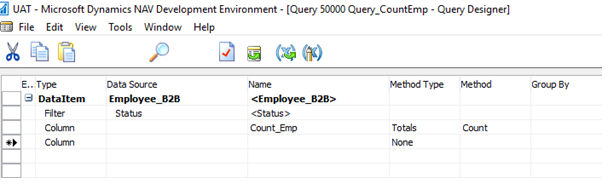
1. Create a query with Data Source as Employee Table, create a filter field Status, here status is a option field which has three options -Active, Inative and Terminated.Create a column field and set Method type as Totals and Method as Count.
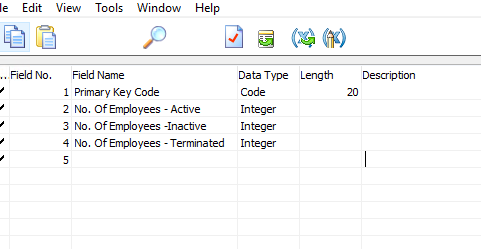
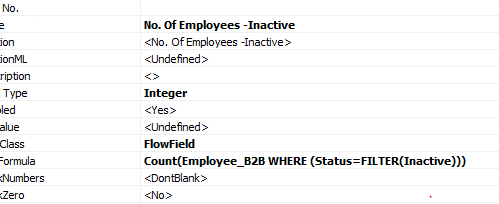
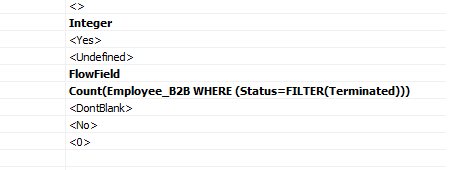
2. Create a table with name e.g. HR Cue table. Here set the fields FieldClass to Flowfield and CalcFormula to Count.

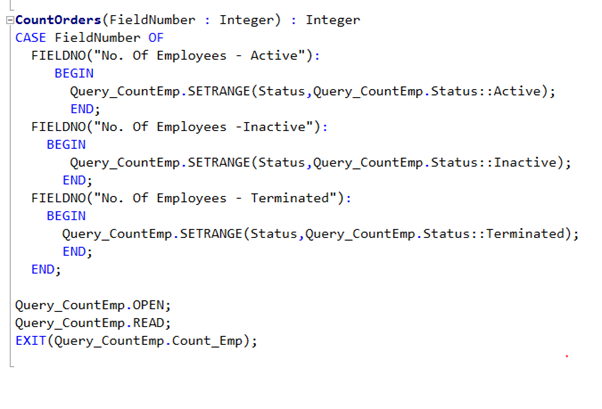
3. Create a global function CountOrders and define the query in the variables.
Here in the function, depending on the field number selected, it calls the query and sets the status to it.
 4. To display Cues on the Role centre, we need to create a Page with Group subtype as CueGroup.
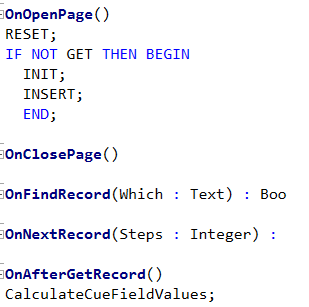
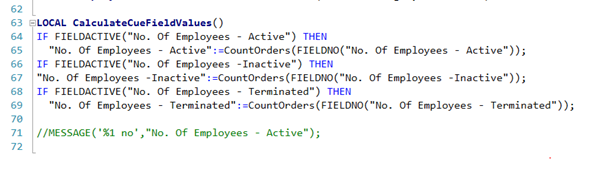
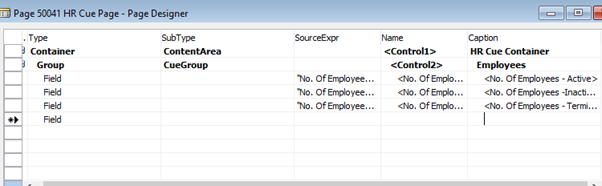 5. Use CueSetup codeunit for setting up cues and create an action Setup Cues. Create a local function CalculateCueFieldValues which checks if the field is active then it calls the global function CountOrders of HR Cue Page.
 6. Create a Control Action as New Employee and set RunPageMode to Create and Run Object to Page Employee card.
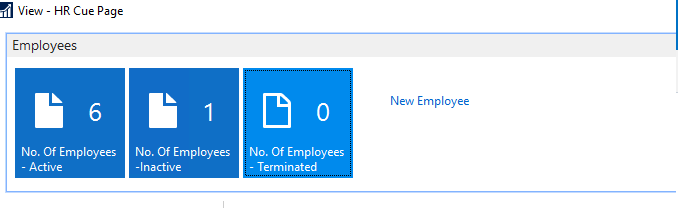
On running the cue Page
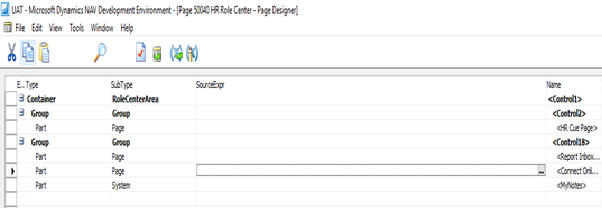
 7. Create a new page for the Role Center with container subtype RoleCenterArea.
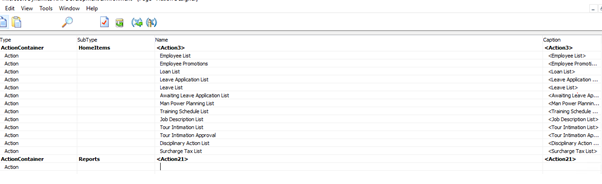
 8. In Action Container subtype create HomeItems and add Action List.
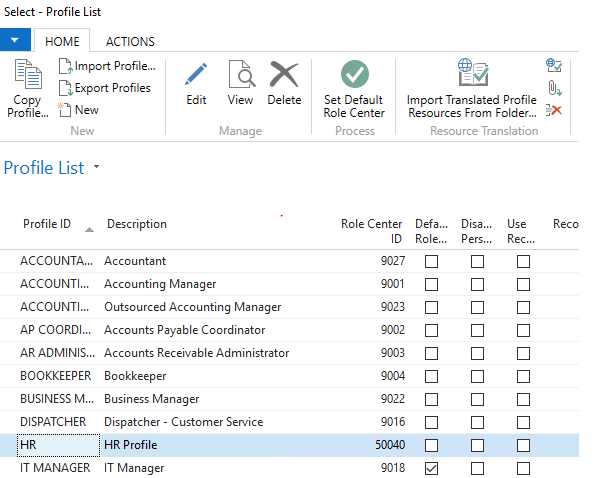
9. In the Windows client, create a new Profile HR
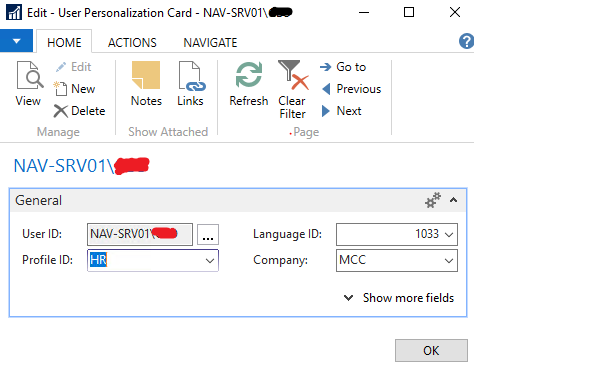
 10. Browse to the User personalization in the search bar in windows client , select the user HR and assign the HR Profile to it.
11. Log in to the Windows client/Web client.