Setups required to perform Automated Clearing House (ACH) payments to Vendor Bank Accounts in Microsoft Dynamics NAV
One of the most dynamic and popular ERP systems among mid-sized organisations is microsoft dynamics nav integration. This is popular for its easy installation and super easy and understandable interface which literally anybody could learn within no time. It is the most needed system for the retailers where it controls your financials, supply chain, business intelligence and much more.
As retailers grow though. the need for integrating their NAV ERP becomes evident. Your ERP isn’t the only system needed to run your operations. Retailers must share the same data between their POS, eCommerce, marketplace, 3PLs, and other important systems.
Integrating Microsoft NAV with other retail systems is no small task. To get you started, we put together this beginner’s guide so you can learn all the basics when considering integration.
Introduction:
Automated Clearing House (ACH) payments to vendors can be done through Microsoft Dynamics NAV. To do ACH payments, setup is required to be performed basically in four areas: Company information, Bank Account card, Vendor card and Vendor bank account.
Pre-requisite:
Microsoft Dynamics NAV 2017 (North America NA version)
Purpose:
In this blog, I will be covering the setups required to perform ACH payments to vendor bank accounts in NAV.
Procedure:
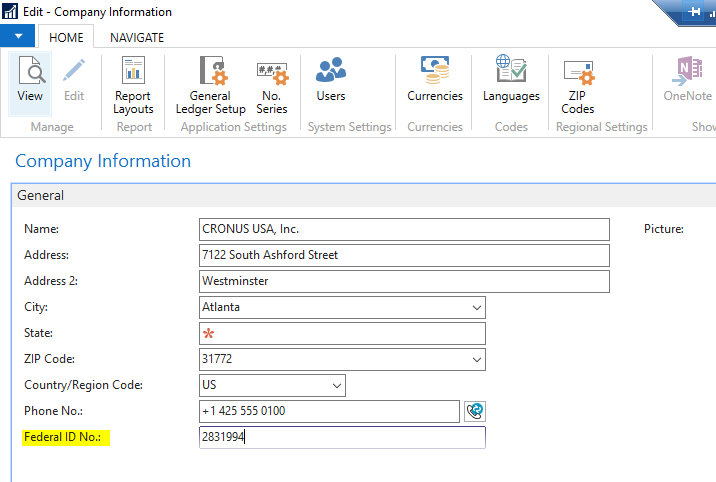
Step 1:
Navigate to Company information card and enter Federal ID No.
Step 2:
Navigate to Bank Accounts and select the bank from which payment will be done to the vendor.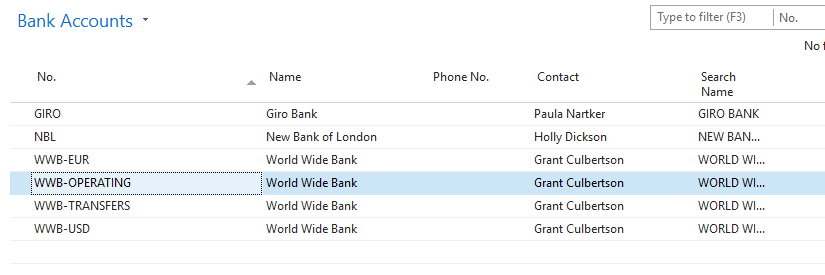
Enter following fields in the bank account card
1. Bank Branch Number
2. Bank Account Number
3. Last Remittance Advice No.
4. Export format: Select from given three options i.e. US, CA (Canada), MX (Mexico)
5. E-pay Export File Path: Enter the path where you want the export file to be saved which will be transmitted to the bank. End the file path name with ‘\’
6. Last E-Pay Export File Name: Enter a name of the file with numeric value as the last digit to the right and the extension. The first file name which will be saved will be incremented by 1.
7. E-Pay Trans. Program Path: Enter the path of the transmit folder. When user selects transmit in payment journal, NAV moves the file formed in Export folder to Transmit folder. End the file path name with ‘\’
8. Transit No.: Enter the Transit number of the bank which is the bank’s routing number.

![]()
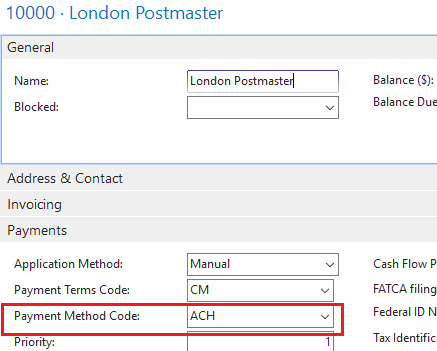
Step 3:
Navigate to the Vendor card and perform the following steps.
I have created a new payment method code i.e ‘ACH’ so that it is easy to differentiate vendors that use ACH as their method of payment from vendors that accept checks.
Select ‘ACH’ as the payment method code.
Now, navigate to the Vendor’s bank account.
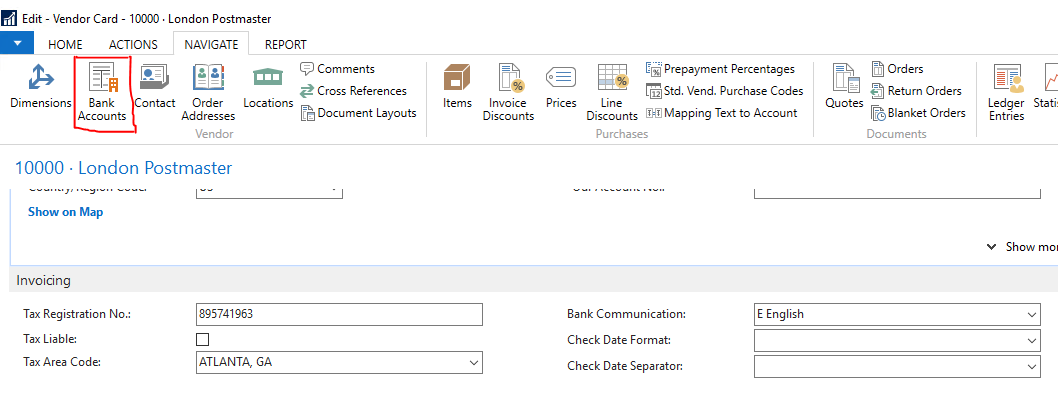
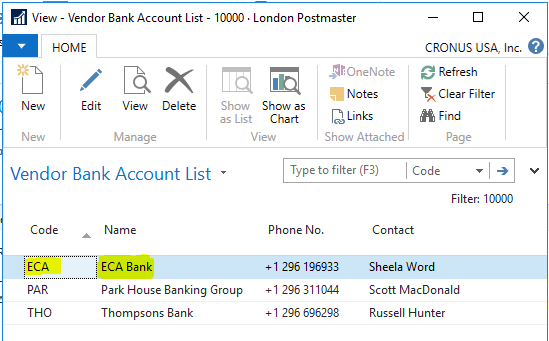
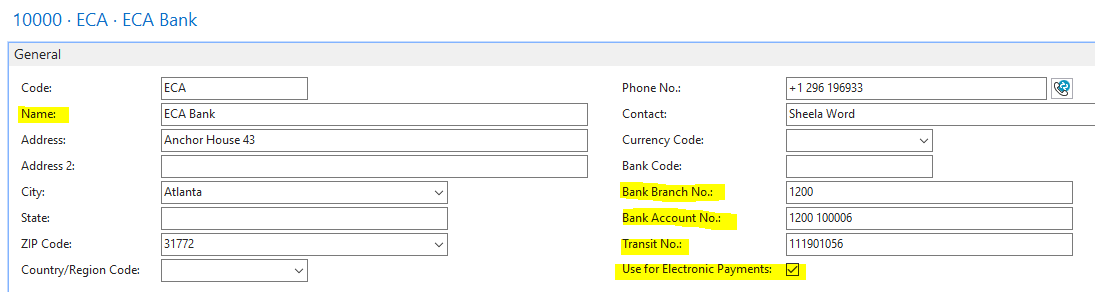
Enter following fields in vendor’s bank account.
1. Vendor’s bank branch no.
2. Vendor’s bank account no.
3. Vendor’s bank transit no.
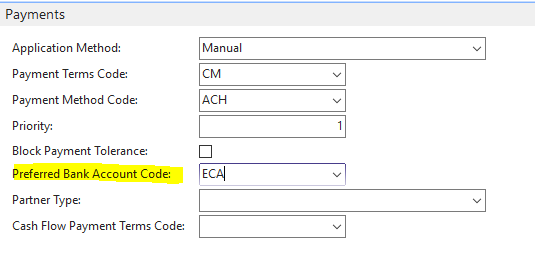
Select the ‘Use for Electronic Payments’ checkbox to enable ACH payments for this vendor.
After filling in these fields, select the preferred bank account code in the vendor card.
The above mentioned steps are the setups required to perform ACH payments to vendors in NAV. I will be covering the procedure required to export and transmit the payment file which is generated while doing ACH payment to vendors in my next blog.
