Data Export Service in Dynamics 365 – Part 1
Overview:
Welcome to this 2-part blog series on Data Export Service in Dynamics 365. This is an Add-on service made available as a Microsoft Dynamics 365 Online solution that adds ability to replicate D365 Online data to Azure SQL datastore in a customer based Azure subscription.
Supported Target Destinations –
- Microsoft Azure SQL Database
- Microsoft Azure SQL Server on MS Azure Virtual Machine
Data export initially synchronizes schema and data and thereafter, delta changes as they occur.
Prerequisites:
- Your Dynamics 365 Online instance must be December 2016 update or higher
- Entities should be enabled for Change Tracking.
- Code is run in the context of a user with Sys Admin role.
- You’ll need to link your Office 365 to the Azure Subscription i.e. add the Office 365 tenant in the Active Directories of the Azure Subscription
- Azure SQL Database and user with correct permissions to be setup
- Install Data Export Service from the App Source from within your Dynamics 365
Dynamics 365:
You can get this in the App Source of the Dynamics 365 and add it to your organization.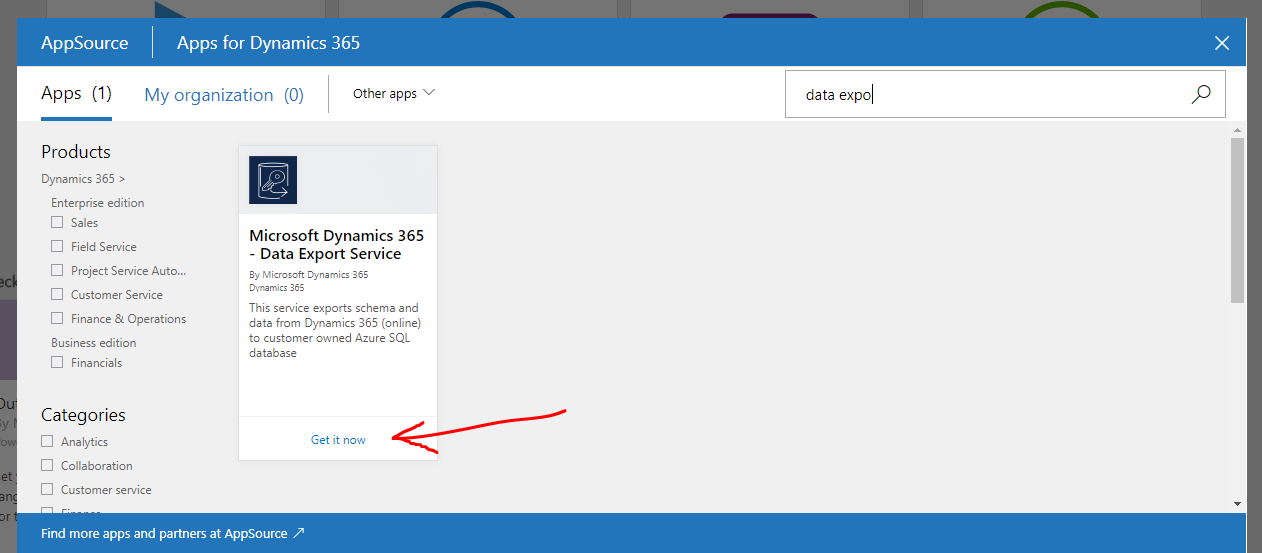
- On selecting the same, proceed with the Wizard by accepting terms and conditions
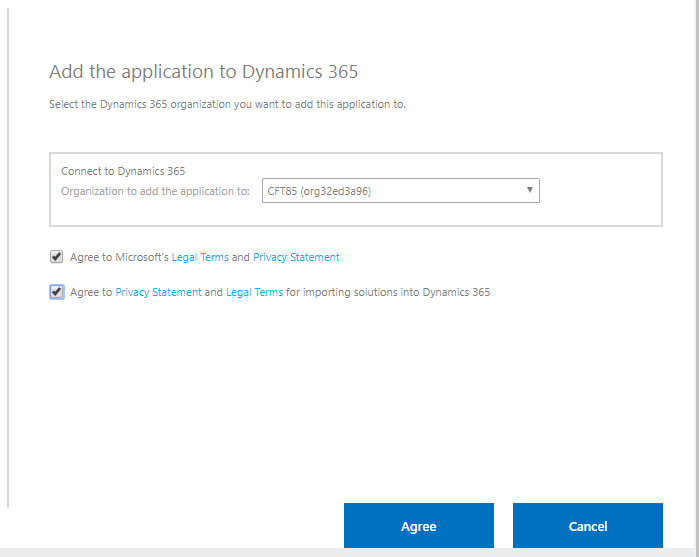
- And it will setup in the background
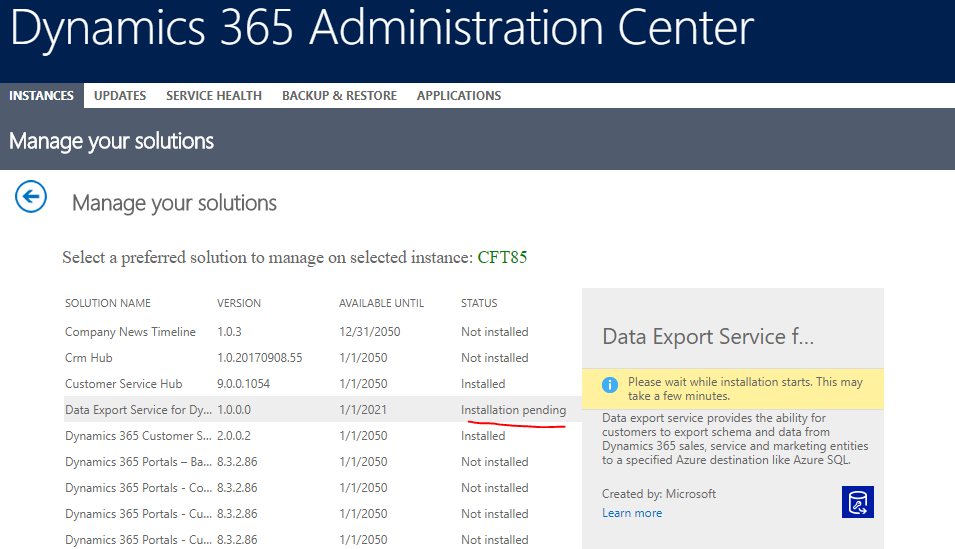
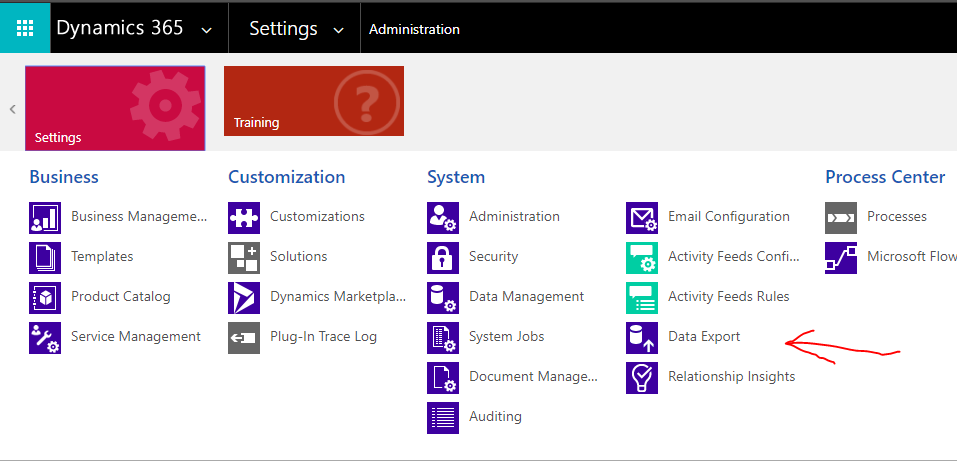
- Once completed, it will appear in the Settings area in Dynamics 365. Settings > Data Export
4. One successfully authenticating with Azure, you’ll see this disclaimer to which you have to click OK to proceed.
Setup Azure SQL Database:
To be able to run the test successfully, you’ll need to setup SQL Database on your Azure Customer Subscription.
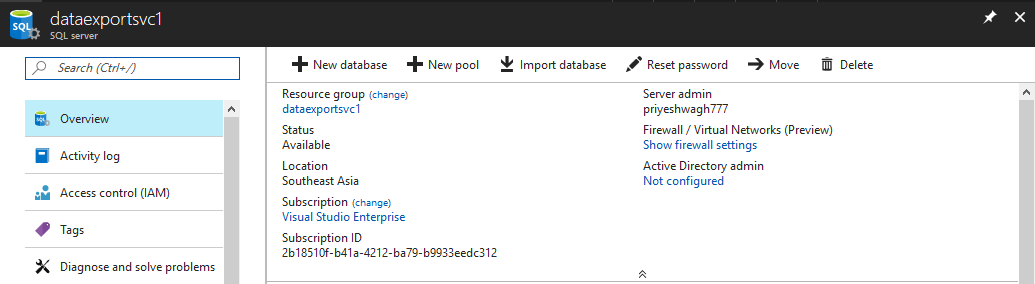
1. I have the following SQL Server created in my Azure account.
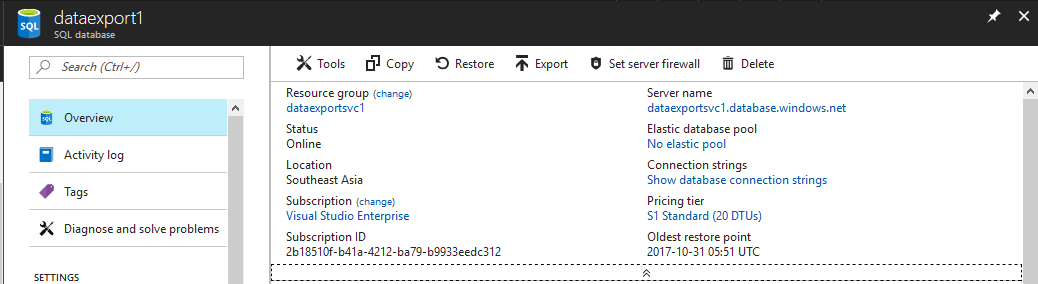
2. And the following database created under it.
To be able to do #3 below, you must do the following:
- The subscription must support the volume of data being replicated from your Dynamics 365 instance.
- Configure an Azure SQL Database server-level firewall rule using Azure Portal.
- Recommended to Allow access to azure services to be enabled.
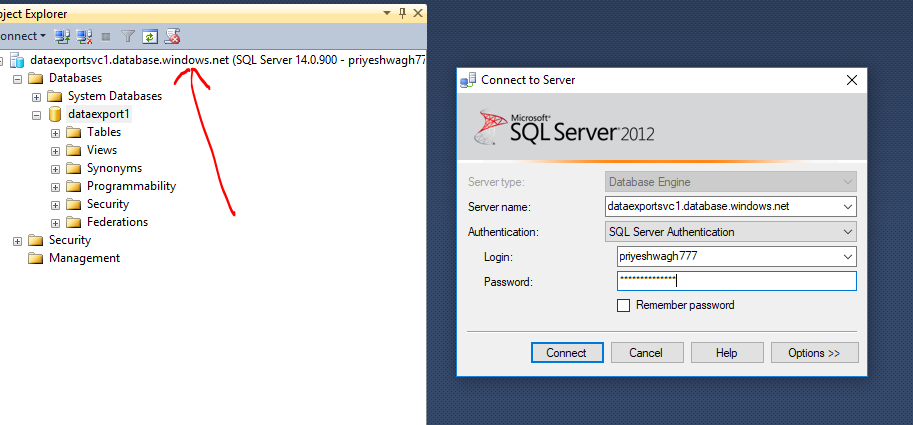
3. And finally, connect my SQL to the database hosted on my Azure.
Create Access Permissions for Users in SQL
- Open the Master Database and create a user for the user ‘dataexport1’ for the database. This user is then used in the Dynamics 365 Data Export Service to connect to the database

- Once done, use the below script to create the user in the created Azure SQL database
 We gave db_owner access to the user to provide full permissions.
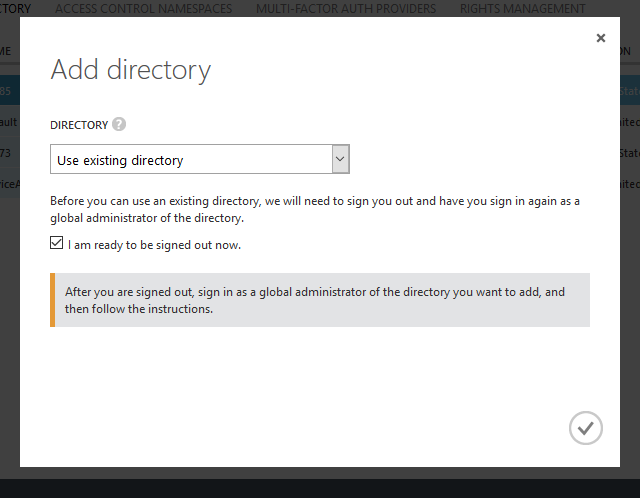
Link your Office 365 tenant to your Azure AD (if required)
If your Office365 and Azure accounts are different, you can add the Office 365 in your Azure by doing the following:
- Navigate to Azure portal and then select Active Directory
- Then, click on + New from the bottom and chose Use existing directory as option and proceed.
- You’ll be logged out and asked to login again using the Office 365 credentials you want to add.
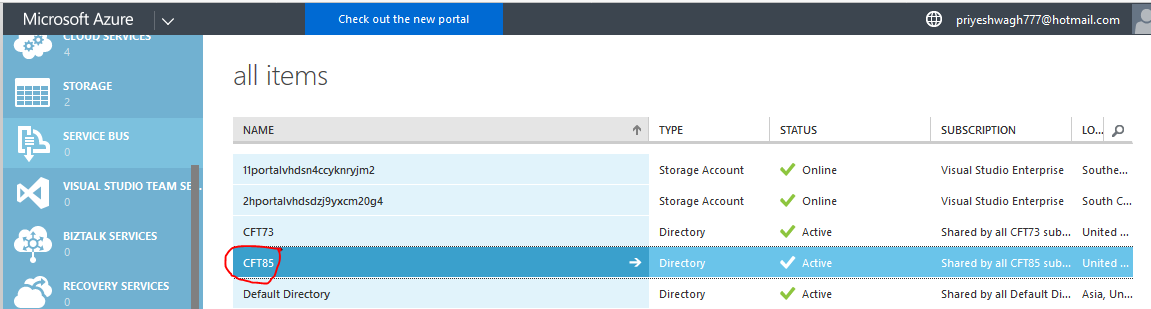
- Once signed in, the Office 365 tenant will be linked to your Azure Subscription and seen as below in the Active Directory area
 Now, what we’ve accomplished so far is –
- Adding Data Export Service to your D365 instance
- Setting up Azure SQL and connecting the same from your SQL
- Adding your O365 tenant to the Azure Subscription (option)
In the next part, we will see –
- Creating Key Vault in Azure to store the connection strings to the Azure SQL
- Creating a Data Export Profile
- Testing out the functionality.
- Key benefits of using Data Export Service.
Part 2 of this blog series will be out early next week.