Customizing the Booking card information on Scheduled Board – D365 PSA/Field Service
In order to help your organization manage complex service management track assets and inventory, identify and dispatch resources, and manage service order Microsoft has given D365 field service which is an end to end solution that turns out to be an integral part of your day to day business. It provides customers with proactive updates and self service portals that helps is tracking of technicians hence giving customers a smooth and positive experience at every step. Detecting troubleshooting and resolving issues has been made possible through Dynamic 365 field service due to which a technician is dispatched only when it is necessary. A real time guidance is provided in order to build customer trust and improve resolution time which empowers technicians with a 360 degree view of the customers.
Introduction:
Sometimes, stock Schedule Board doesn’t quite do justice by default to your bookings and how Dispatchers see this information today.
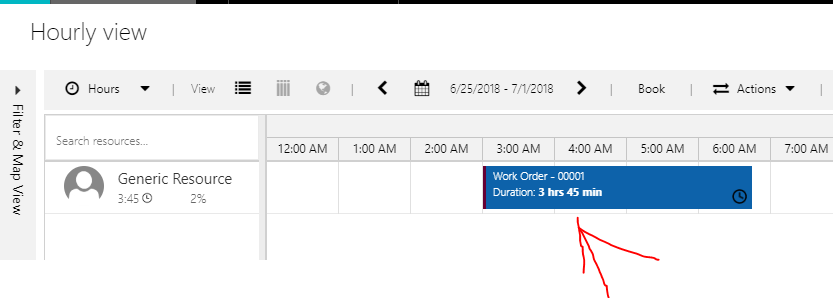
Out-of-the-box information on a Bookable Resource Booking looks like this –
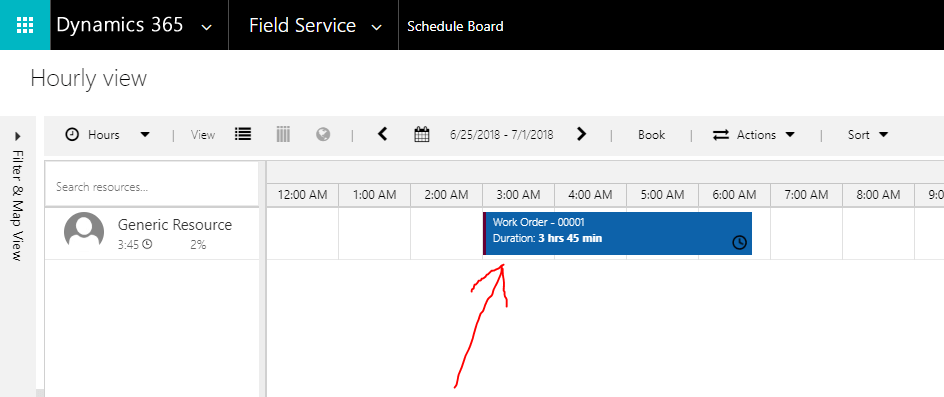
What if you want to modify this information and show what’s relevant to Dispatchers?
Modifying the Schedule Board:
You can modify the details of what you need to see on the booking by modifying/configuring some details as shown below:
- First, this is how the default Booking Template looks like –
- Double-click on the board you want to make changes to (Or, navigate to Tab Settings).
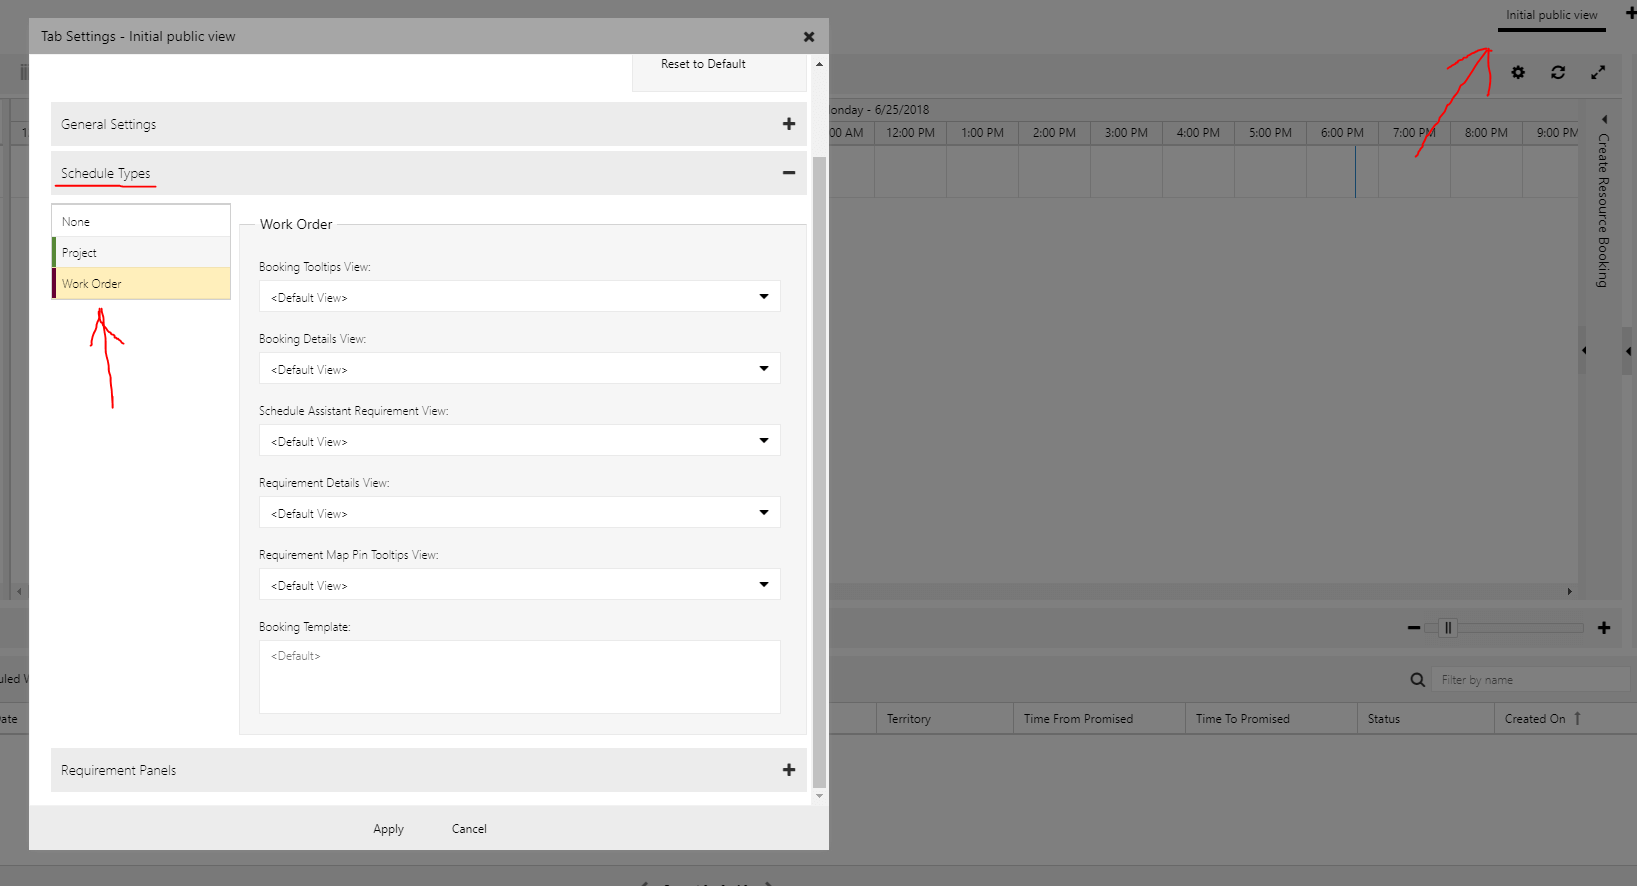
- As in picture 1 above, double-click on Initial Public View to open the Tab Settings area, then look for Schedule Types section and look for Work Order / Project entity (depending on which entity’s Bookings you want to effect.)
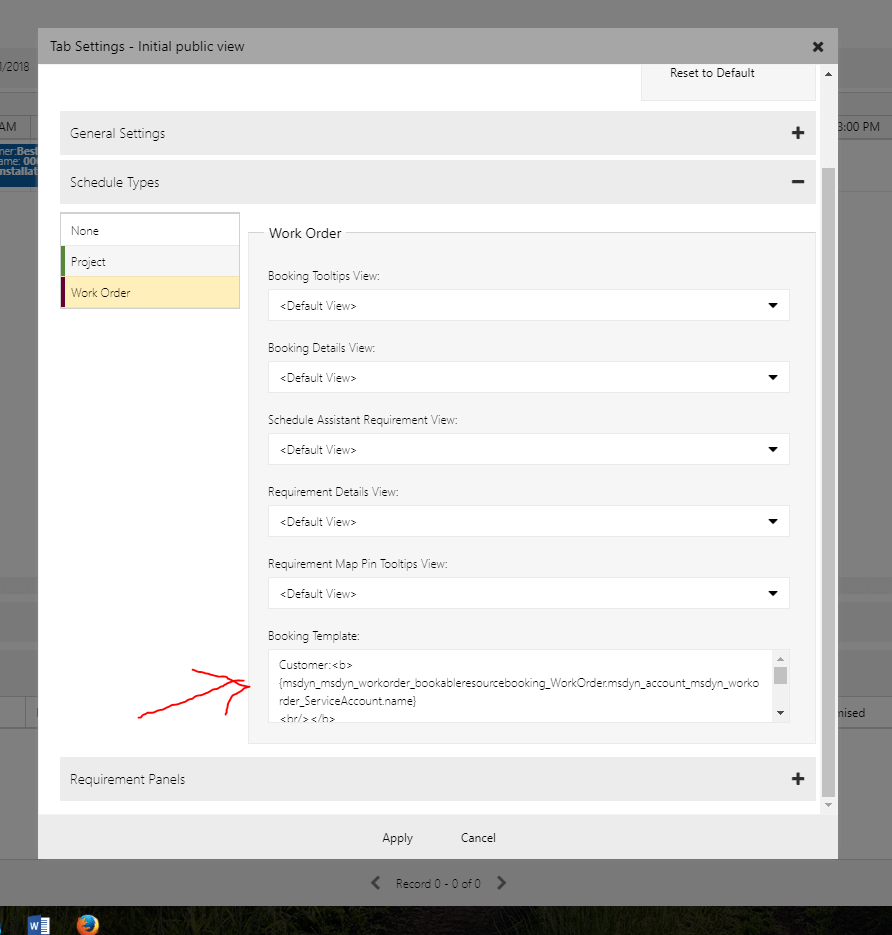
- In the Booking Template section, write this sample code which will show different information other than what comes out-of-the-box.
 Sample Code:
Customer:{msdyn_msdyn_workorder_bookableresourcebooking_WorkOrder.msdyn_account_msdyn_workorder_ServiceAccount.name}WO Name: {msdyn_msdyn_workorder_bookableresourcebooking_WorkOrder.msdyn_name}
Type: {msdyn_msdyn_workorder_bookableresourcebooking_WorkOrder.msdyn_workordertype}5. Once finished, click Apply. The Schedule Board will refresh and you’ll see the updated information as shown below:
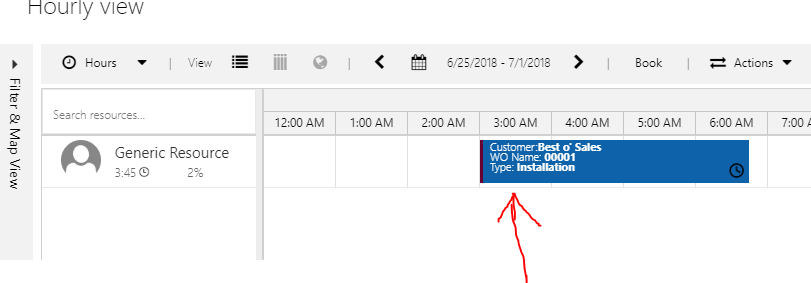
And very simple, you’ve modified the Booking Template without much hassle or complex coding.
