Installation Procedure of LinkedIn Sales Navigator on MS D365 CRM Online
Introduction:
In this blog, we shall see how a user can install the ‘LinkedIn Sales Navigator’ on their MS D365 CRM online environment.
Pre-Requisites:
- D365 CRM Online Environment
- MSDynamics 2016 and 365 Widget Rar File.
Procedure:
The following are the steps to Install the LinkedIn widget to Microsoft CRM D365
Step1: The user will have to download the zip folder from the following LinkedIn website link. Do not unzip the folder as we need to import the solution as it is to the D365 CRM Environment.
For downloading the zip folder use the following link and save the zip folder to a particular folder.
https://www.linkedin.com/help/sales-navigator/answer/78963
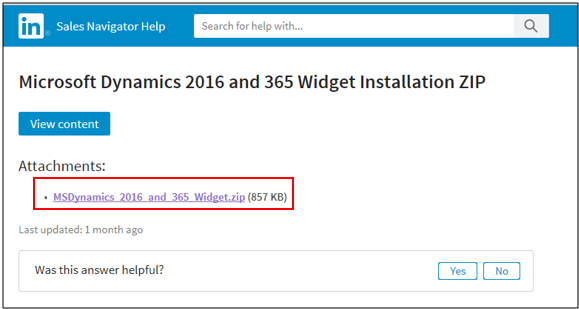
Click on the zip folder download link as shown in the above image.
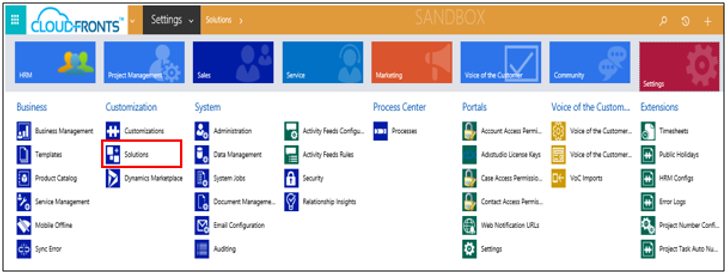
Step 2: Now the user will have to go D365 CRM and on the ribbon, go to Settings> Solutions as shown below
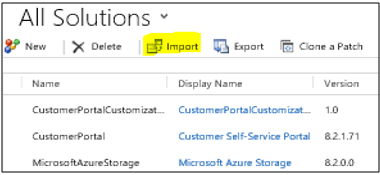
On the solution page select ‘Import’ option
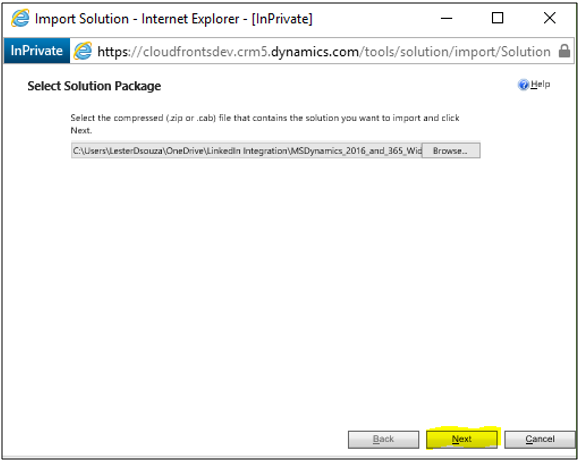
Browse for the solution file that we had previously downloaded and click on ‘Open’ then ‘Next’
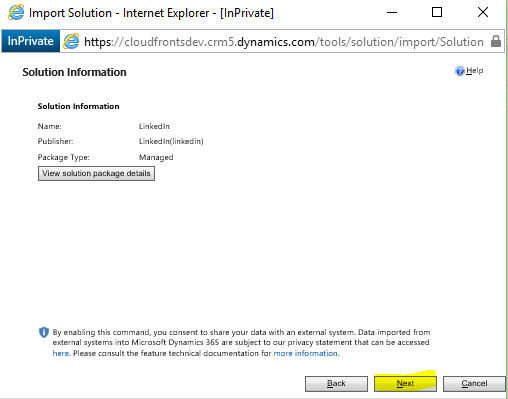
In the next window the user will get the information of the solution. The user can view the information by clicking on the ‘View solution package details’. Click on Next to proceed ahead.
Note: User will have to check the ‘Enable any SDK message processing steps included in the solution’ if it is unchecked and click on the Import option
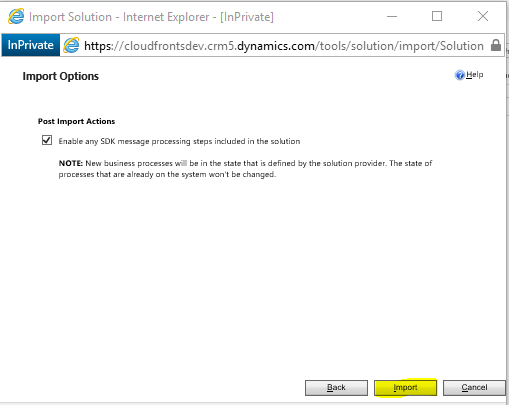
A dialog box will pop up showing progress of the import. Once the importing has finished click ‘Next’. A summary window will display all the imported components, indicating the solution import.
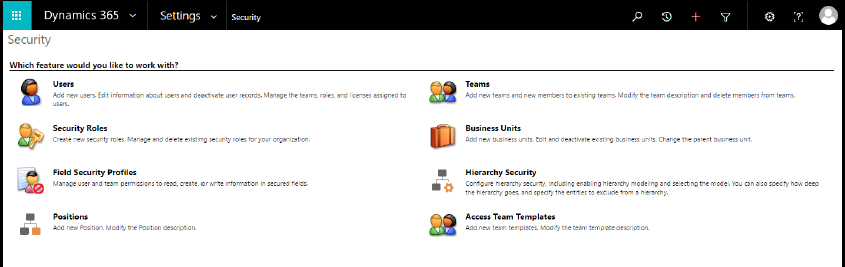
Step 3: The last step of the installation process is to assign all users a ‘LinkedIn Configuration’ security role to give them access to the integration. In the All Areas drop down, navigate to Settings > Security and click on Users.
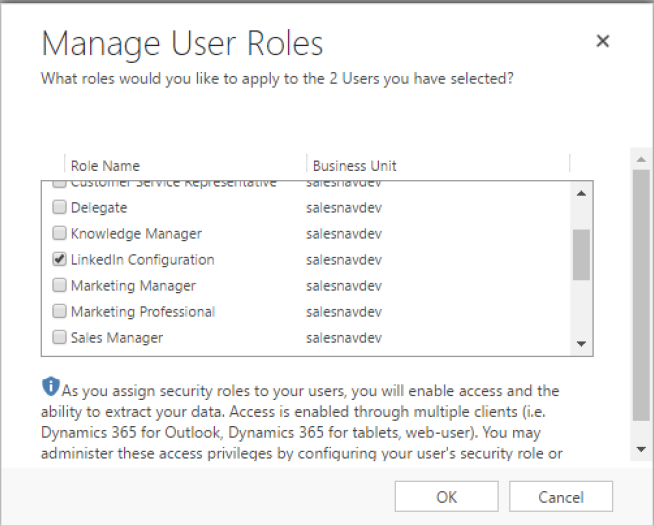
Select all the required users to whom you want to provide the LinkedIn widget access and click on ‘Manage Roles’ at the top. A dialog box will pop up as shown below and check ‘LinkedIn Configuration’ and click OK.
The user has finished importing and configuring the LinkedIn for Microsoft Dynamics CRM online solution.
Conclusion:
Thus, we have seen how can a user successfully configure the ‘LinkedIn Sales Navigator’ widget for MS D365 CRM Online Environment.
