Power BI embedded inside of Web APP
In this blog article, I will explain you on how to Embed POWER BI reports inside of your custom web app.
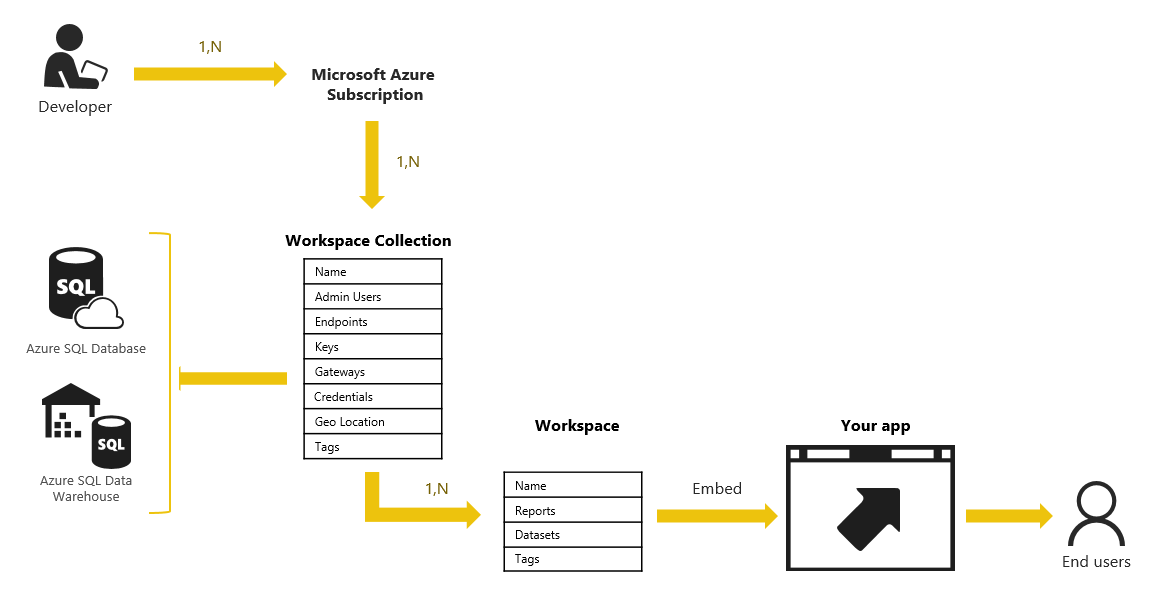
Below are the steps to connect over Power BI Embedded:
- Create the Workspace collection inside of azure portal
- Stored PowerBi access key for the workspace
- Workspace creation using Rest API solution file (download from github)
- Import powerbi pbix file on the same workspace ID
- Deploy embedded page using visual studio
- Iframe the web page url insdie of your web app
Let’s walk through the steps to build a Work space Collection using the Azure Portal.
Open and sign into Azure Portal.
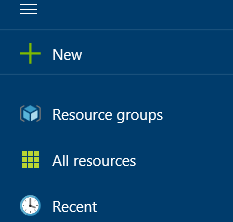
Click + New on the top panel.
1. Under Data + Analytics click Power BI Embedded.
2. On the Work-space Collection Blade, enter the required information. For Pricing, see Power BI Embedded pricing.

3. Click Create.
The Workspace Collection will take a few moments to provision. When completed, you’ll be taken to the Work-space Collection Blade.
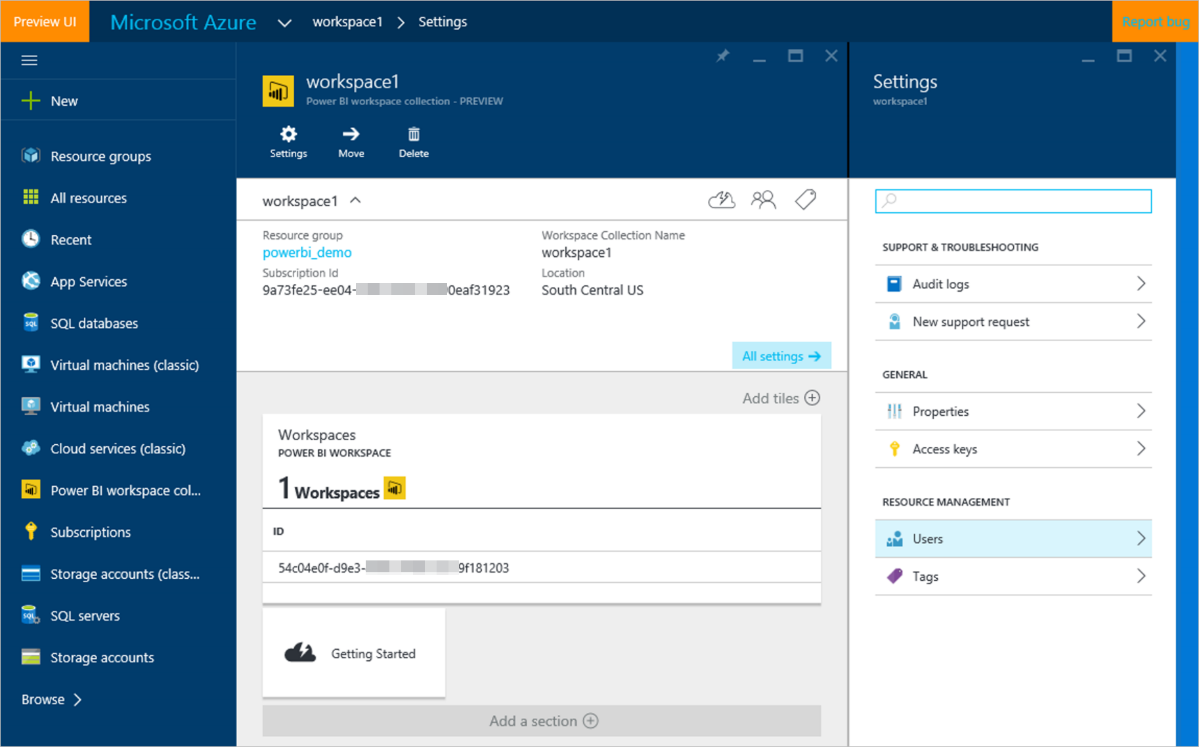
So from this window please copy work-space collection Name and Subscription ID in the notepad for further use.
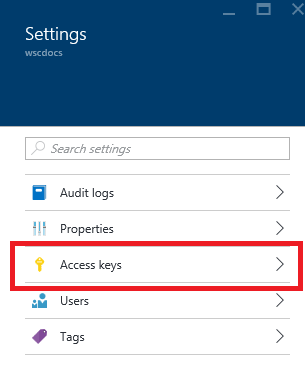
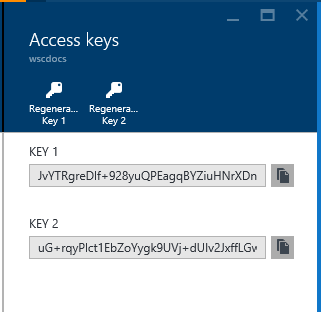
We also need to copy PowerBI API access key for this workspace collection.
Now we need to generate workspace report and dataset using visual studio solution file which you can download from github.
After downloding the file you need to ope “PowerBI embedded” soln file.

In the solution file you can found 2 projects,
Provision Sample: Used for build-up workspace and import pbix file to azure workspace collection
EmbedSample: After importing PBIX this project used for deployment of web page url
First we need to run the Provision sample project,It will generate one CMD window when you are going to run it.

Here you can find different option for the activity, we already done with workspace collection name inside of azure portal so now we need to choose step 5 for creating workspace.
Once you select step 5 it will ask for “Workspace Collection Name” and we need to type exact name which we created in azure portal.
After that it will ask for access key and that key is your POWERBI API access key which we copied earlier.
After this steps you need to select option 6.” Import PBIX Desktop file into an existing workspace” in the above cmd window.
Now it will ask for Dataset Name and path of the PBIX file which you want to embedded inside of Web APP.Datasetname should be any user-friendly name for your reports. And it start importing our PBIX file into azure workspace collection.
After succeeding this process, we need to select embed sample project inside of visual studio and required to change some information inside of web config file.
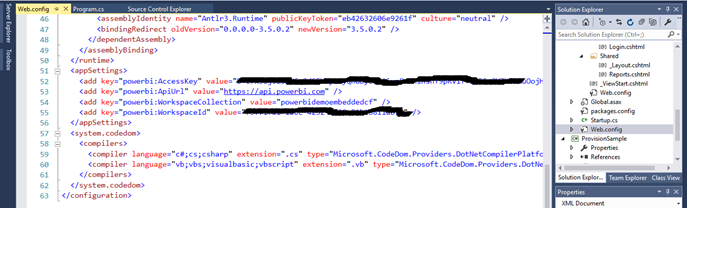
Based on the above image we need to provide couple of information inside of web config file.
Access key: it is POWERBI API Access key which created on azure porta
Workspace Collection: Name of the Workspace collection we created in step 1
Workspace ID: this id you will get on cmd window when doing step 5
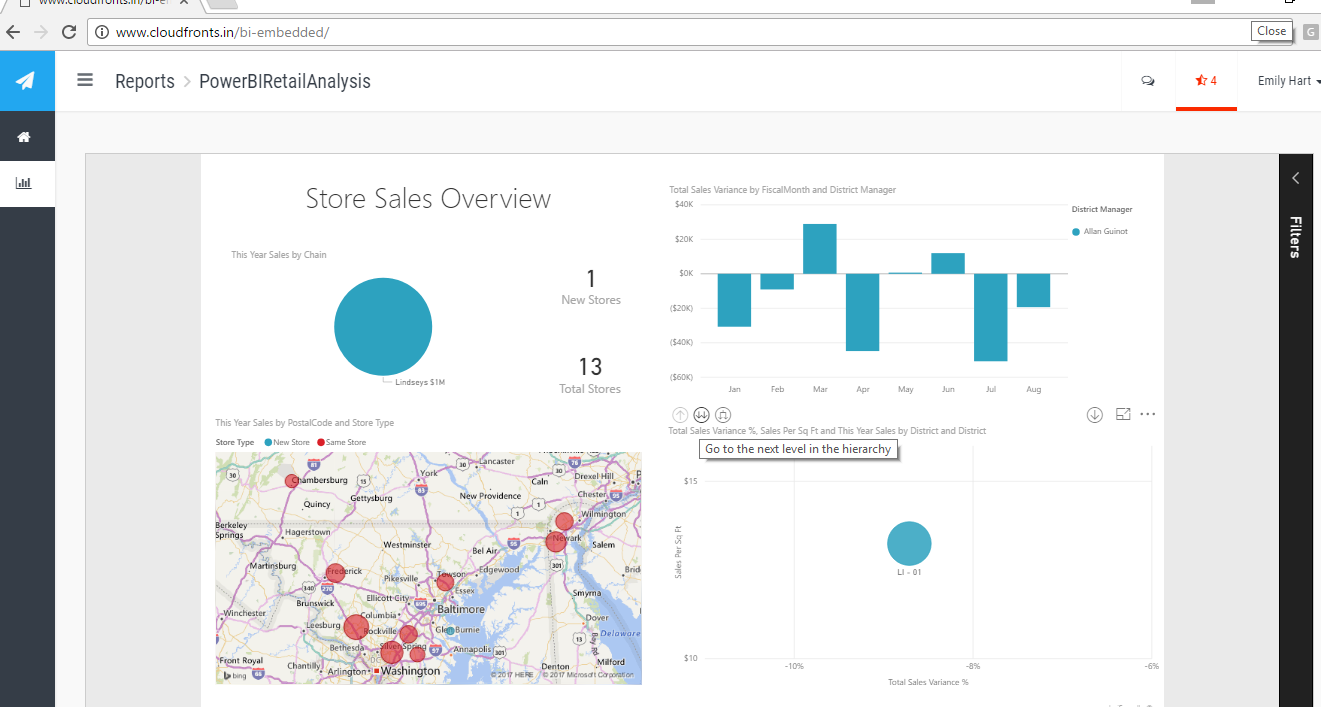
So, after doing this changes we need to run this project file and it will open new browser window with Power BI embedded reports inside. You can copy that url and iframe it inside of your Web APP.
It will look like below: