Retrieving the XML Schema and XML file for a record in Scribe Insight
With Scribe Insight, you can import XML as a data source to fulfill two main tasks:
- Support integration with locally available XML data.
- Receive data as XML from remote systems.
Creating A Publisher
- Expand the Console site node.
- Expand the Integration Server node, and then click Publishers and Bridges. The Publishers/Bridges window opens.
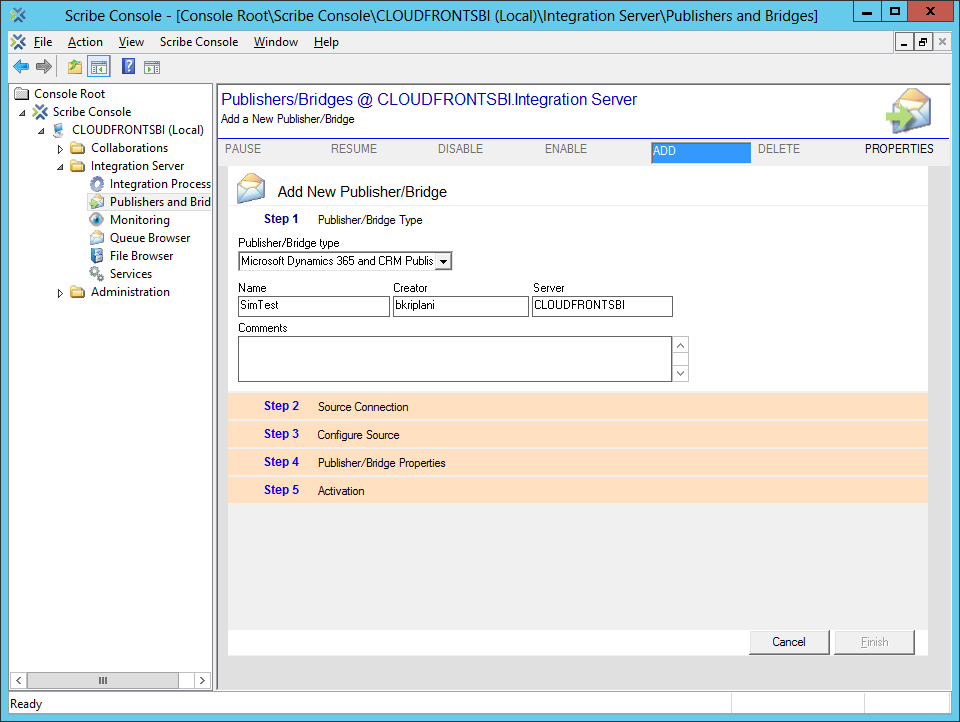
- Click ‘Add’. The ‘Add New Publisher/Bridge’window opens.
- Add a new Publisher/Bridge using the following steps:
(i) Step 1: Publisher/Bridge Type: Select the Type from the drop-down menu and give an appropriate name.
Proceed to Step 4 – Publisher/Bridge Properties.
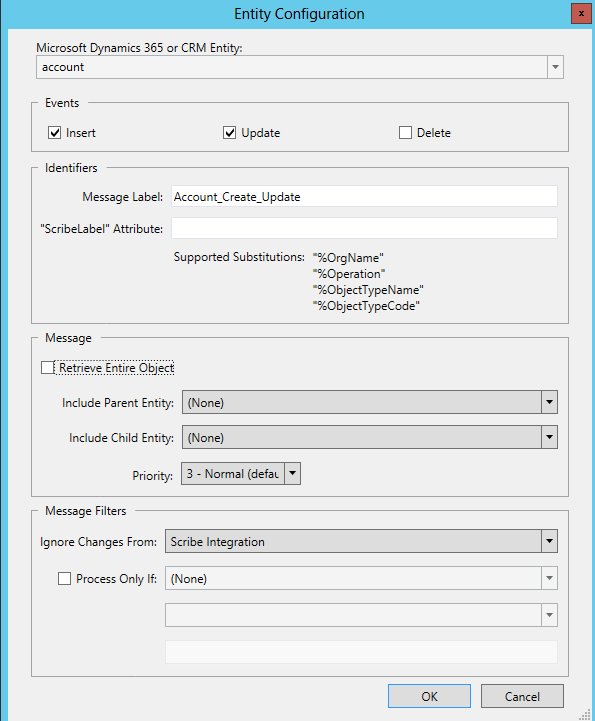
(ii) In Step 4 – Publisher/Bridge Properties, click ‘Add’ after Connecting. Select the Entity and fill in the Message Label. Select the Event checkboxes you require and add any related parent or child entities as well as Priority. One can also choose to ignore changes from a User.
(iii) Select ‘Active’ in Step 5 and click Apply.

To Retrieve An XML File
Now that a Publisher has been created, the User can get an XML file of a record that has been created or updated after the activation of the Publisher.
- To retrieve an XML file of a record created or updated, go to Queue Browser in the Console and click on ‘[INPUT] CLOUDFRONTSBI\PRIVATE$\SCRIBEIN’.
- The message label of the Entity in the Publisher will be displayed.
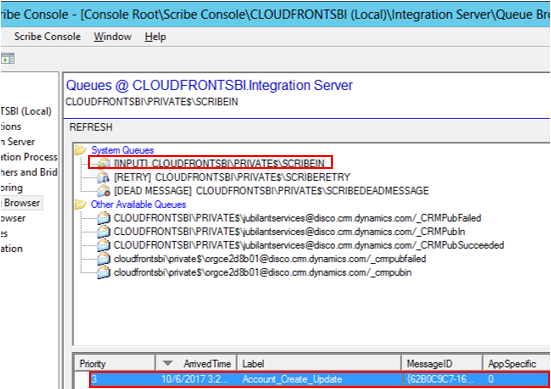
- Right-click on the Message Label and click on ‘Save Body’. Select the Destination Folder and click OK.
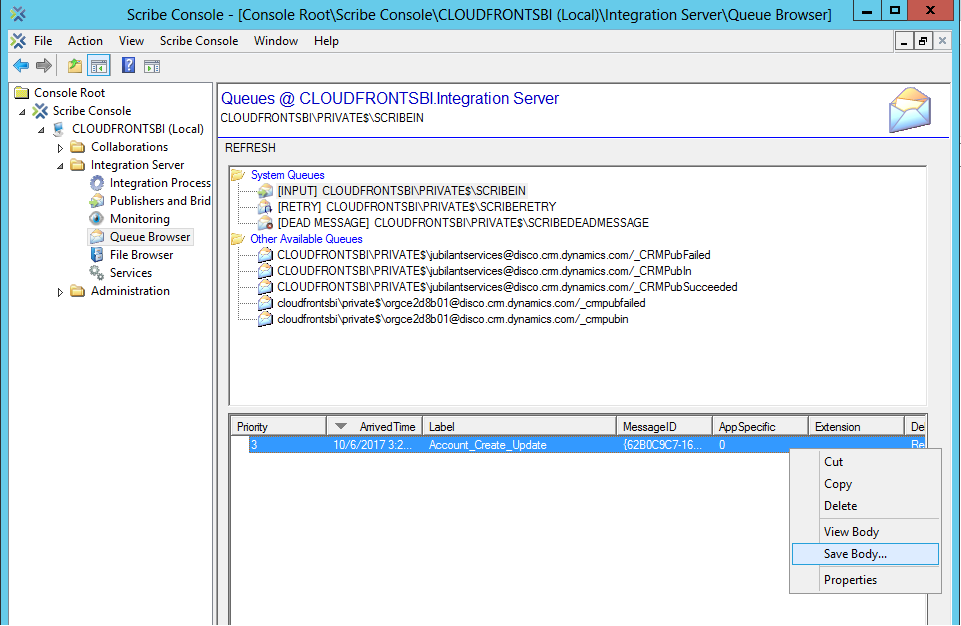
- This will save the XML File (.xml) of the record.
To Retrieve XML Schema
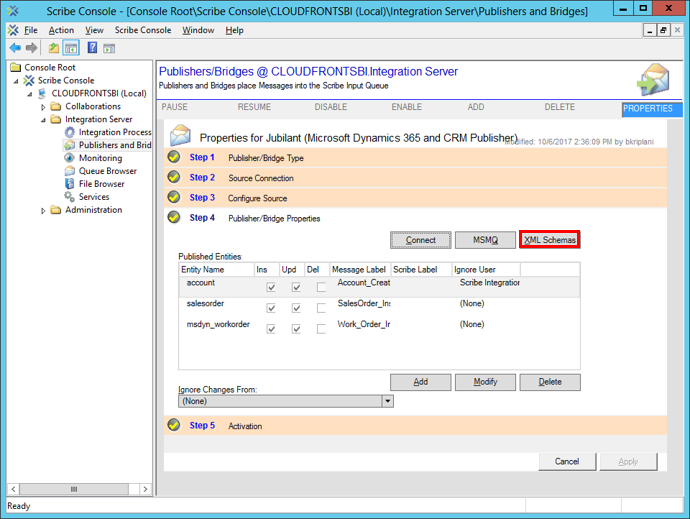
- In Step 4. Publisher/Bridge Properties, click ‘XML Schemas’. Scribe Insight generates the new XML schema of ‘Account’, which is required when you connect to the XML schemas using the Scribe Workbench XML Source Connection Wizard.
- Browse to where you want to save the schema file (.xsd) and click OK. You are prompted to verify the location.
- Click OK.