Create Object Detection Model inside the Power Platform | Power Apps — AI Builder
In this blog, we are going to see how to create object detection model which can be used in PowerApps or MS Flow / PowerAutomate
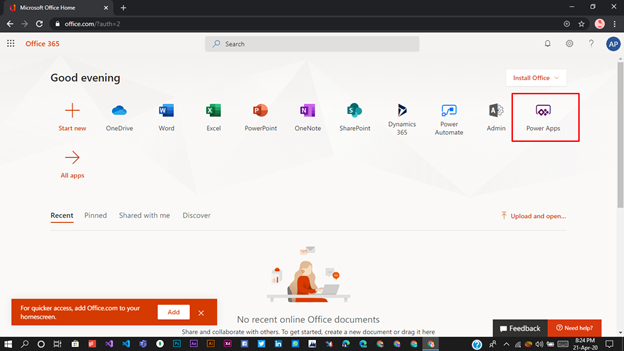
Step 1: Log in to portal.office.com.
Select the PowerApps, If PowerApps is not visible then click on All Apps then you will able to see the PowerApps.
Step 2: Expand the AI Builder Section and click on Build Section in PowerApps.
Note: Please ensure that you are select the correct instance.

Step 3: Click on the Object Detection Model
We are going to create the Object Detection Model which can be used to created PowerApps or In MS Flow / Automate.

Step 4: Name the AI Model and click on Create.

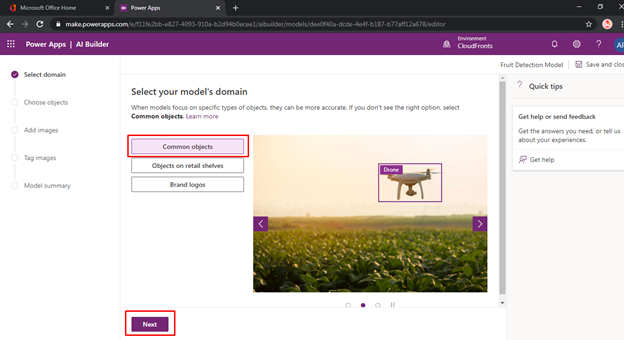
Step 5: We will select the Domain of Model so we will go with Common Object. And click on Next.
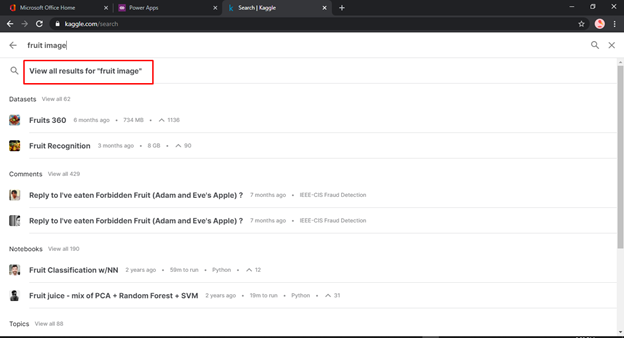
Step 6: Before moving forward, we will download the data which will be used to train and test the Model. Kaggle is the best source for the data to train the machine learning model.
We will require the fruit images as we are designing the Fruit Detection Model, search fruit images and download the Dataset given in the screenshot.

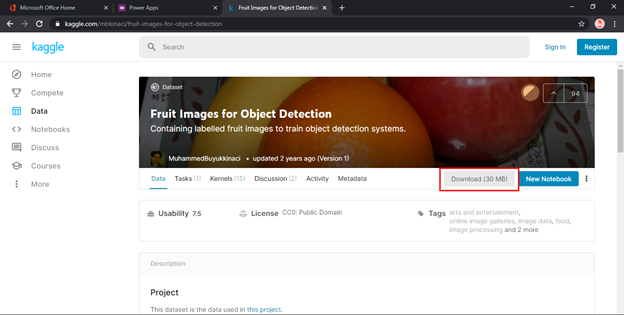
Select the Fruit Image for Object Detection

Click on the Download
Step 7: After downloading the Zip file extract it. You will see the following two folders — train_zip and test_zip respectively.
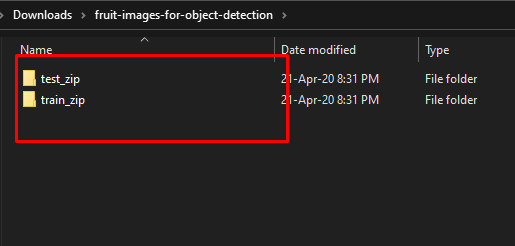
Now, we will open the train_zip folder and you can see that there will be four categories of images
- Apple
- Banana
- Orange
- Mixed [Apple, Banana, Orange]

Step 8: Let move back to the PowerApps Platform, 2nd step in the creation of Object Model is to define the object that we are going to detect. Here, we have three objects — Apple, Banana & Orange and click on next to move further steps.


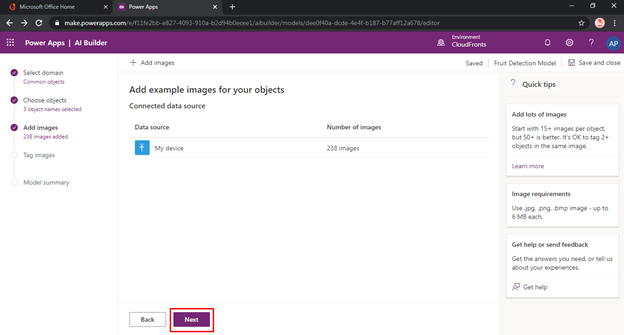
Step 9: We will require a minimum 15 images of each category to train our Object Detection Model.
Now, we will click on Add Images and select Upload from local storage.

Step 10: Select the images. Once all images are upload click on Close.

Click on Next
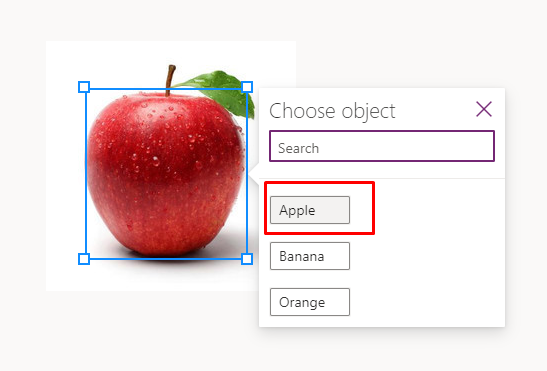
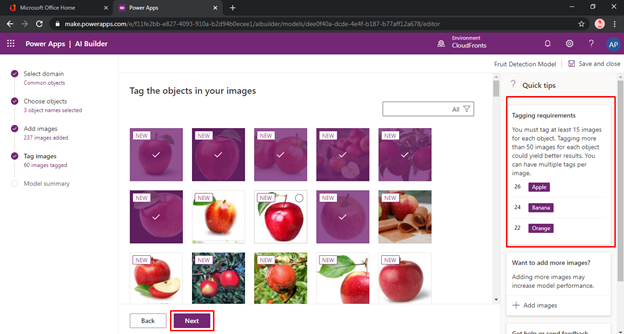
Step 11: Now, we are in the most important phase of the training where we provide the Tag or Label to the Images which we have uploaded.

Click on the uploaded image and select the area where the object is present. Once you will select the area you will get the option to select the object is that present in the selection area.
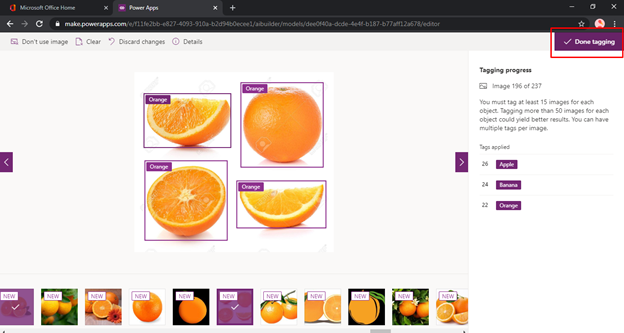
If an image is not suitable for the model to remove that particular image click on the “Don’t use Image ”. Click on remove to remove the image from the model data set.

Step 12: Once you are done will the tagging or labeling the image click on the Done tagging.
Note: Please ensure that you have a more tagged image for each model so that your model will work accurately. The more the label data more the accurate your machine learning model.
Step 13: Click on the Train to start the training your model based on tagged images.

Click on Go to Model
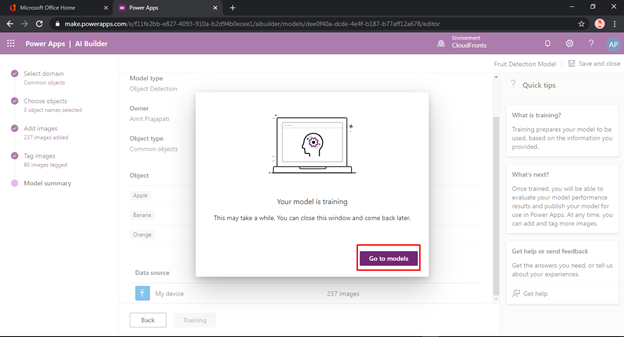
It will take around 5–10 min to train based on your complexity of images, model and objects.

Step 14: Publish the model.

Once you model finished with done and you have published the Model. You can use that model to in Power App or MS Flow. We are going to see that in the next part of this blog.
