Backup Azure DevOps Git Repositories
Here we will see how to backup the repository using the YAML file. This includes the following steps
- Create an Azure DevOps Personal Access Token (PAT)
- Create a YAML file
- Create Subscription Connection
Create an Azure DevOps Personal Access Token (PAT)
Step 1: Sign in to your Azure DevOps Portal
Step 2: Go to Personal Access Token
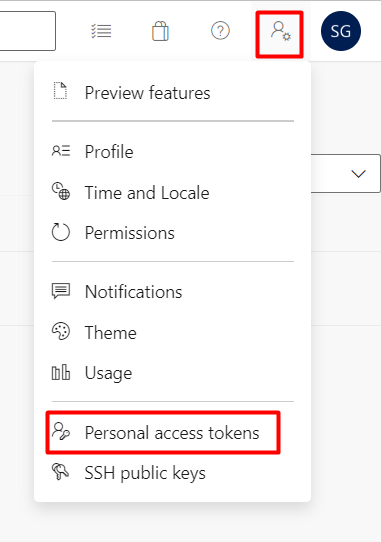
Step 3: Create a Token by clicking on “New Token“
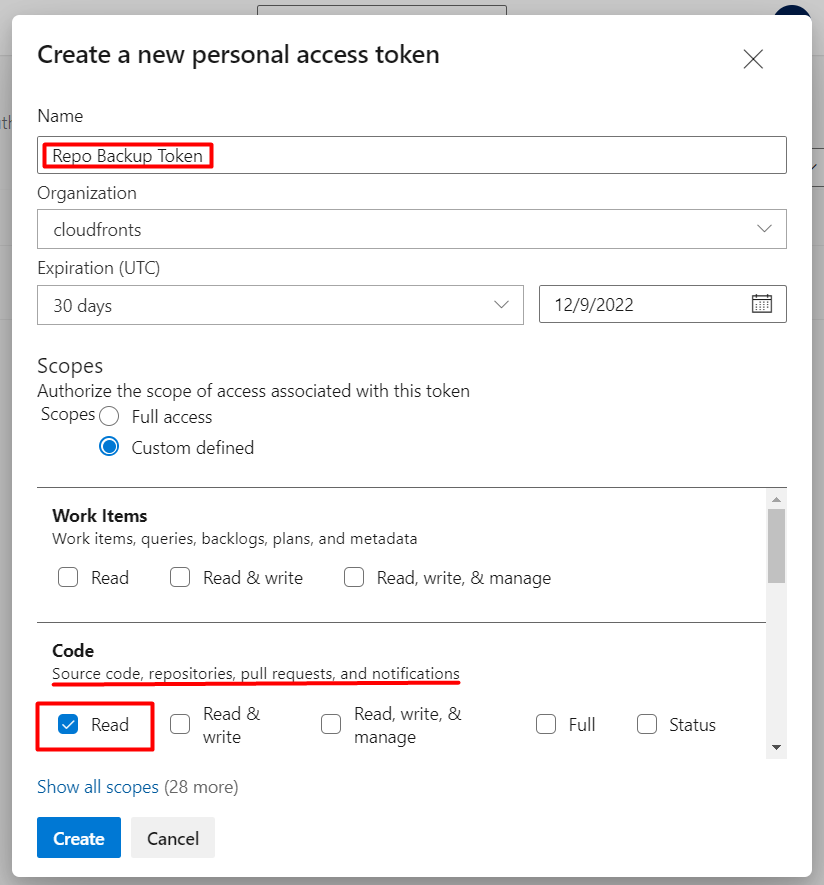
- Give it a name
- Select the “Read” checkbox to fetch the repository
- Click on Create
Note: Copy and Save the token as you will not be able to see it again
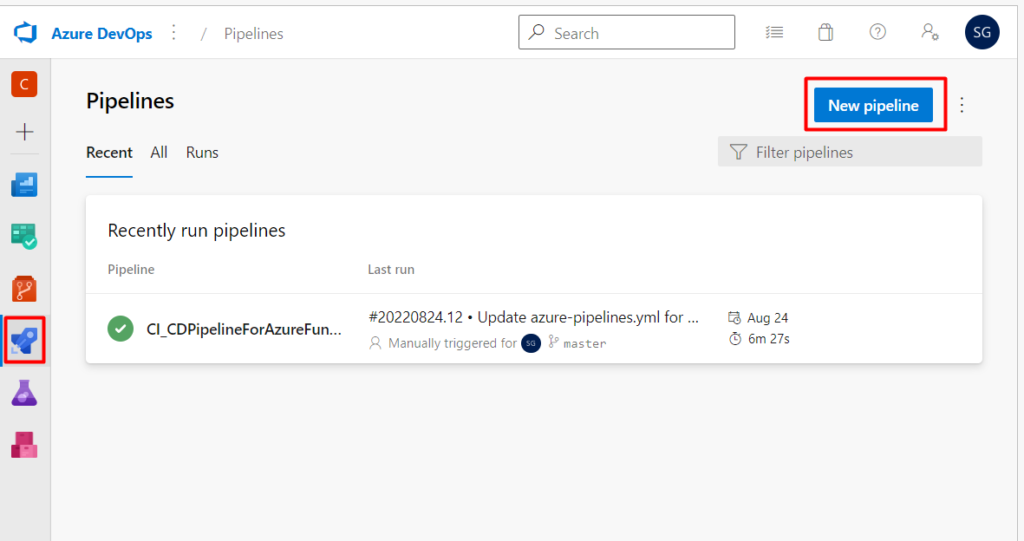
Create a YAML Pipeline
Step 1: Go to Pipelines
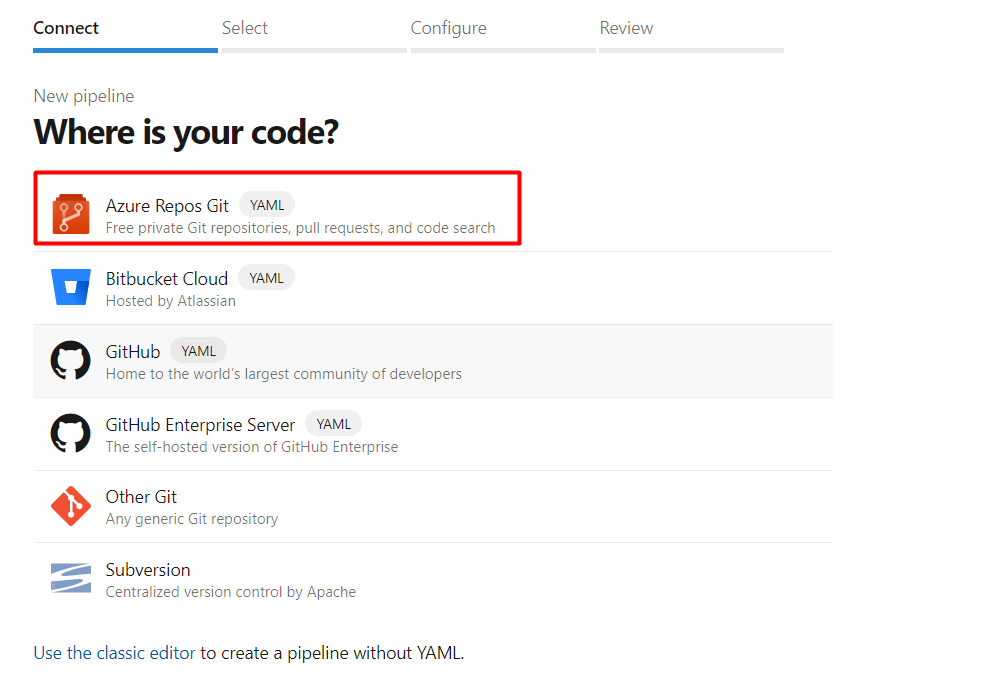
Step 2: Choose Azure Repos Git
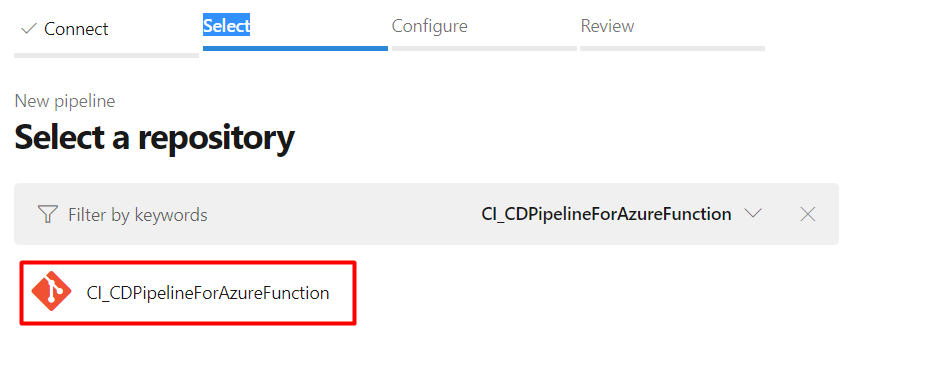
Step 3: Select your repository
Step 4: Configure it as a starter Pipeline
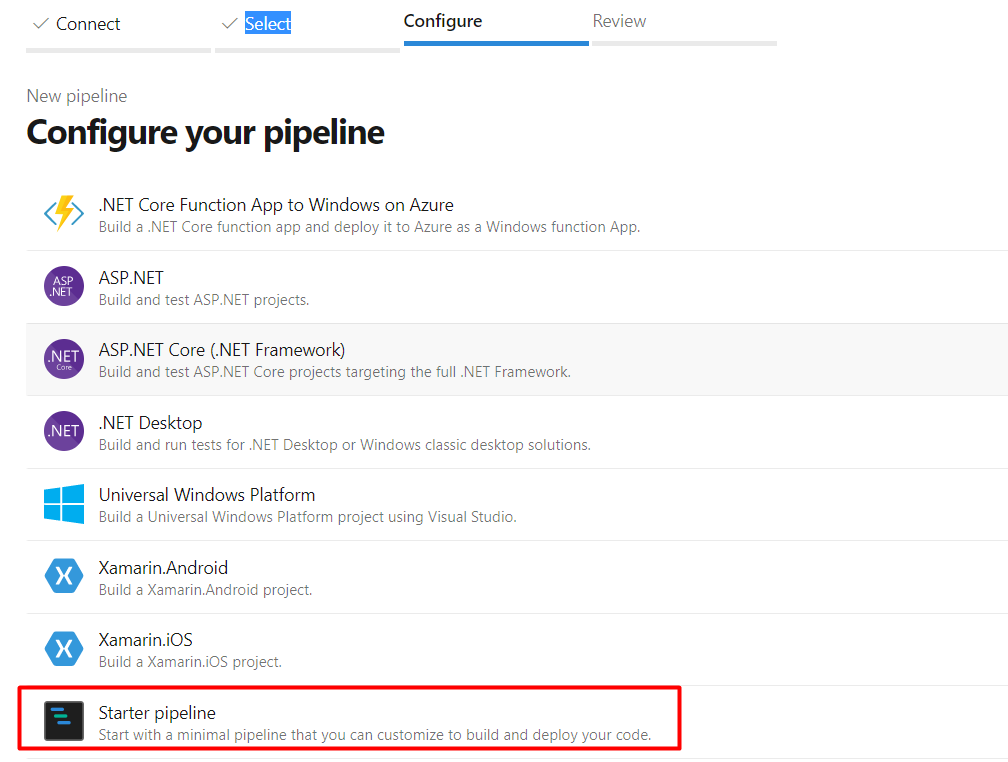
Below is the default code you will see.
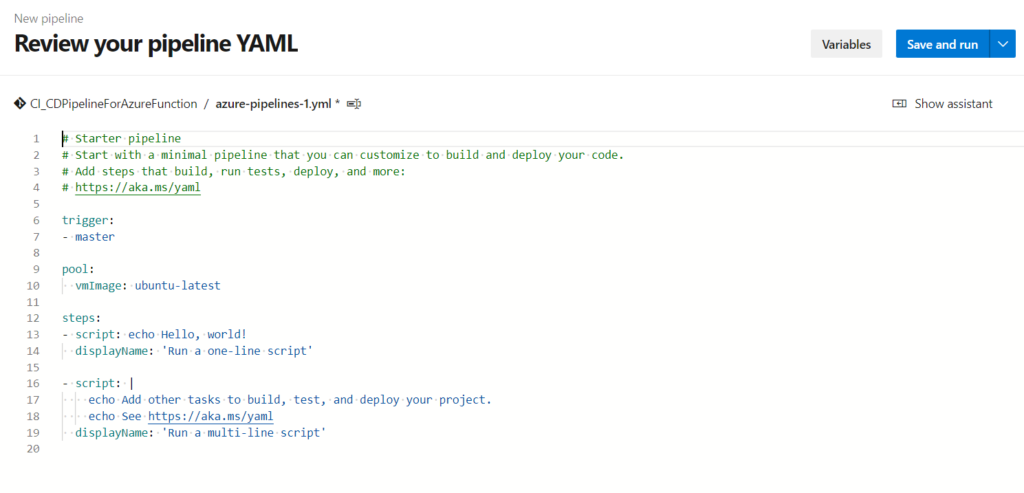
trigger:
  branches:
    include:
      - '*'
stages:
  - stage: _default
    jobs:
      - job: Job
        pool:
          vmImage: windows-latest
        steps:
          - task: CmdLine@2
            inputs:
              script: git clone --mirror https://----PAT-TOKEN---@dev.azure.com/{organization}/{project}/_git/{repo}
          - task: ArchiveFiles@2
            inputs:
              rootFolderOrFile: $(System.DefaultWorkingDirectory)
              includeRootFolder: true
              archiveType: zip
              archiveFile : $(Build.ArtifactStagingDirectory)/Backup.zip
              replaceExistingArchive: true
          - task: AzureFileCopy@3
            displayName: AzureBlob File Copy
            inputs:
              SourcePath: $(Build.ArtifactStagingDirectory)/Backup.zip
              azureSubscription: '{subscription-connection}'
              Destination: 'AzureBlob'
              storage: '{storage-name}'
              ContainerName : '{container-name}'
              BlobPrefix : '{blob-name}'
Trigger: The wildcard (*) will monitor all the branches, the pipeline will be triggered whenever you have any changes in your repository
CmdLine: The command calls “git clone –mirror ” to make a copy of your repository. PAT needed to be used while fetching a repository
Archive Files: It will take the git repository which was cloned in the previous step and then zipped to “Backup.zip”
File Copy: It will take the archive copy and send it to Azure Blob Storage
Creating a Subscription Connection
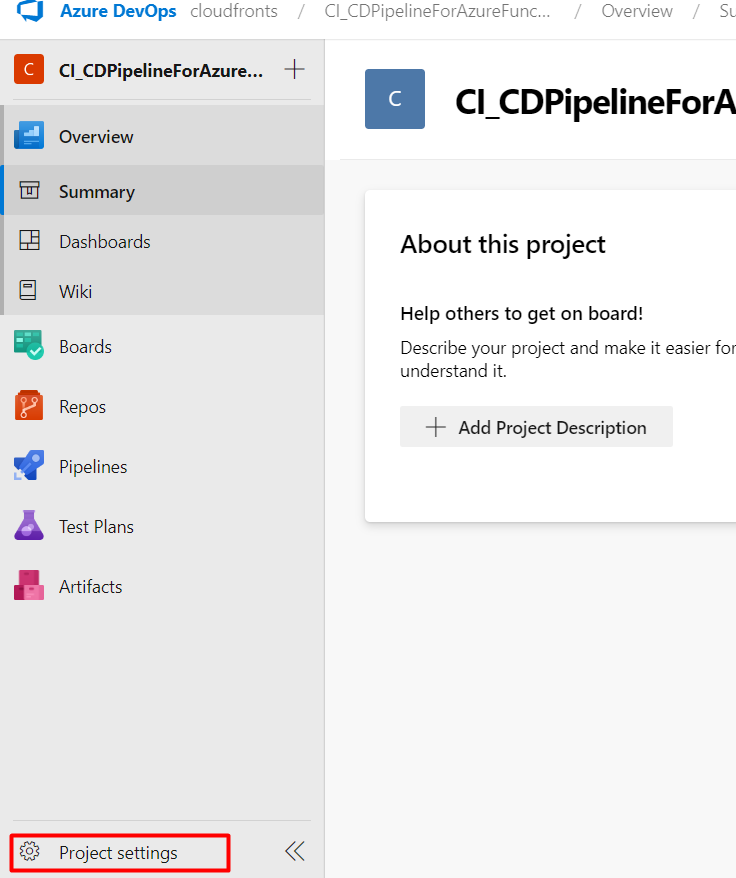
Step 1: Go to Project Settings
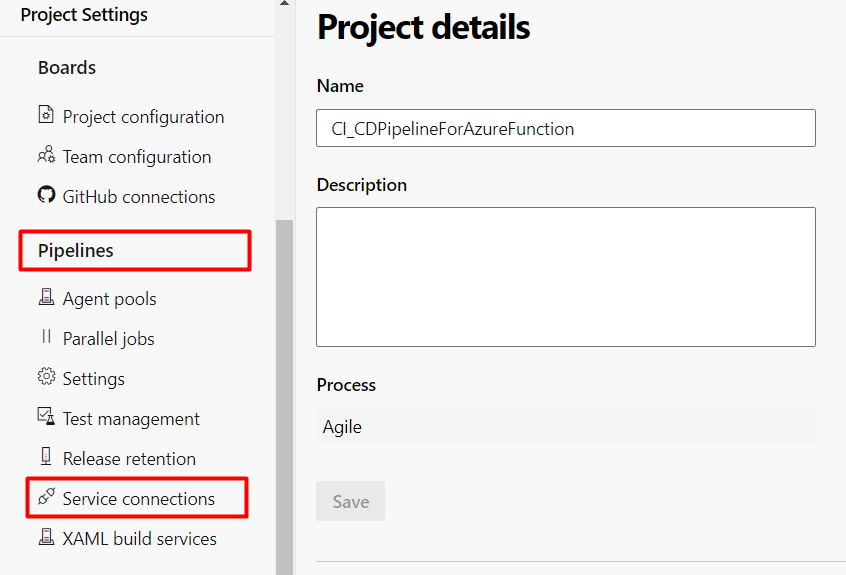
Step 2: Go to Service connections
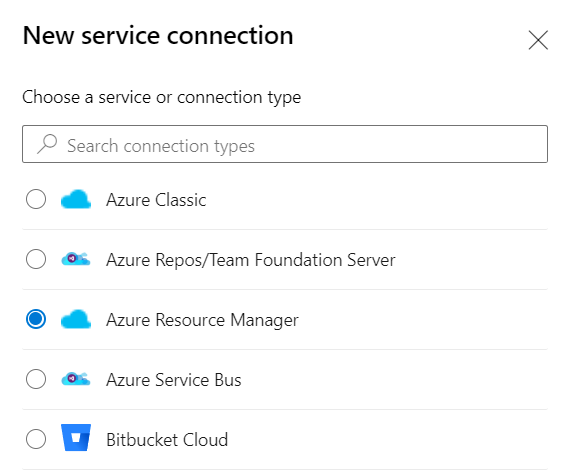
Step 3: Click on New service connection

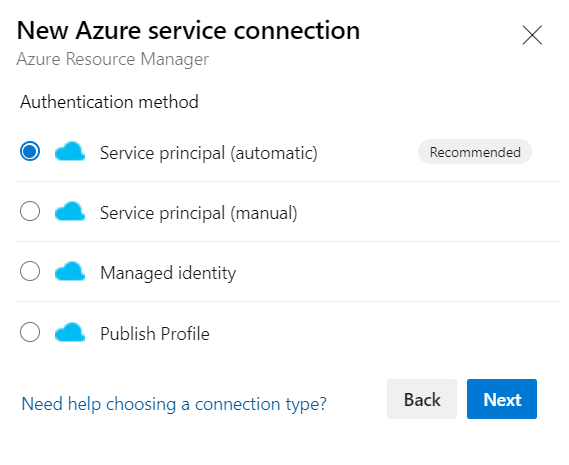
Step 4: Choose Azure Resource Manager
Step 5: Select Authentication Method as Service Principal (automatic)
Note: Make sure to use the same credentials to login to DevOps as in Azure Portal
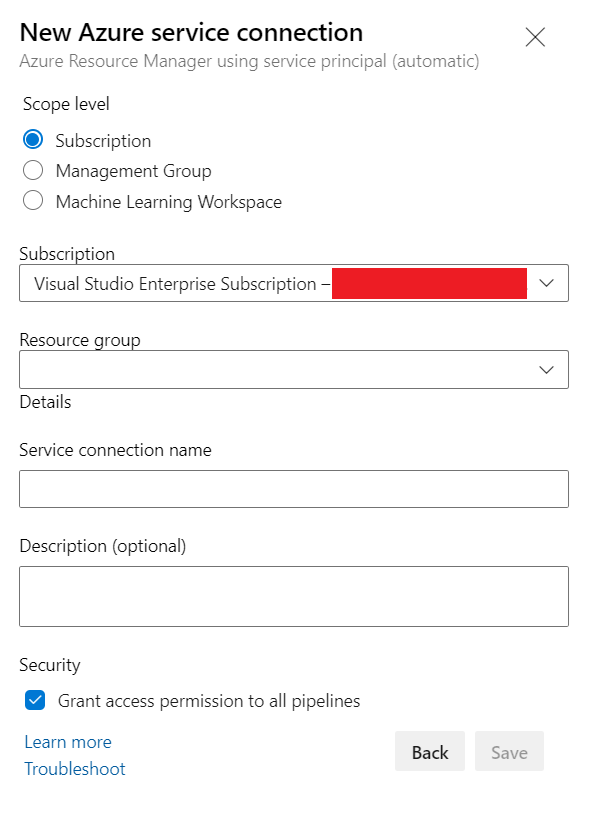
Step 6: Subscription will be chosen automatically.
- Give it a name
- Select a resource group where you have your storage account
- Then save
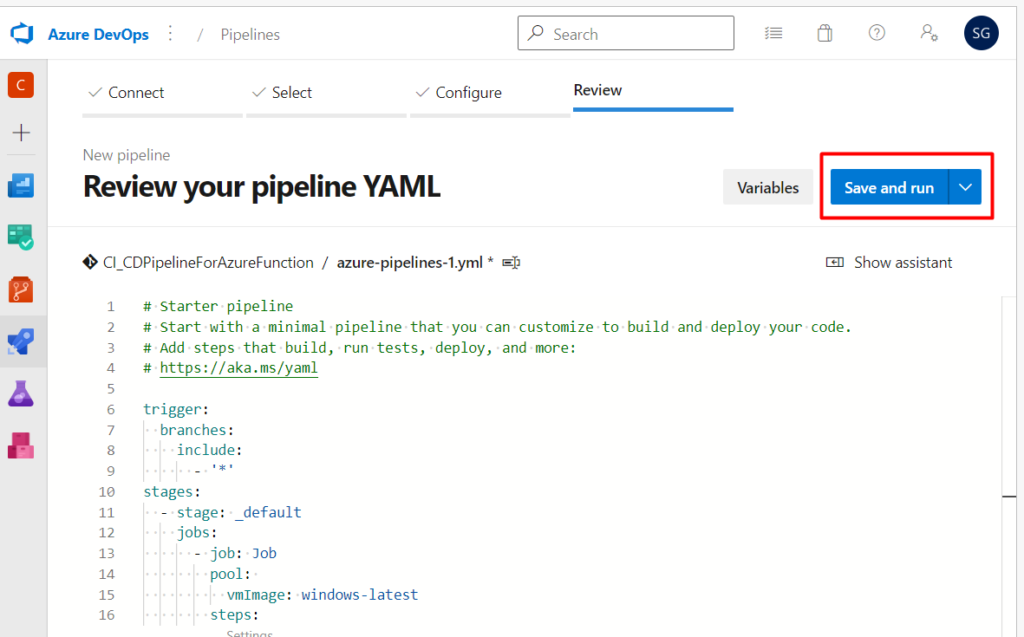
Step 7: Use the connection name in YAML. Save and Run
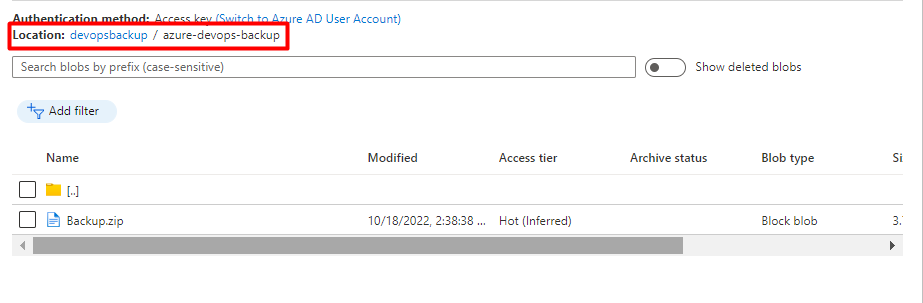
It will create a Job
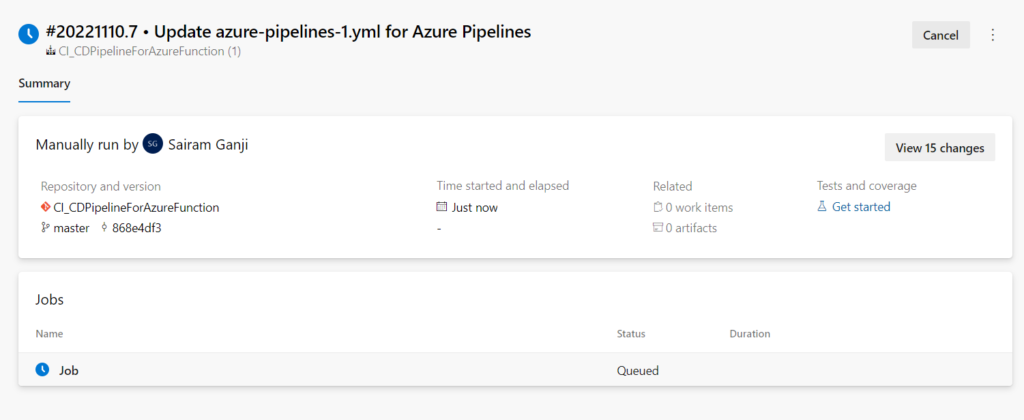
See the status of the Job
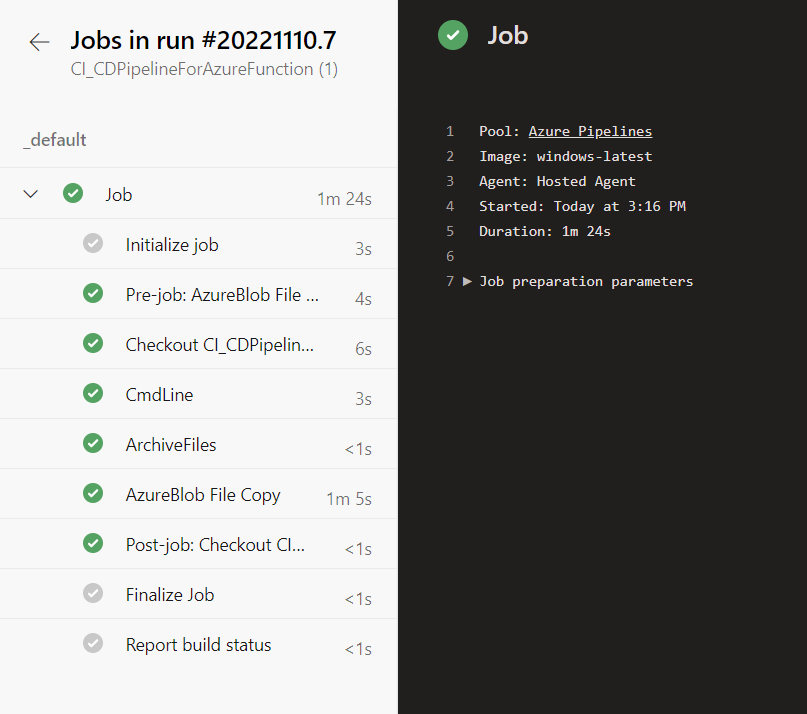
After Job gets completed, you will see a zip file in your blob