Mask your APIs using Azure API management
Most of the time you don’t want to show the original API URL or want to hide the original URL for security purposes in your code. This can be easily achieved if we assign this original URL to some other URL so end users can’t find out what’s the original API.
So let’s see how this can be achieved.
First, log in to your Azure Portal.
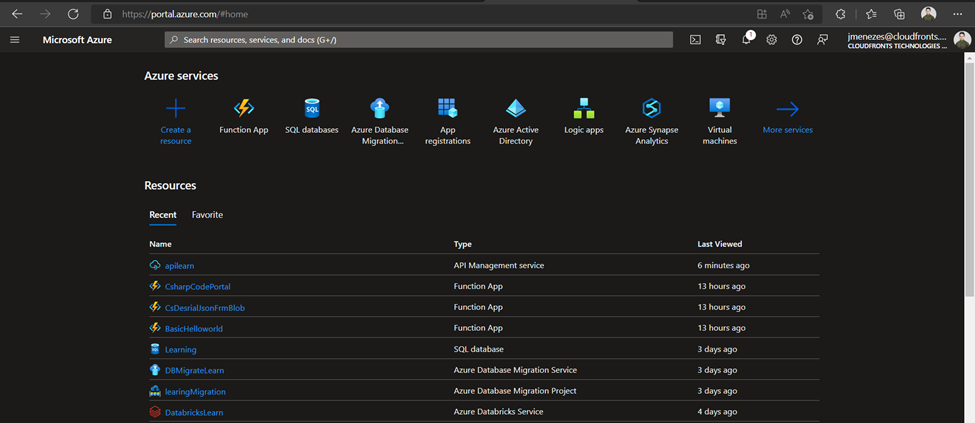
Search for Azure API management service and create a new resource.

Select the desired azure region and resource group. Give a unique name for this resource as the API URL will be based on this. For testing purposes set the Pricing tier as Developer.
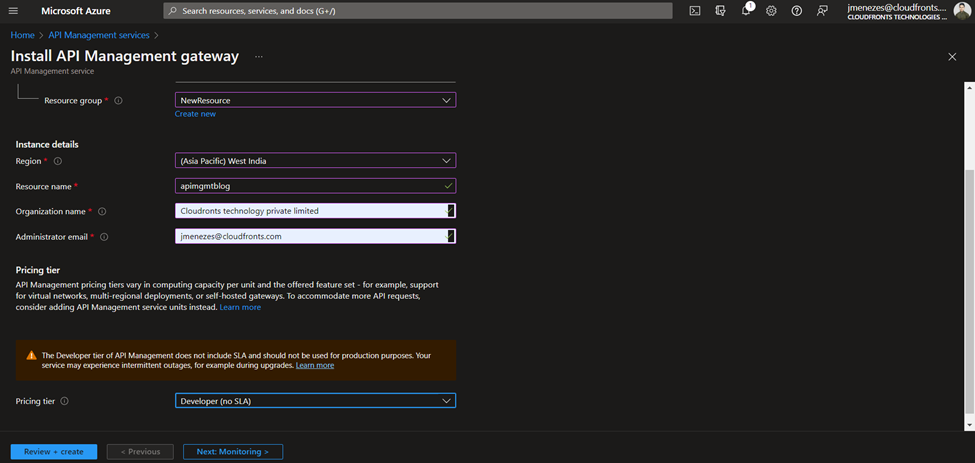
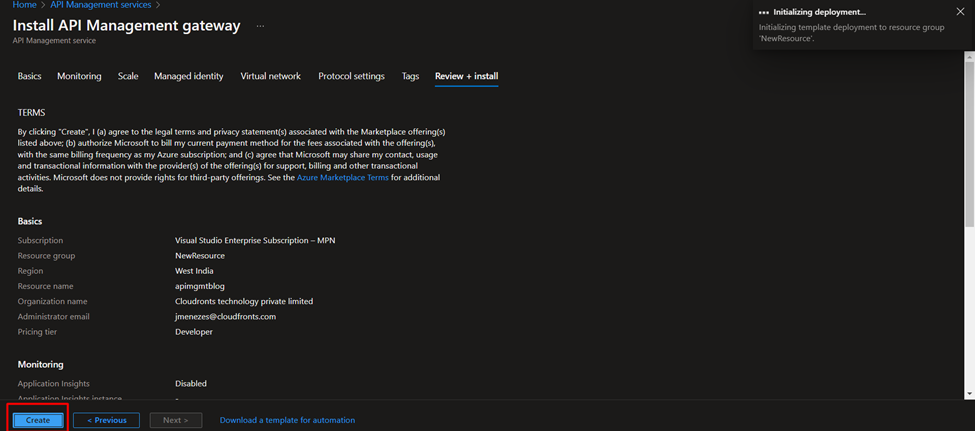
Proceed through the rest of the options as default and create the resource.
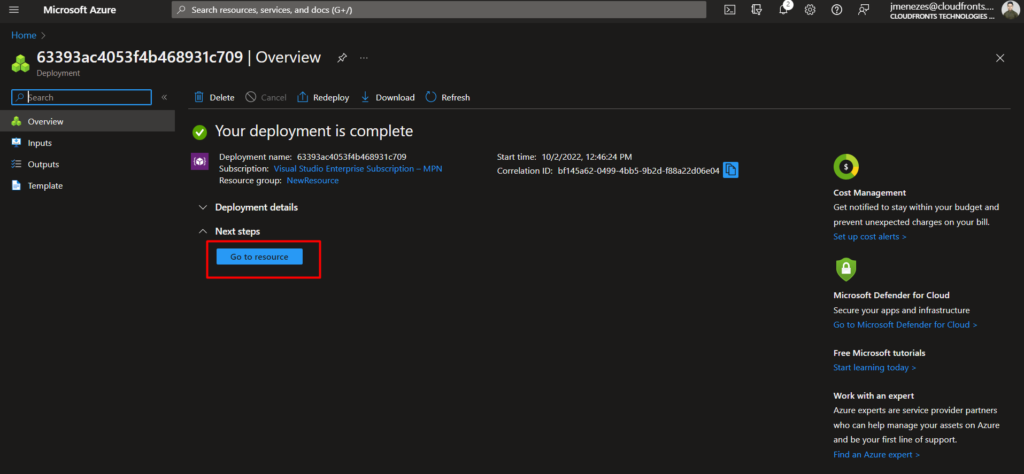
Make sure to grab a coffee as the deployment takes around 45 minutes to 1 hour and you will see this screen only.
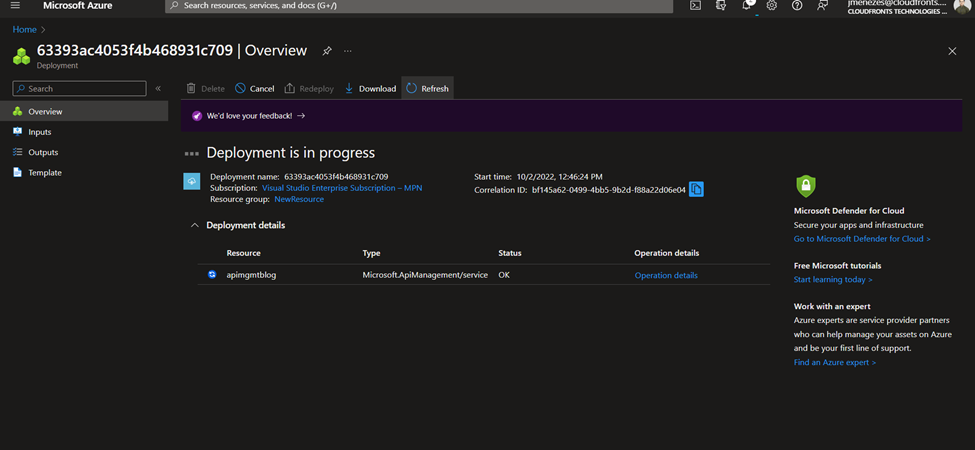
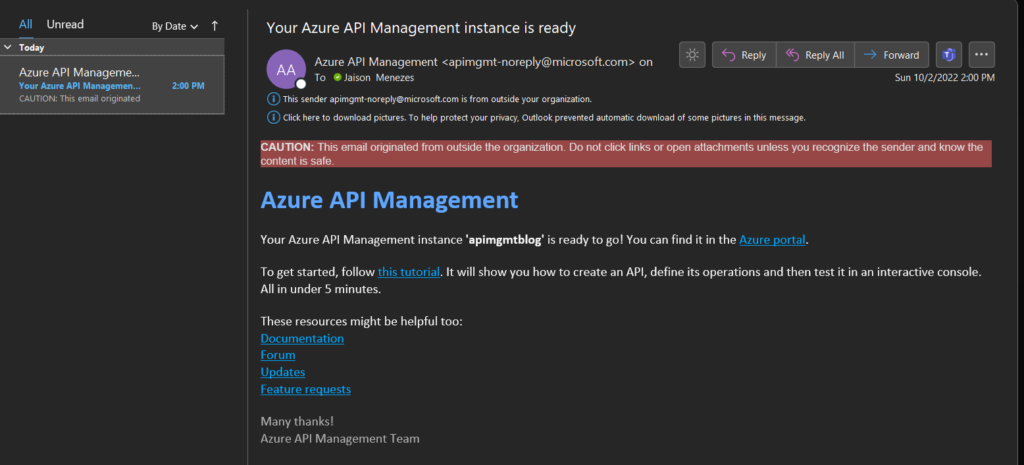
When the deployment completes, you will receive an email, alerting you that the process is complete.
Click on ‘Go to resource’ from the Deployment screen.
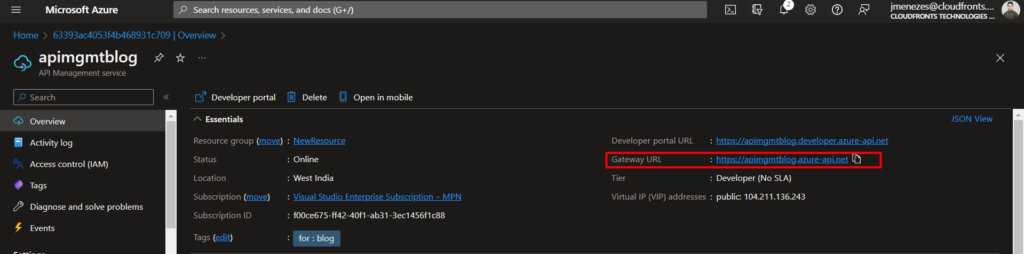
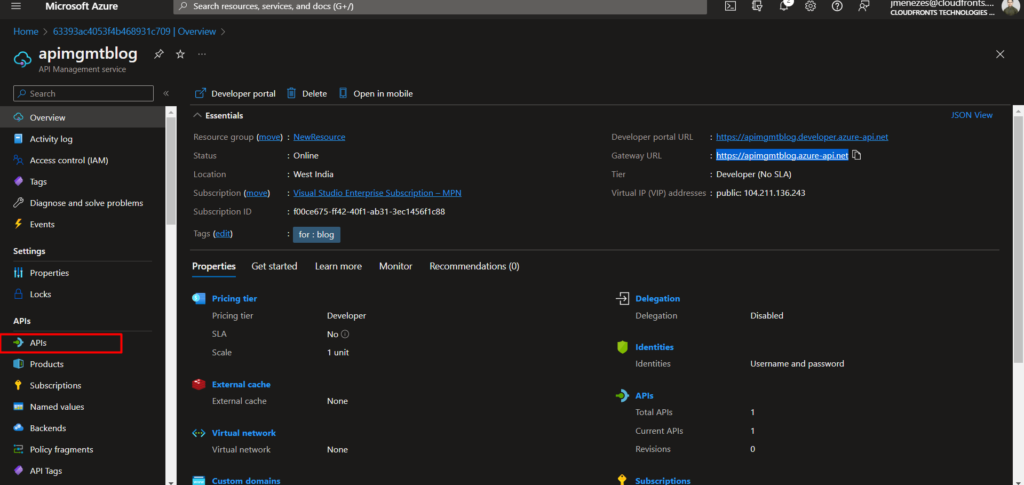
You can find the new URL by getting inside the resource.
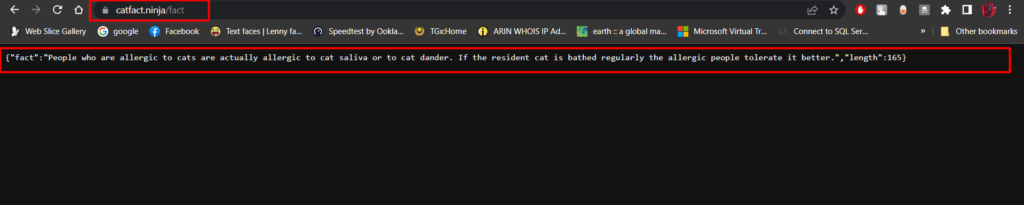
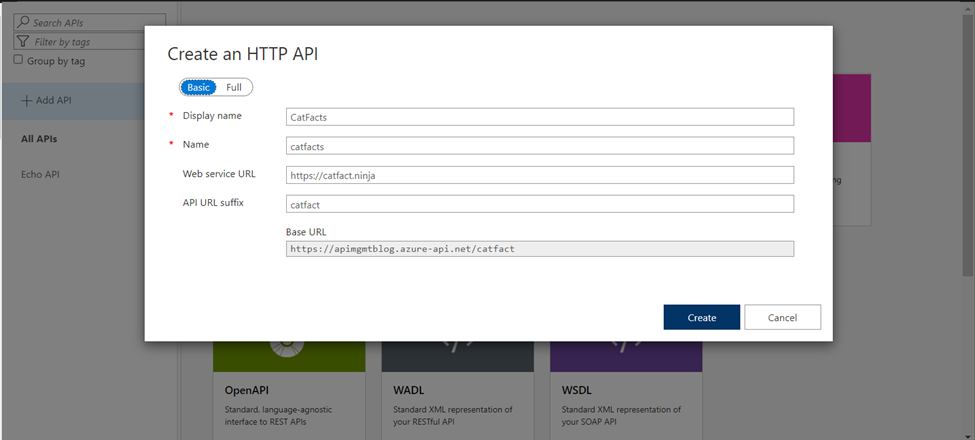
Now let’s add a sample API so that we can mask it. In this case, I will use
https://catfact.ninja/fact this api gives us random facts about cats.
Go to the API section on your API management resource.
Select the HTTP option, so that we can manually define this API and fill in the details
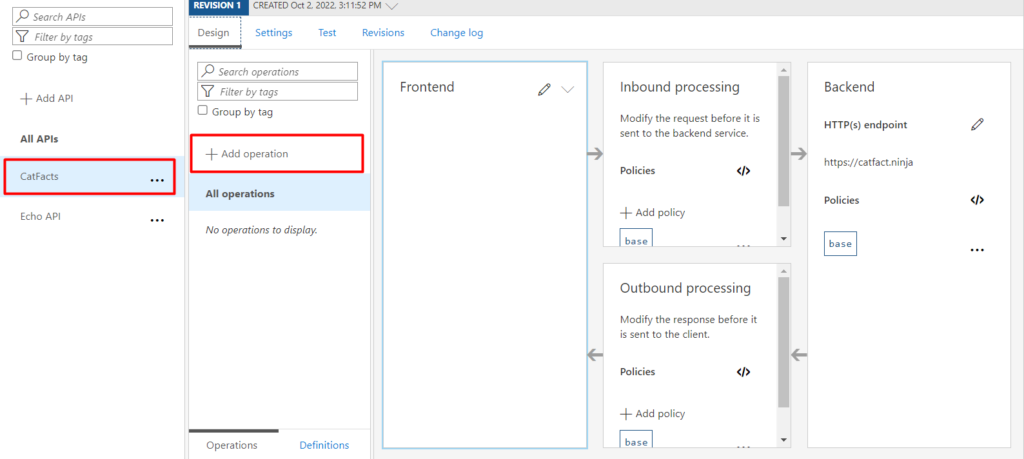
Now save this API, you can see it on the left pane. Next, we have to add an operation for this API.
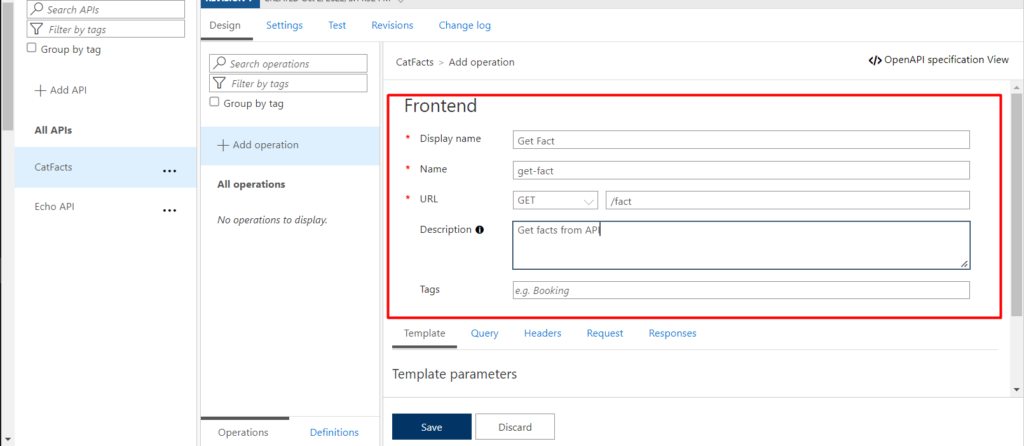
Select GET operation and place the request to the main URL. In this case, the request was /fact
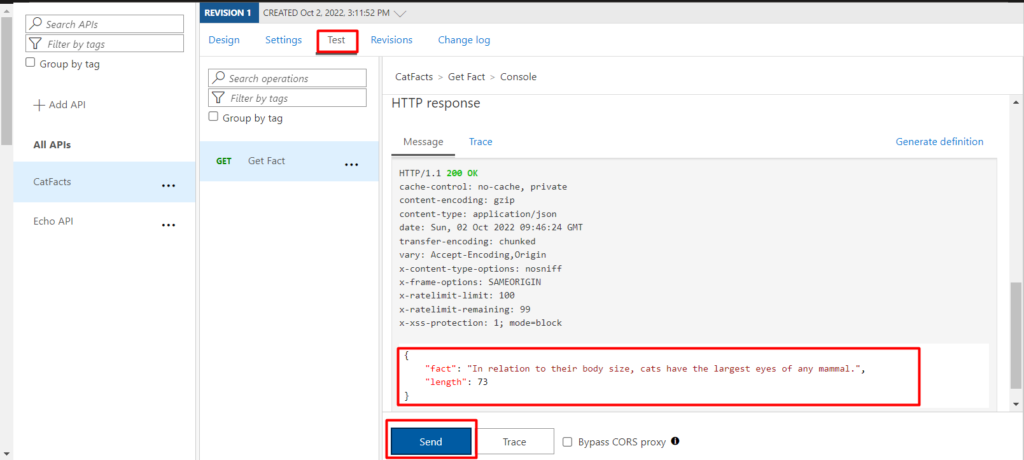
We can test this API through the test tab and as you can see it’s working.
Now we will use the main URL which will be used to mask the original API.
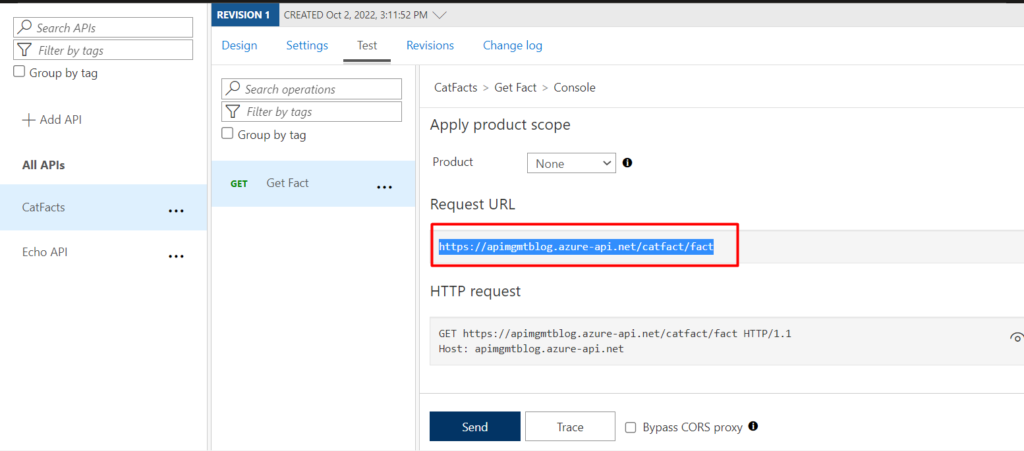
As you can see this is not working. This happens as each API needs to be bound with a product.

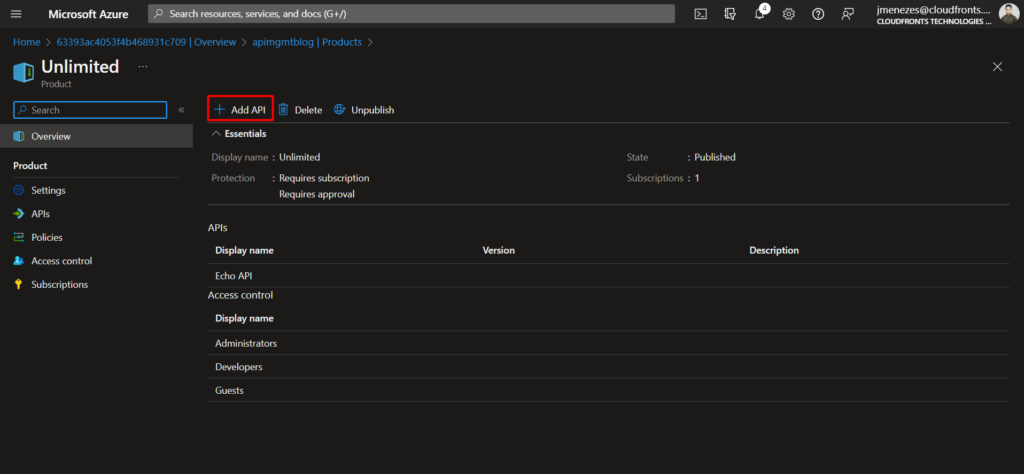
Go through the Products section and choose unlimited. ‘Starter’ has a rate limit of 5 calls per 60 seconds, The ‘Unlimited’ policy does not have this limitation.

Click on ‘Add API’.
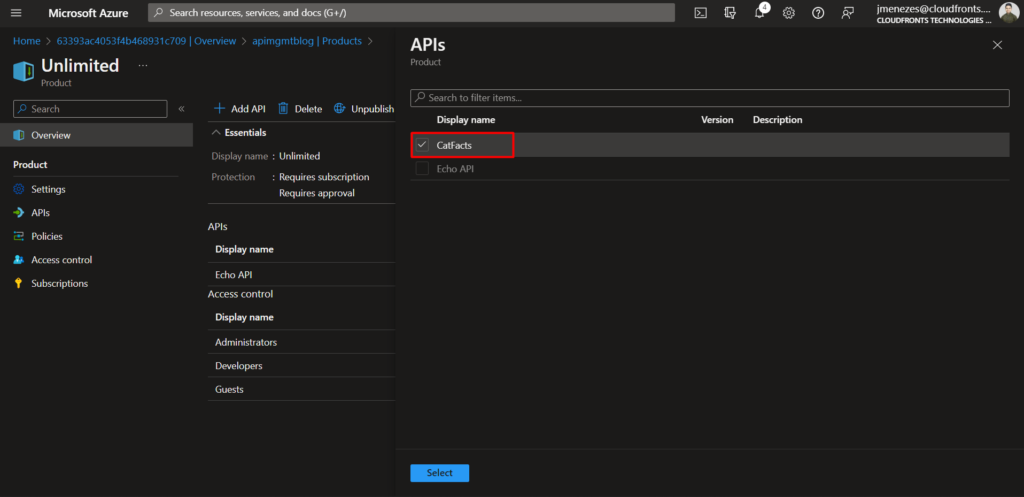
Select your API.
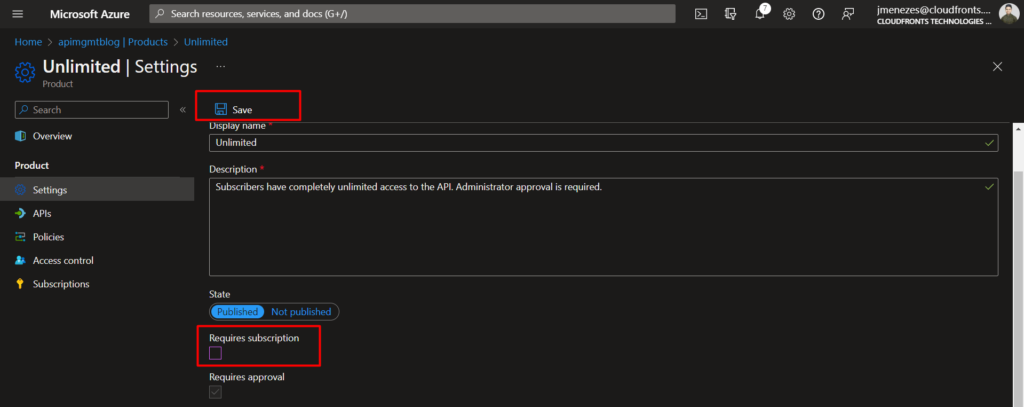
You will get a notification saying the API has been added to a product. Now to view this API we need a subscription, head over to the settings section on the left pane, disable the required subscription option, and then save it.
Now again hit our main API through a browser, as you can see it’s working.

I hope this blog helped you 🙂