How to configure SAML authentication in Azure AD for Zoho People?
After signing up for Zoho People subscription, you can go ahead to configure SAML authentication for Zoho People by adding it as a non-gallery application in Azure AD.
While adding the gallery apps or non-gallery apps to Azure AD, one of the SSO options available is SAML based SSO. With SAML, Azure AD authenticates application by using the user’s Azure AD account. In this article, we will see how to register Zoho People as a non-gallery application in Azure AD and how we can configure SAML authentication for SSO in 3 steps.
To configure SAML SSO for a non-gallery application, you need to have an Azure AD Premium subscription.
Steps 1: Registering the Zoho People application.
Registering Zoho People as a non-gallery application in Azure AD.
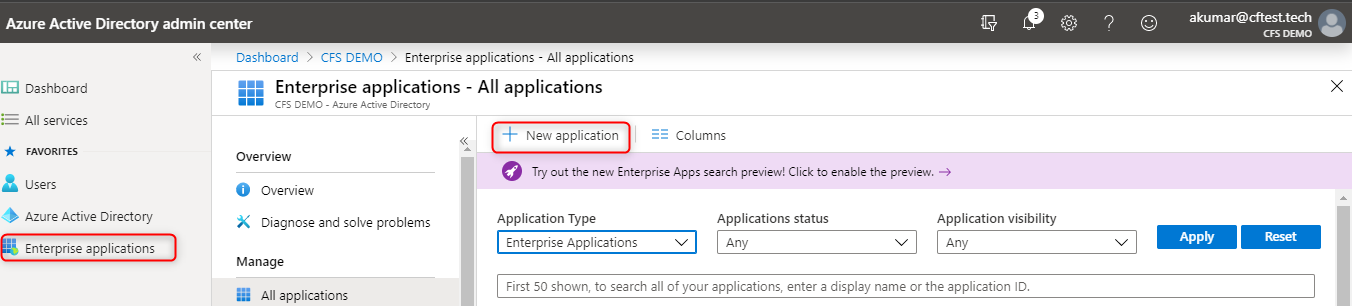
- Go to Azure AD > Enterprise Application > Click ‘+ New Application’.
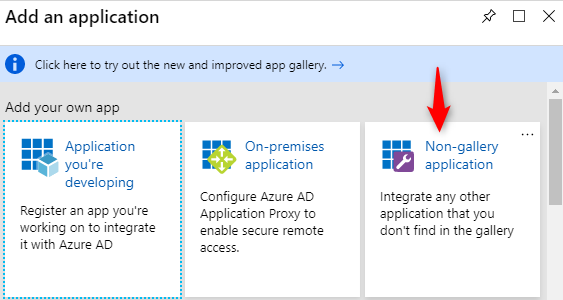
- Under add an application, select a Non-gallery application.
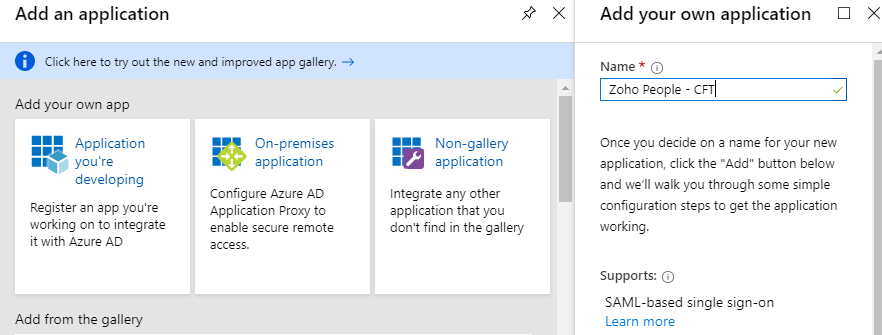
- Provide a name to the application. Here, I am providing the name Zoho People – CFT (Org name) and then click ADD.
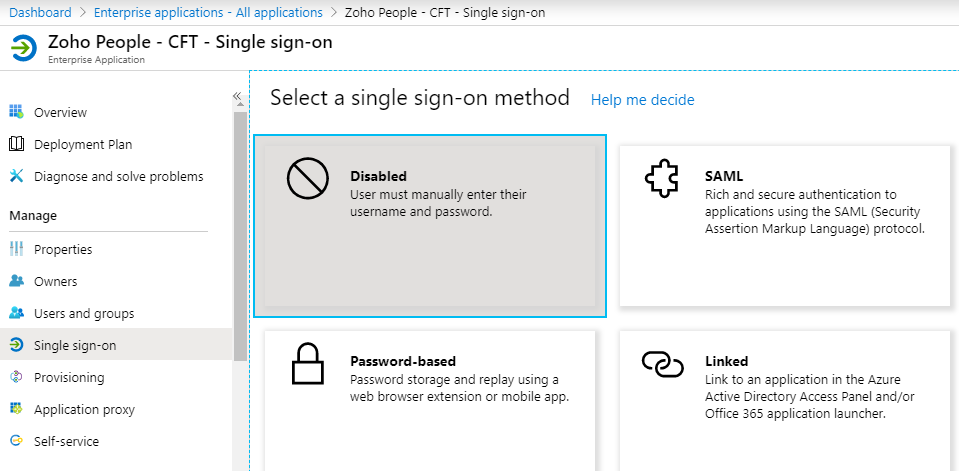
- After the application is added, it will show up under the Enterprise Application list.
- Click on Single Sign-on, it will show up methods to configure SSO, here choose SAML.
Step 2: Configuring SAML in Zoho Accounts.
Before configuring SAML in Azure AD, you will need to configure SAML into Zoho accounts.
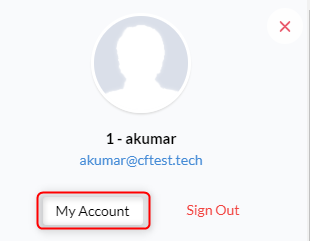
- Sign in to Zoho People account as an administrator and then go to My Account. You will be redirected to the Zoho Accounts page.
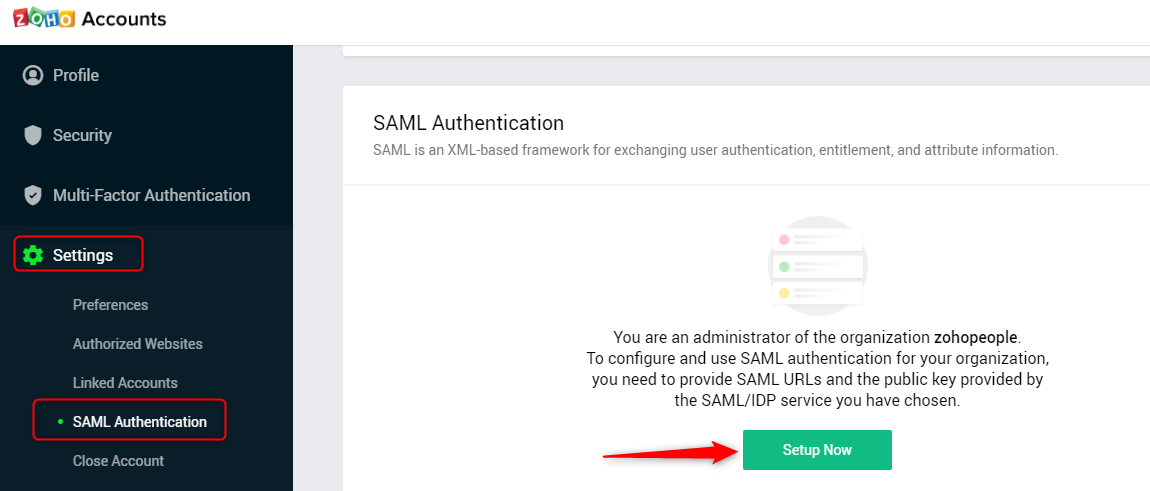
- Click SAML Authentication under Settings and then click Setup Now.
- Provide the required details.
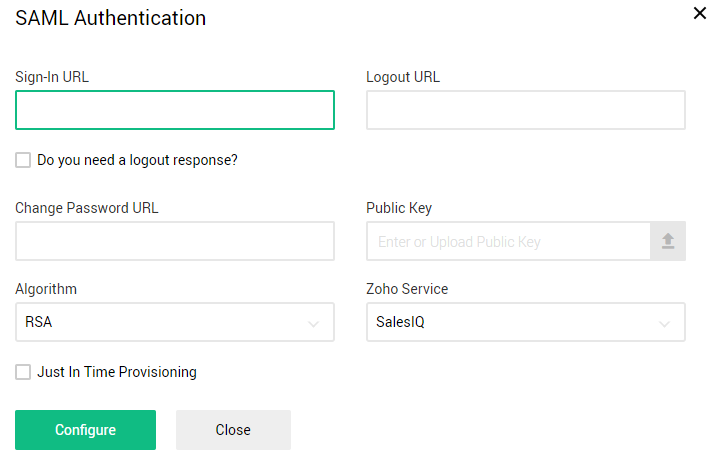
You can get all the above details from Azure AD. Go to the application you registered in Step 1 and then click on Single Sign-on.Sign-In URL & Logout URL: Both the URL you can keep it as Sign-In URL (shown in below screenshot) or else leave the Logout URL blank.Note – I tried Logout URL from SAML configuration (Azure AD), but it is giving an error while logging out from Zoho People and hence keeping the Logout URL blank.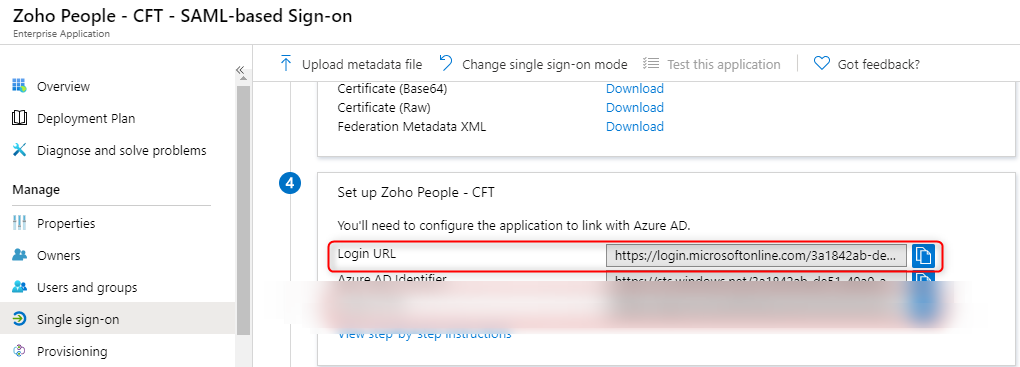
Public Key: Download the certificate (Base 64) and upload it.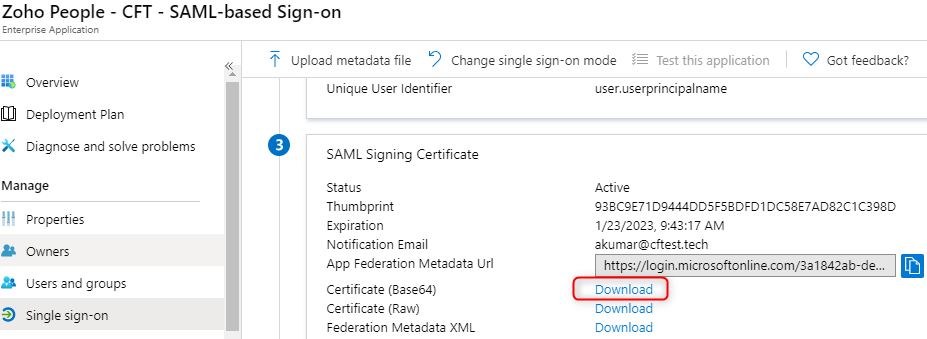
Zoho Service: Select “People”.
Algorithm: RSA (by default RSA is selected).
Change password URL: This will be the same as Sign-in URL. - Click Configure, it will ask to verify yourself (enter password) and then click configure.
- Once SAML is configured in Zoho Account, you will see the Download Metadata tab. Download Metadata which will need to be uploaded in Azure AD.
Step 3: Configuring SAML in Azure AD.
SAML authentication is configured on Zoho Account. Now, you will need to upload the metadata which we downloaded in Step 2.
- Go to Azure AD > Enterprise Application > Zoho People -CFT > Sign Sign-on.
- Click on the Upload metadata file.
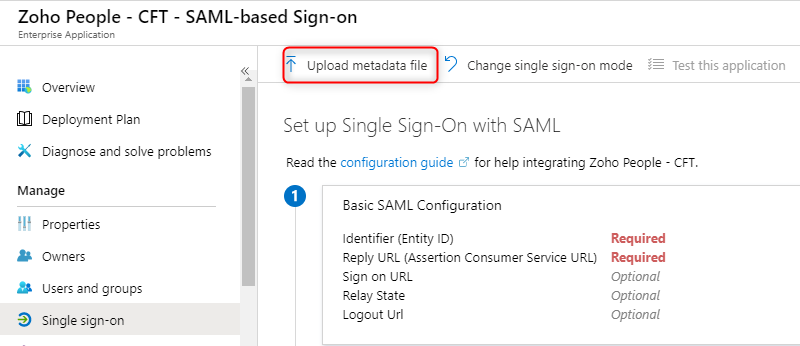
- Upload the metadata file downloaded from Step 2. Once uploaded, it will open a Basic SAML configuration.
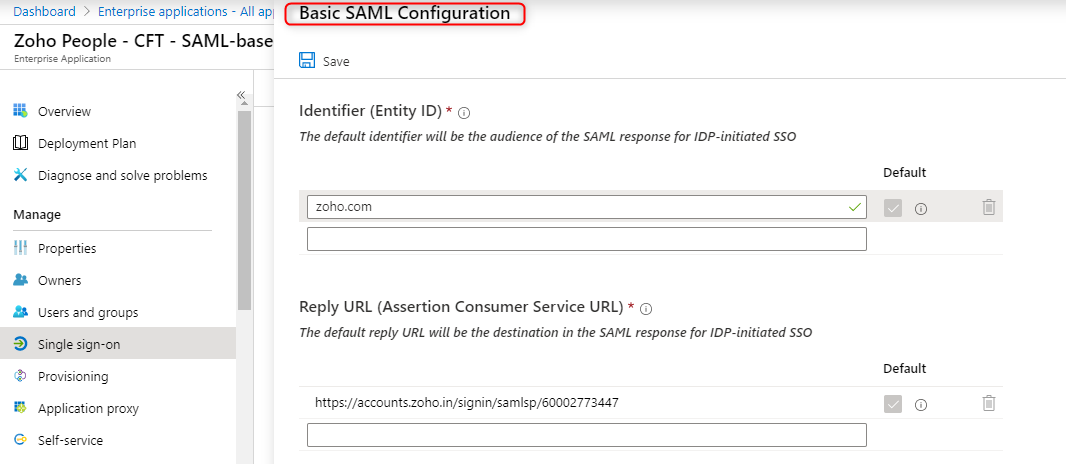
- You will see that the Identifier (Entity ID) and Reply URL will be populated automatically.
- Change the Identifier (Entity ID) from Zoho.com to Zoho.in, because we can see the URL for login in to Zoho People is zoho.in. Instead of changing Zoho.com, you can also add Zoho.in and make it as default.

- Click Save.
- Once the SAML configuration is done, go to Users and Groups and add users. After adding users in the App, the application will appear on the Access Panel for assigned users.
- Test the SSO with the application.

Accessing Zoho Application:
- Directly through Zoho People URL – https://people.zoho.in/
- From the Access Panel (myapps.microsoft.com), users can find the Zoho People – CFT application.
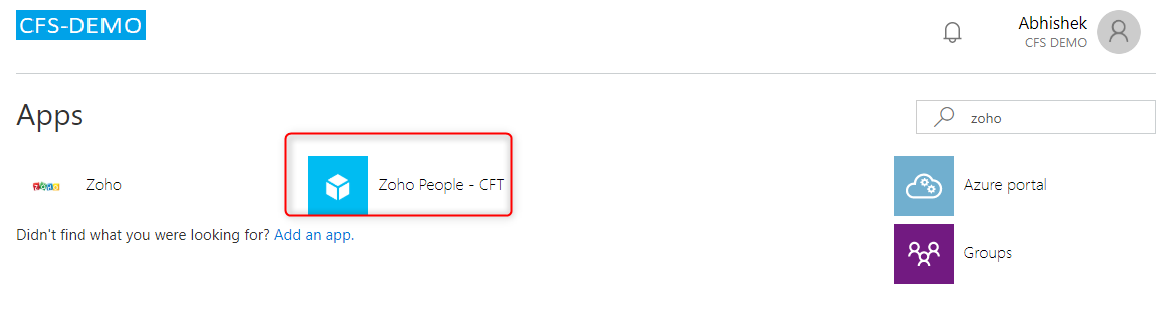
- From office.com – Users can fins Zoho People-CFT under all apps.
This article will help you configuring SAML authentication for Single Sign-on. If you are facing any issues with SSO, you can just configure SAML authentication for application and the end-users will be able to leverage SSO for the third-party applications.
