Dynamics 365 New Store Commerce App Overview, Setup, and Installation
This blog explains how to configure the Microsoft Dynamics 365 Commerce Store Commerce app and applies to Microsoft Dynamics 365 Commerce version 10.0.25.
The Store Commerce app in Dynamics 365 Commerce is the next-generation offering for physical stores.
It combines Modern Point of Sale (MPOS) and Cloud Point of Sale (CPOS) into a single application, provides deployment choices to retailers, and helps improve performance. At the same, it retains all the functionality of MPOS and CPOS, including extensibility.
Store Commerce supports local hardware stations and offline usage, and can be directly integrated with a payment terminal, printer, and cash drawer.
The Store Commerce app provides commerce functionality for below first-line workers
- Cashiers
- Sales Associates
- Inventory Associates
- Stock Clerks
- Store Managers
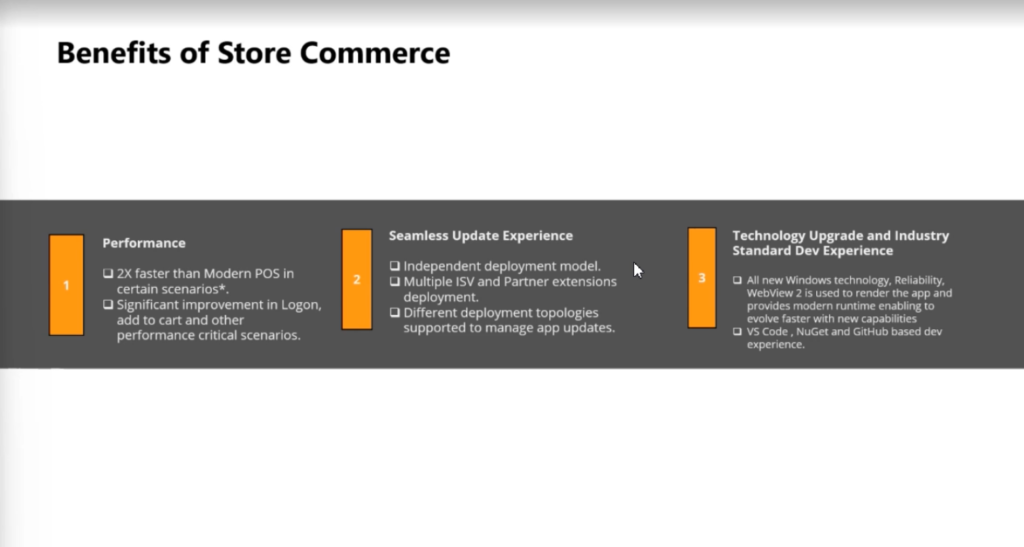
Benefits of Store Commerce
- Store Commerce provides the benefits of both MPOS and CPOS.
- Performance is significantly improved.
- POS and extension upgrades are simplified through the Commerce sealed installer framework.
- Dedicated hardware station is supported.
- Offline deployment is supported.
- Application lifecycle management is simplified.
- Extension or independent software vendor (ISV) code that is developed for MPOS or CPOS by using the Commerce software development kit (SDK) can be reused in Store Commerce with minimal changes.
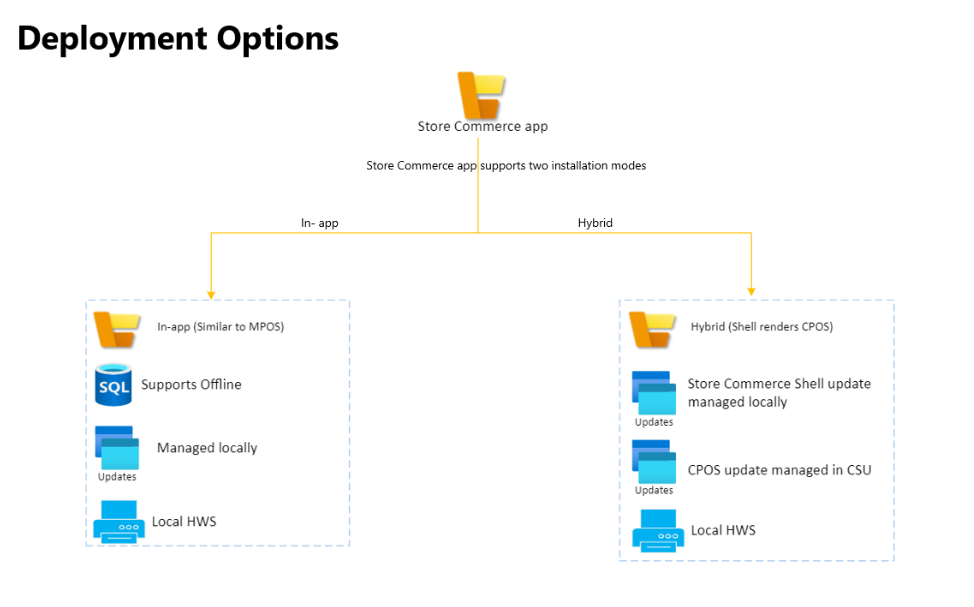
Store Commerce supports two types of deployment topologies:
- In-app: All the components, such as Modern Point of Sale (MPOS), are deployed locally. Offline mode and local Hardware Station (HWS) are supported.
- Hybrid: Store Commerce renders the Cloud POS that is deployed in Commerce Scale Unit (CSU) and supports local Hardware stations. However, offline isn’t supported.
There are no separate installers for the hybrid and in-app topologies. The deployment options are determined by the parameters that are passed during installation.
In-app Deployment
For the in-app deployment option, the application content is locally deployed in Store Commerce, just as for MPOS. To update the application content, run the latest version of the Store Commerce installer. The application content won’t be updated if you update the CSU. Therefore, you can manage the updates at individual registers.
The in-app mode supports offline mode. Therefore, during installation, pass the –installoffline parameter to deploy the offline database. During offline mode (that is when there is no connectivity), the application won’t be able to connect to CSU or Commerce headquarters and will use the locally deployed CRT.
Note: During the installation of Store Commerce, users can pass parameters to select either the hybrid option or the in-app option. The default option is in-app deployment.
Hybrid Deployment
Store Commerce is a shell that renders CPOS and connects to Headless Commerce and Commerce headquarters by using CSU in online mode. In hybrid mode, Store Commerce app content is rendered from CPOS that is hosted in CSU. When the Store Commerce app is opened, it will prompt for the CPOS URL.
To update Store Commerce, just update the CSU. Store Commerce will then automatically receive the update. Because updates are centrally managed in CSU, they don’t have to be managed at individual registers.

Setup and Installation
Prerequisites
- Windows 10 version 17763.0 or later, Windows 11 (Pro, Enterprise, LTSC, and IOT Enterprise editions), or Windows Server 2019 (Standard, Essentials)
- Dynamics 365 Commerce (Commerce headquarters and Cloud Scale Unit)
- The .NET Framework version 4.7.2 or later. See Install the .NET Framework
- SQL Server Express, SQL Server Standard, or SQL Server Enterprise (required only for offline mode). For information on which SQL Server edition to use, see Commerce offline implementation and troubleshooting.
Device setup in Commerce headquarters
For Store Commerce, a new application type that is named Store Commerce has been added on the Devices page (Retail and Commerce > Channel setup > POS setup > Devices).
Select this application type when you create a device for Store Commerce.
Note: If the Store Commerce application type doesn’t appear on the drop-down menu, try to run the Initialize function from the General tab of the Commerce parameters page (Retail and Commerce > Headquarters setup > Parameters > Commerce parameters).
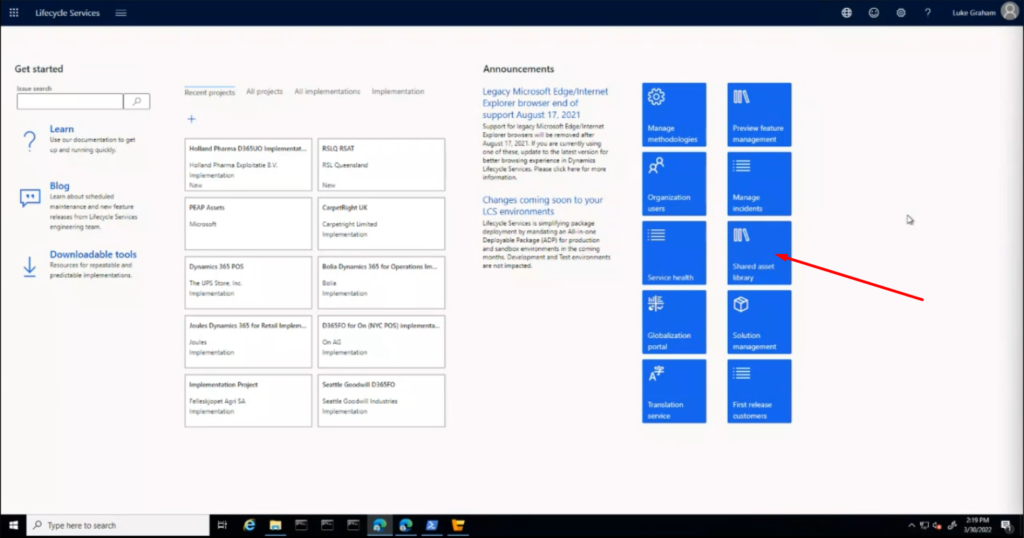
Device installation from LCS
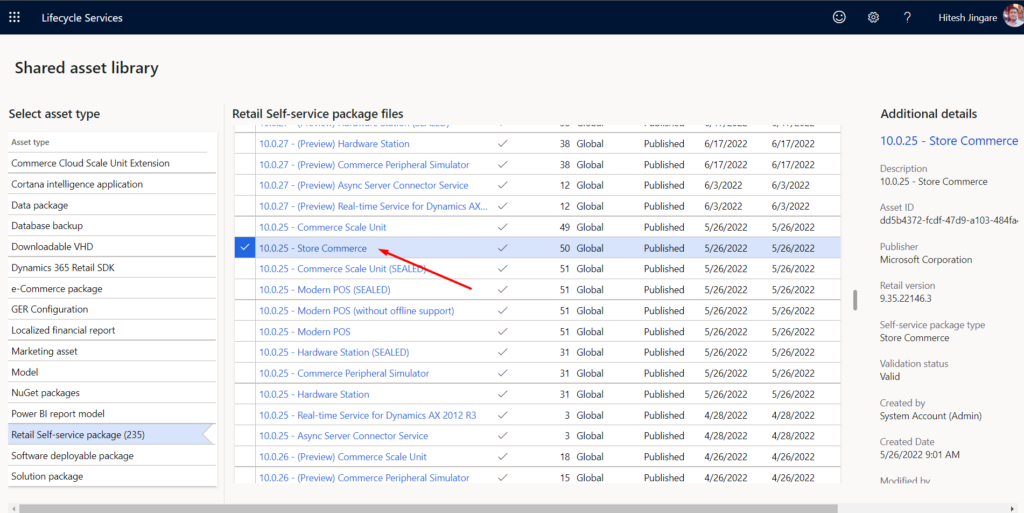
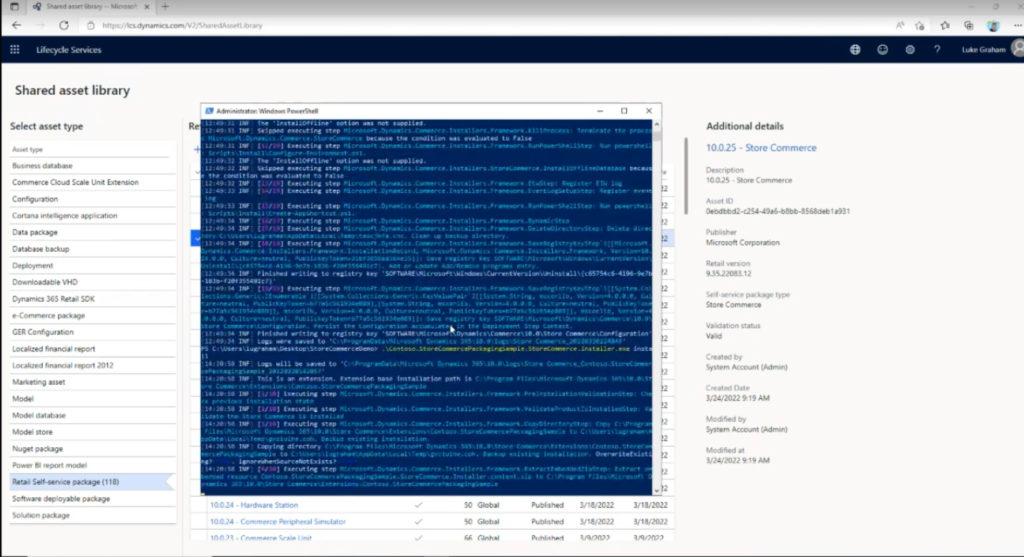
- Store Commerce can be downloaded from the LCS Shared asset library.
- On the Shared asset library page, select Retail Self-service package as the asset type, and then find the file that ends with Store Commerce. After the file has been downloaded, follow these steps to install the app.
- Go to the folder where you downloaded Store Commerce and open PowerShell in administrator mode.
- In PowerShell, find the Store Commerce installer, and pass the install parameter to install the app. To install offline components, pass the –installoffline parameter. (For example, enter Store_Commerce Installer_exe_name install –installoffline.) If you want to enable debugging mode during installation, pass the –enablewebviewdevtools parameter.
Store Commerce installation parameters
You can also use the help command in PowerShell to find information about all the parameters. In PowerShell, find the Store Commerce installer, and then enter Store_Commerce Installer_exe_name help install.
| Parameter | Description |
| installoffline | Deploy the offline database. |
| sqlservername | Specify the name of the SQL Server instance that Store Commerce uses in offline mode. If you don’t specify this parameter, the installer will use a default instance. |
| skipsqlfulltextcheck | Skip validation of the SQL Full-Text Search that is required for offline deployment. |
| trustsqlservercertificate | Trust the SQL Server certificate when a connection is established to SQL Server. To help avoid security risks, you should never use this argument for production deployments. By default, the SQL Server certificate isn’t trusted. |
| enablewebviewdevtools | Enable developer tools for Store Commerce. If you don’t specify this parameter, developer tools will be enabled only if Windows Developer Mode is enabled. |
| retailserverurl | Specify the default Retail Server URL to use for Store Commerce. If you don’t specify this parameter, the user will be prompted to enter the Retail Server URL during device activation. |
| useremoteappcontent | Use the remote application content to download the Store Commerce app content from CPOS that is hosted in CSU. By default, the local application content that is deployed with Store Commerce is used. |
| skipversioncheck | Skip the validation during downgrade. |
| skipurlcheck | Skip the validation of URLs that are passed to the installer. |
| logdirectorypath | Specify the path of the log’s directory. |
| config | Specify the path of the configuration file that will be used as part of the installation. |
| verbosity | Deploy the offline database. |
| help | Show parameter information. |
| version | Show information about the app version. |
Activate Store Commerce
To activate Store Commerce after installation, follow these steps.
- On the Windows Start menu, search for Store Commerce, and then open the application.
- On the application’s start page, if you select Remote app content as the deployment option, enter the CPOS URL, and then select Save. You can find the CPOS URL on the environment details page in LCS or on the Channel profiles page in Commerce (Dynamics 365 Commerce > Channel setup > Channel profiles).
Activate Store Commerce by following the steps:
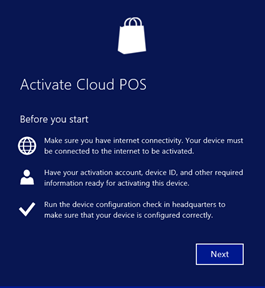
- Open the initial device activation page for Modern POS or Cloud POS. You’re prompted to sign in.
- On the Before you start page, follow the instructions, and then click Next.
- Start Cloud POS or Modern POS.
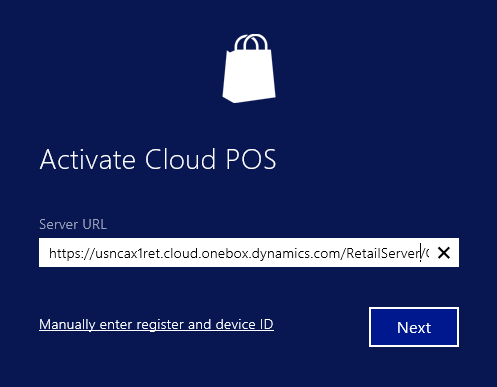
- Use your AAD credentials to sign in. The AAD account must already be mapped. For instructions, see Configure, install, and activate Modern POS (MPOS). For Cloud POS, the server URL is automatically entered in the address bar. For Modern POS, you must copy and paste the server URL.
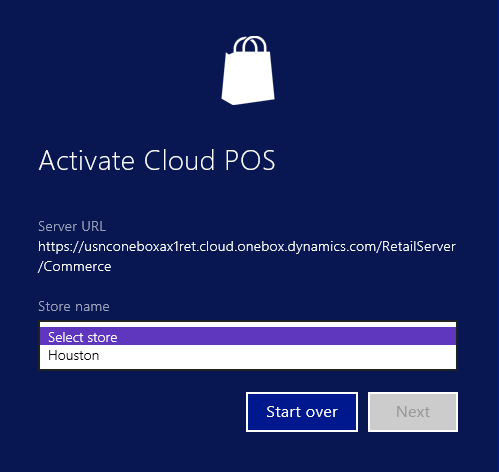
- Click Next to populate the list of stores.
- Select the correct store in the list.
- Select the correct register and device.
Note: The device can be Pending, De-activated, or Activated. Alternatively, if you turned on the HQ Allow devices to be associated to registers from the store setting, you might see a list of registers that have no device associated with them.
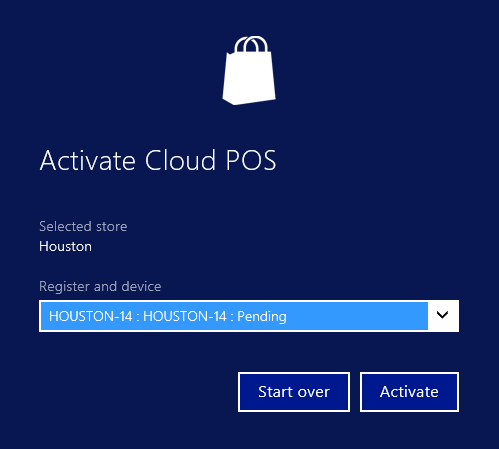
- Click Activate. The device should be activated.
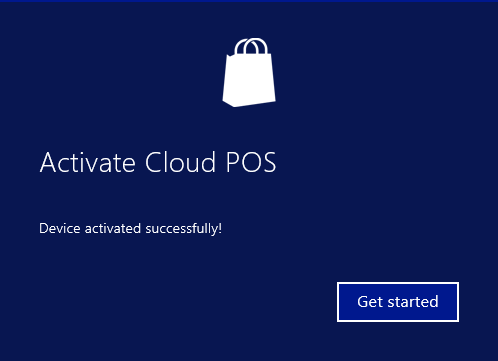
- After activation is completed, sign in to the application by using an employee account.
Hope this helps!
