Design Marketing Emails in Dynamics 365 for Marketing
Introduction:
In this blog we will see how to create a marketing email in Dynamics 365 for marketing preview. Dynamics 365 for marketing provides an easy drag and drop tool to design marketing emails with dynamic personalized content.
Implementation:
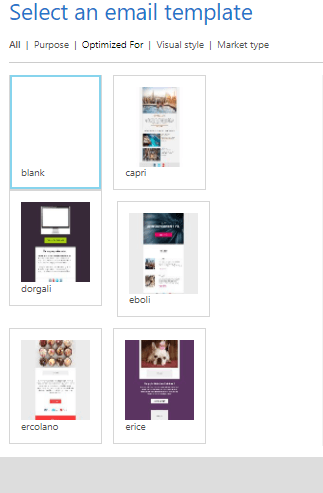
Step 1: We navigate to Marketing Emails and Click on New. We can see there are a number of pre defined email templates
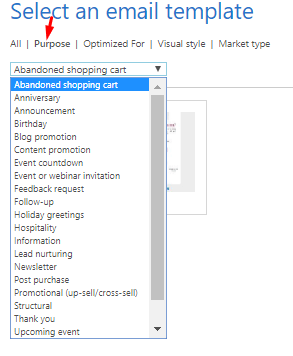
 The templates are also categorized by purpose
Step 2: At the top of the page we see three required fields Name, Subject and Form. The Name is the internal name for the designed email, Subject is the message that will be displayed in the emails subject and the From is the Dynamics 365 user who email recipients will see as the sender

Step 3: In the toolbox we can see content blocks which can be used to design the email. We can add text, images , buttons etc as shown below. We can also add Surveys and Marketing Pages to the email which creates a button and on click the user is navigated to the Survey form and marketing page respectively.

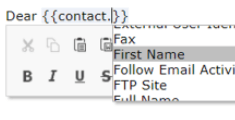
Step 4: The assist-edit button </> can be used to add dynamic content to the email.
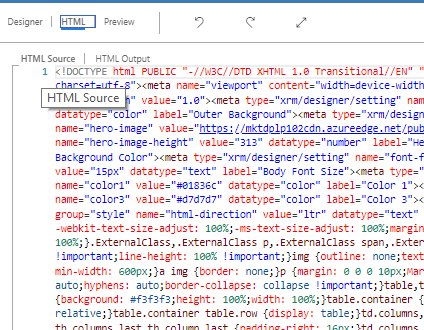
Step 5: Once the email is designed as per the requirement in the HTML tab we can see the code is auto-generated.
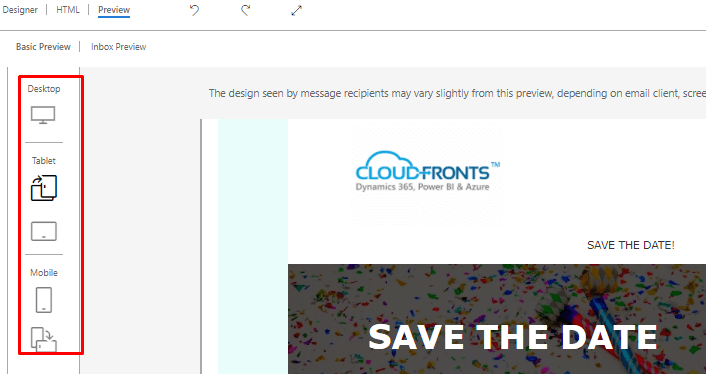
In the preview tab we can see how the email would look in different clients like Desktops, Tablets and mobiles
Step 6: It is important point to note is that every email message must include both a subscription centre link and your organizations physical address. These are required by the law in many jurisdiction and Dynamics 365 wont let you publish any marketing email that doesn’t have them.
Email templates include them already but when we are working with a blank template you must add them yourself.
Step 7: Once the email designing is done we can check for error by clicking on the button in the navigation bar. We can also Test send the email.
