Step by Step instructions for Scribe Insight Version Upgradation
In this blog article, I am explaining about upgradation of Scribe insight version. Upgrading scribe insight 7.8.0 version to latest scribe insight 7.9.2 version.
Step 1: Backup
Export existing scribe Console
Open scribe console -> right click -> Import/Export -> Export a package -> Select package -> Next -> Give specific name and path to store the backup files -> Next -> Finish
This will create a .spkz file in the specified path.
Take Backup of Collaboration folder
Make a copy of collaboration folder.
Path eg: C:\Users\Public\Documents\Scribe
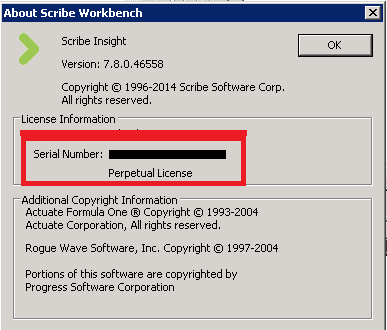
Take a backup of Scribe Serial Number
Open Scribe Workbench -> Help -> About Scribe Insight -> Copy the Serial Number
Step 2: Unregister the existing Scribe version
Open Scribe Workbench -> Help -> Unregister this Computer -> Yes
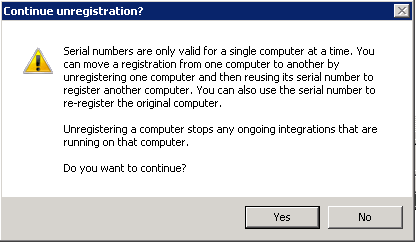
After successful unregistering, you will get a pop up window as
Step 3: Stop the Scribe services
From Task Manager -> End the Scribe.UpdateService.exe (if it exists)
Step 4: Download current version of Scribe Insight
Site: https://openmind.scribesoft.com/html/insight_download
Step 5: Download Microsoft.NET Framework 4.5.2
Site: https://www.microsoft.com/en-us/download/details.aspx?id=42643
Note: Select scribe update notifier when asked during installation process.
Restart the computer/remote server.
Step 6: Run the Application
Click on Run -> Next -> specify the path for unzip -> click Unzip -> Close.
Step 7: Installation of Latest version of Scribe Insight
Run Setup file
Open ScribeInsight792_x64 folder (which is stored in the path specified during unzip) -> Run Setup.exe
Uninstall existing adapters
we need to uninstall the existing adapter eg: CRM , AX ,etc.
Control Panel -> uninstall/ program
Also, the system will automatically uninstall the adapter.
Install Adapters
Click on check box Insight adapters then click on Start installation
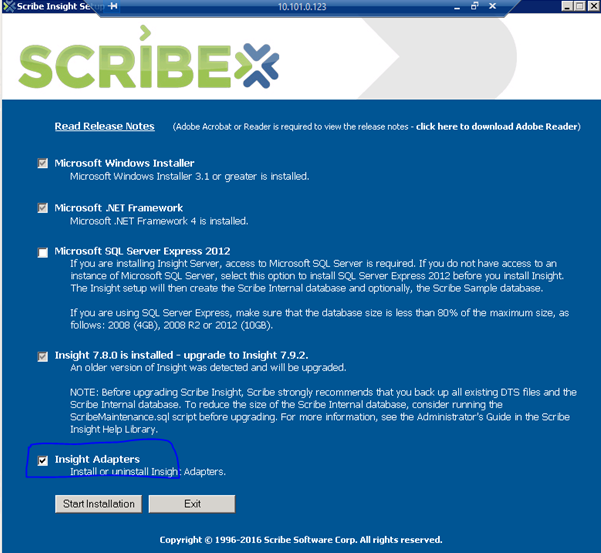
Below window will appear
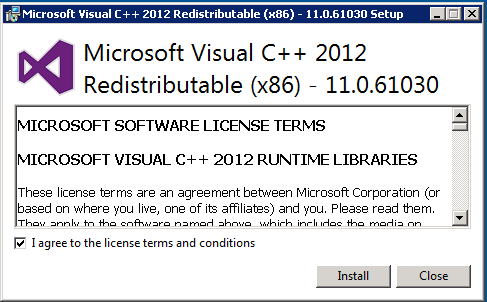
Click on Install
After Visual studio installation below window will pop up
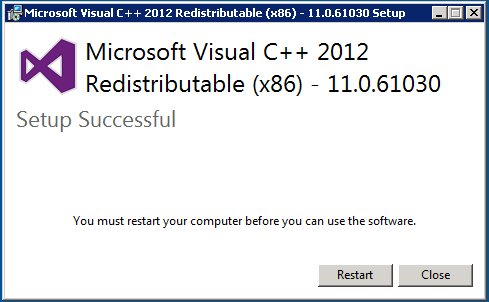
Restart the computer
Open the setup.exe file again -> Click Next -> Accept the terms -> Next -> Install -> Next -> Accept license agreements -> Install -> Finish
Setup wizard will pop up -> cancel username window -> select the adapter you want to install -> Next -> Finish
Start Scribe Services
Start -> Run -> services.msc -> Select Scribe Services one by one -> click on LogOn -> Click This Account -> Click Browse -> Browse the name -> Insert Password -> Apply
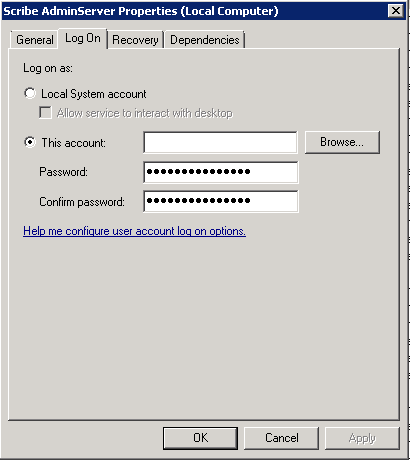
Check dependencies and make sure all the dependent services are started before you start the Scribe Services.
Do this for all the Scribe Services. (Services starting with name ‘Scribe’)
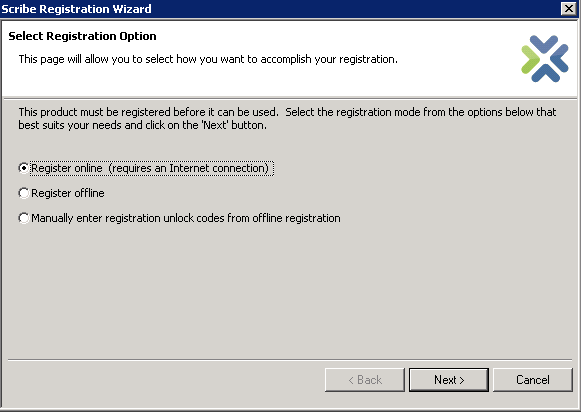
Step 8: Register the Scribe Insight
Select Register Online
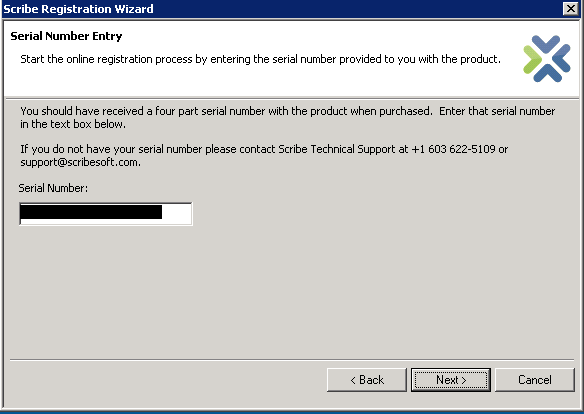
Copy the Serial Number which you took backup before.
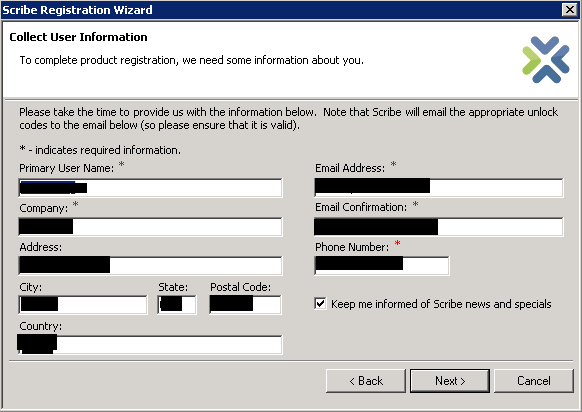
You will get details window
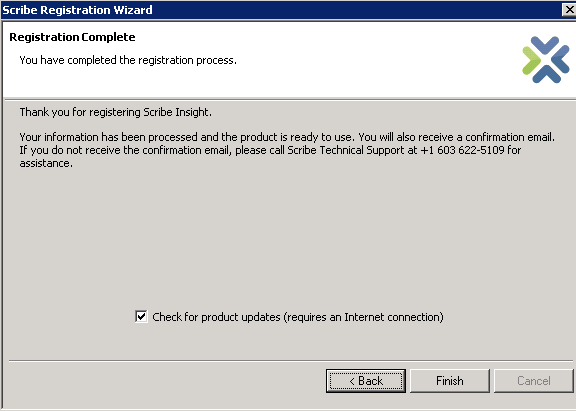
You will get product update status
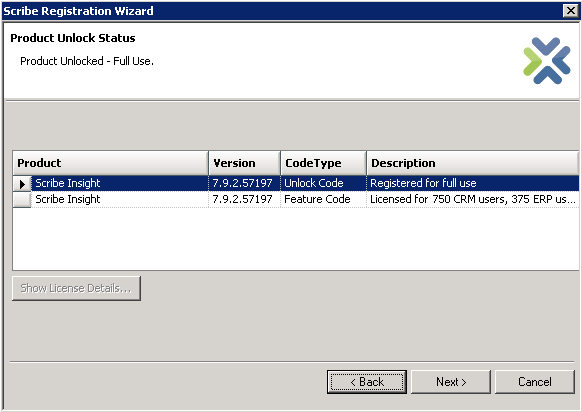
Click Next
Registration Successful window will appear -> Click Finish
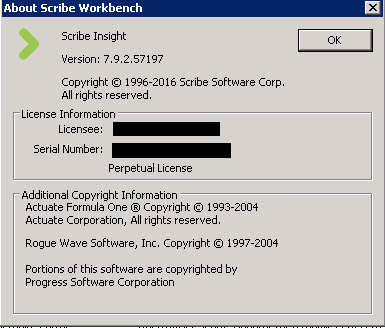
Step 9: Verify the version of installed Scribe Insight
Open Scribe Workbench -> Help -> About Scribe Insight