Procedure to create custom logs in Dynamics NAV
Whether you are a small sized business, a mid-sized one or a large business, Microsoft dynamics nav upgrade is all you must do to gain new heights in your business. Elements NAV clients are passing up the genuine advantages of moving up to Dynamics NAV in the present cloud-based condition. Microsoft is persistently seeing approaches to ad lib the Enterprise Resource Planning Systems or ERPs.
In the event that you overhaul Dynamics NAV, you will be exploiting improved usefulness, new highlights, and upgraded abilities, you can help efficiency, diminish costs, and improve client assistance. Utilizing Microsoft Dynamics NAV Inventory Management, organizations can do errands, for example, setting up elective merchants, mind stock gathering the executives, and get the necessary investigation report easily.
Introduction:
To track changes that are made to records in a particular table and to store them sequentially in NAV, logs have to be created. Using logs we can record changes that are made to standard or custom fields in a table.
In this article, I will be demonstrating the steps required to setup logs in NAV.
Pre-Requisite:
Microsoft Dynamics NAV 2017
Procedure:
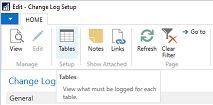
1. Navigate to ‘Change Log Setup’ Page using the NAV windows or web client.
2. In the actions tab, choose ‘Tables’ under Setup group to select the tables and the fields on which changes are required to be logged.
3. A list of all the standard and custom tables will be displayed.
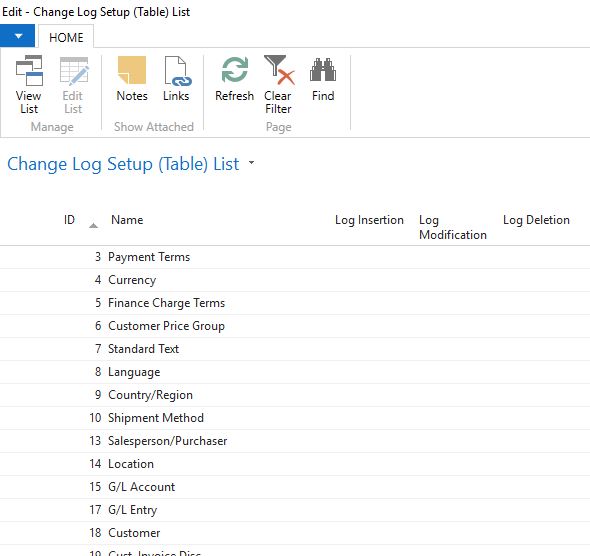
Logs can be created on three events:
- Initially when the record is created, log will be created with the initial value of the selected field to be logged.
- When the record is modified, log will be created in the system with the old and new value of the selected field to be logged.
- When the record in deleted, log will be created in the system.
4. You can either select some fields to be logged or select the All fields option.
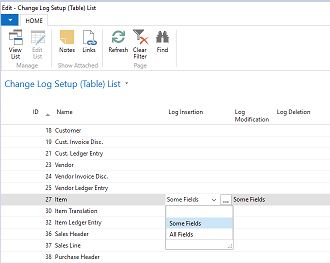
If you select ‘some fields’, click on the ellipses (…) to select the fields on which log will be created. If ‘All fields’ has been selected, by default all the table fields changes will be logged.
5. I have created a log entry on ‘Item’ table on two fields ‘No.’ and ‘Car status’. Car status is a custom field with option datatype.
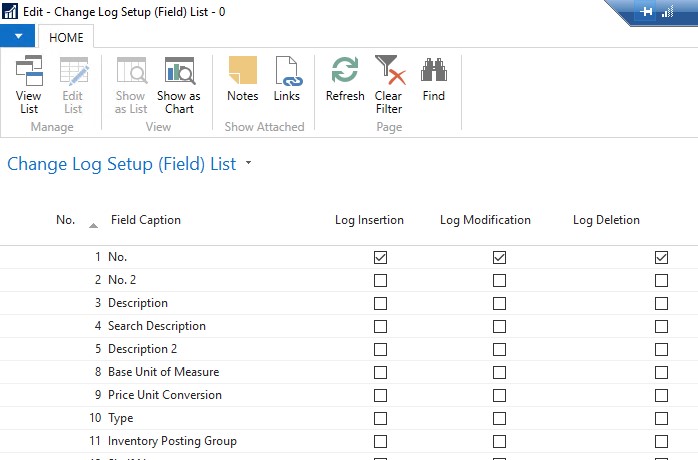
6. On clicking the ellipses (…) when ‘Some Fields’ is selected, the table field list will be displayed. Select the event when a log record has to be created i.e. Log Insertion, Log Modification or Log Deletion.

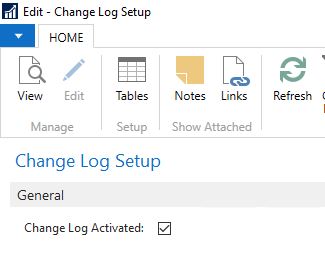
7. Now on the Change log setup page, select the ‘Change Log Activated’ checkbox.
8. After creating a record in ‘Item’ table and modifying the values of the ‘Car status’ field, the following logs are created in the system.

- Date and Time when the log is created is stored which will be useful to get history of events performed in the system at any point.
- The user ID who is creating and modifying records will be stored.
- Table caption stores the table name which is selected.
- Primary Key Field 1 Value stores the Item No. i.e. the unique field in the table.
- Type of change will be stored i.e. Insertion, Modification or Deletion.
- For option fields, the old value and new value is stored.
Conclusion:
These are the steps required to create logs in NAV which will track changes made to the fields selected in the change log setup.
